Tuesday, September 29, 2015

GIVE // If You Continually Give, You Will Continually Have

DSC_0786

When I first started blogging, I felt so weird and lost and alone. I had a long list of hobbies that I was embarrassed to reveal in large groups. Things like knitting, holistic health and doing every from scratch seemed so difficult to explain to people, and when I did have the courage to bring something up, it was always met with adversity. ("You can buy a scarf instead of wasting your time knitting" or "If all of those herbs worked, modern medicine wouldn't exist") It was difficult to live as fully as I wanted.

But a few years of blogging has given me the confidence to embrace my realness. To live a life that's complete and full and even abundant. The reason? ALL OF YOU. You may not know, but you're my secret cheerleaders. I may wake up to an Instagram comment that not only brightens my day, but motivates me to do more. To be more. To be ME. I may get a Facebook message from someone I haven't seen in ages, explicitly cheering me on (even when their own life is hectic and overwhelming). I'm so grateful.
DSC_0778

As I dig out my own space, and you all bring your shovels and your smiles and support, things grow. Things are made. Unique, special things that are results of alchemy or collaboration.

Pat and I joke that we both have "internet best friends", but it's totally true.

Forest of The Rose Journals is one of those people. A few months ago, we agreed to a swap/barter situation after following each other of Instagram for a little while. He made me a beautiful fragrance with patchouli and vetiver and magic. It came so quickly and with a long handwritten letter. The was so much trust and authenticity in his gesture.

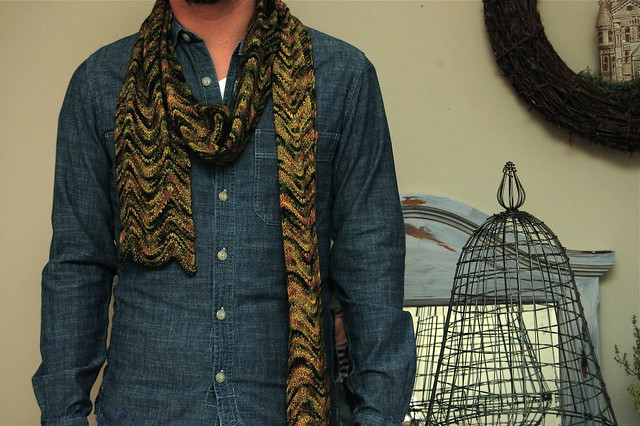
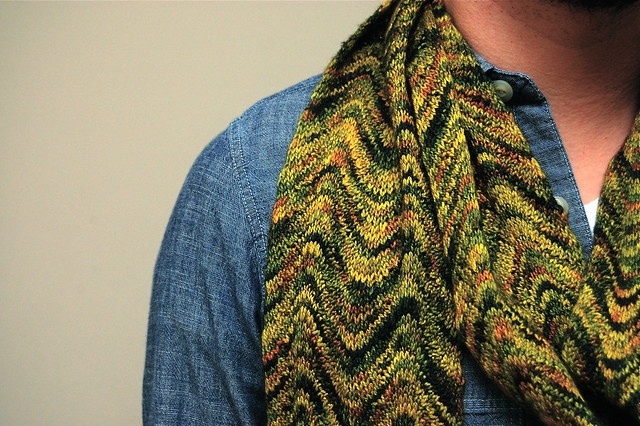
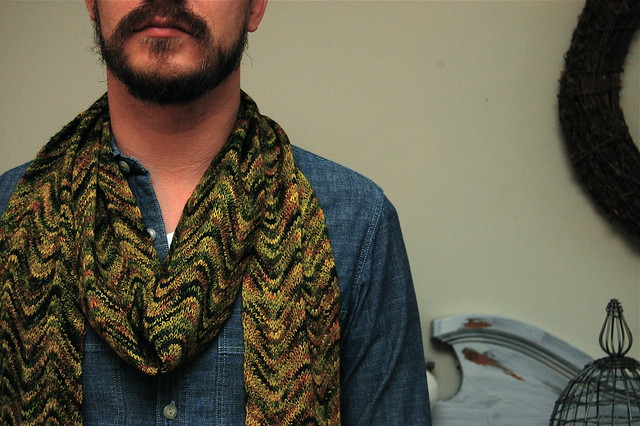
My end of our deal was that I would make him a scarf. I picked my very favorite yarn from my collection and a pattern that I have never knit before. It turns out that knitting a scarf out of sock yarn takes AGES. But he was patient.

This is what I sent him.
DSC_0772
PATTERN: CHEVRON SCARF / YARN: EIDOS THE VERDANT GRYPHON

This is what I learned:

-Be connected to the things you give, receive with gratitude.
-Not all friends need to live next door, your people are everywhere.

XO
Robbie

Thursday, September 10, 2015

NESTING // Beeswax Spoon Butter

DSC_0759

With Autumn approaching Robbie and I have enter full nesting mode. Our apartment has been filled with the smell of various pots of broth cooking away for hours, and Robbie has recovered the batch of pumpkin pie spices that had been lost to the back of the spice cabinet. Much to his chagrin, I still think its too early to pull on our cabled sweaters and play the Bright Eyes Christmas album (as I write this the temperature outside is 80 degrees).

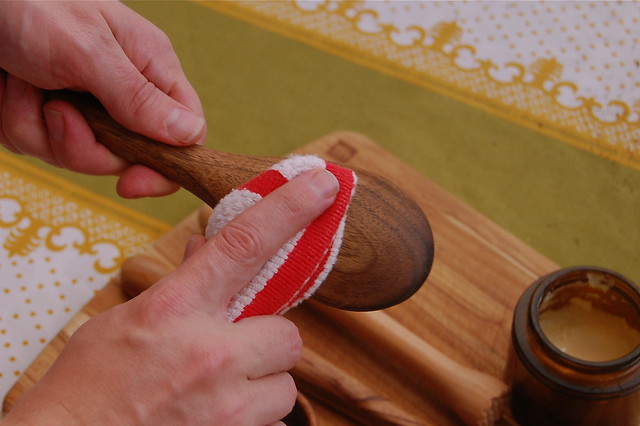
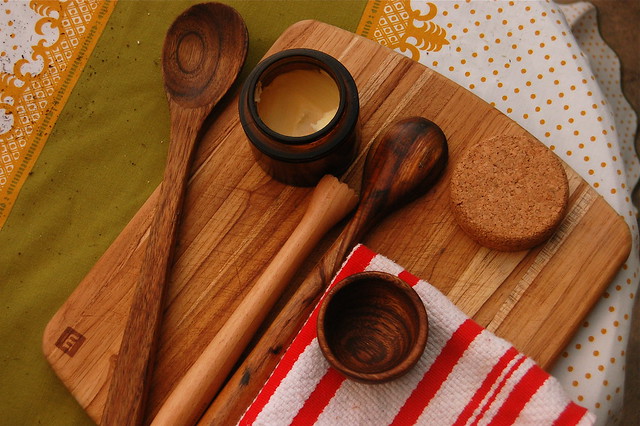
One of the projects we've done to prepare for the colder months was treating all of our wooden cooking utensils and cutting boards with beeswax spoon butter. Sealing wooden utensils with spoon butter helps prevent future damage and fills in cracks where damage has already occurred. Wooden cutting boards and utensils are amazing investments, or in my case my favorite gifts, and this recipe will help preserve them season after season.

DSC_0765

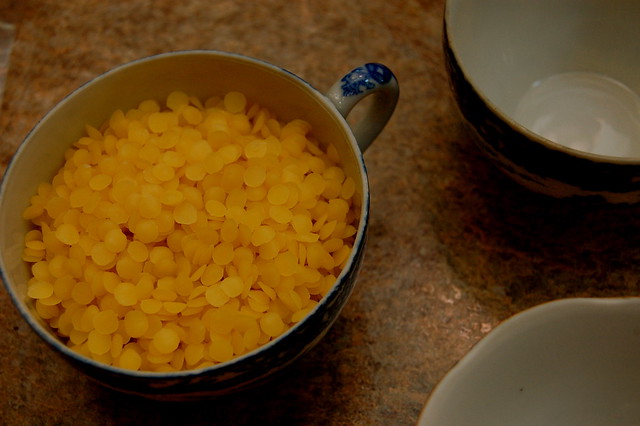
For this recipe you will need a small saucepan, a glass jar (used to make and store your spoon butter), beeswax pellets and coconut oil. The amount of beeswax and coconut oil you will need depends on the size of the jar you use. The ratio you should follow is one part beeswax to 4 parts coconut oil, as a large amount of oil is needed to make the beeswax spreadable.

1. Add enough water to your saucepan so that when the jar is added, the water level is halfway up the height of the jar.
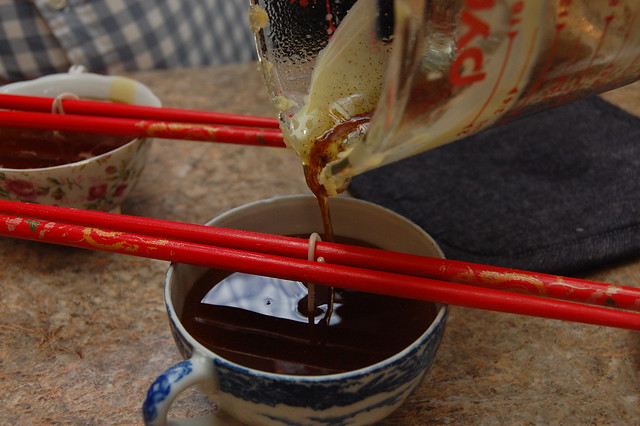
2. Add the jar filled with the coconut oil and beeswax to the water and warm up over medium heat.
3. Once the beeswax has melted, stir the mixture and remove from the heat, taking care not to burn yourself on the jar.
4. Allow the contents of the jar to cool until it is room temperature.

At this point you can use your spoon butter by taking a small amount and rubbing it on your utensils with a napkin or paper towel until it has a soft glossy finish. I highly recommend using this at the beginning of each season!

XO
Pat

DSC_0764

Wednesday, September 2, 2015

The Martha Project: C is for Candle // Teacup Candles

DSC_0826

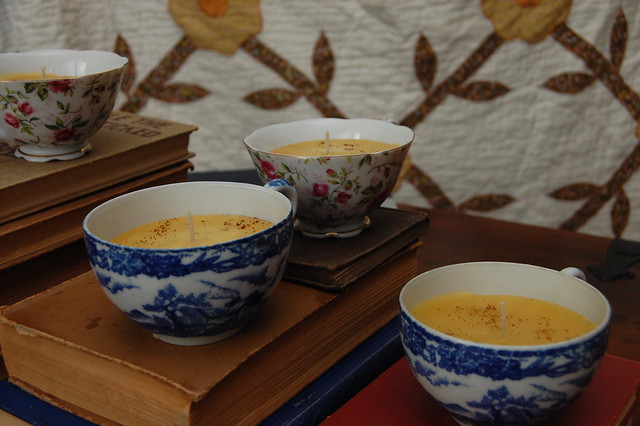
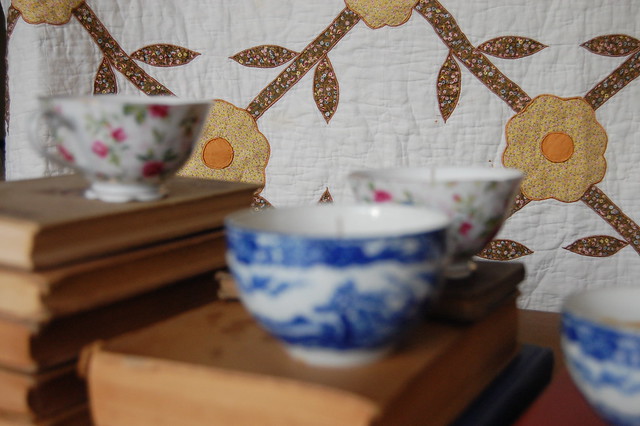
These candles are adorable, right? We were both really excited to make them. Like more excited than both the shadow box and the sun-printed pillows. Mostly because they would make really great simple gifts. They had already had homes before we even started. one would go to one of our best internet friends, Brett and one to Patrick's mom. We spent a week scouring thrift shops and antique stores looking for the perfect teacups. I wanted something classic and simple, and Patrick was looking for something a little more whimsical.

Sometimes I feel fancier than Martha. I know. Is that even possible? It's not. SHE DOES ALL THINGS PERFECTLY AND HER DIRECTIONS (when followed exactly) ARE FLAWLESS. I saw that these candles called for melt & pour soy wax, but thought "We're so much better than that. We don't need melted phytoestrogens and vaporized GMOs floating around our home. We'll use organic beeswax and it will purify the air. We're so rustic and health conscious!"

DSC_0762 DSC_0796

And so we made a double boiler and a magical little autumnal spice blend, then melted the wax. No microwave or any sketchy shortcuts. It smelled beautiful and warm. Everyone would thank us for giving them candles that cleaned the air and improved all other aspects of their lives. These really were the most amazing candles.

But they weren't.

Apparently, all wicks are NOT created equal. The wicks burn MUCH faster than the wax. The candles burned themselves out in just few minutes.

We'll melt out the beeswax and use it for body care, and keep the teacups for fancy mornings.

DSC_0824

So, we learned a valuable lesson three crafts into The Martha Project: Martha knows best. Use the appropriate tools, follow the directions exactly, and always trust the queen. YASSS.

XO
Robbie
Friday, July 31, 2015

Cocktail: Boozy Cherry Milkshake

DSC_0869

DSC_0836

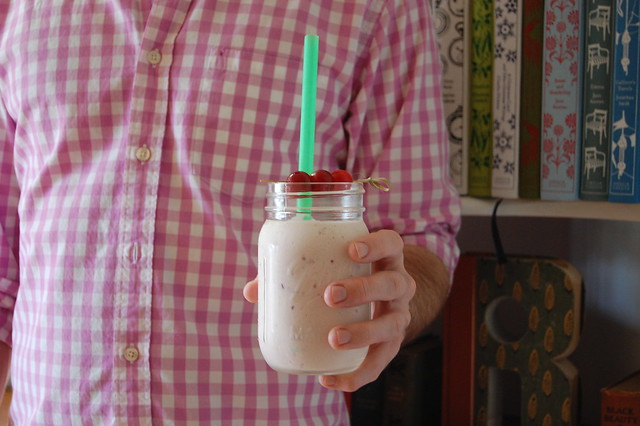
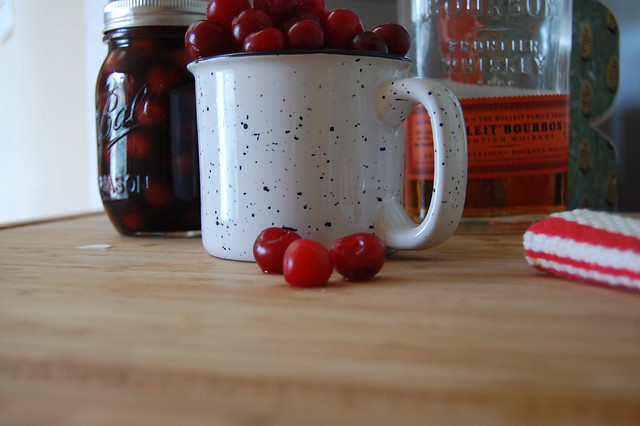
After a cherry picking adventure in Mullica Hill, our house has been full of tart cherries. Fresh tart cherries are difficult to procure, so I may have gotten a little overzealous. They are the best cherries to use for desserts, as they balance the sweetness of the rest of the dish. Instead of a pie or a tart, my mind immediately went to an alcholic milkshake. Oops!

DSC_0845

DSC_0846

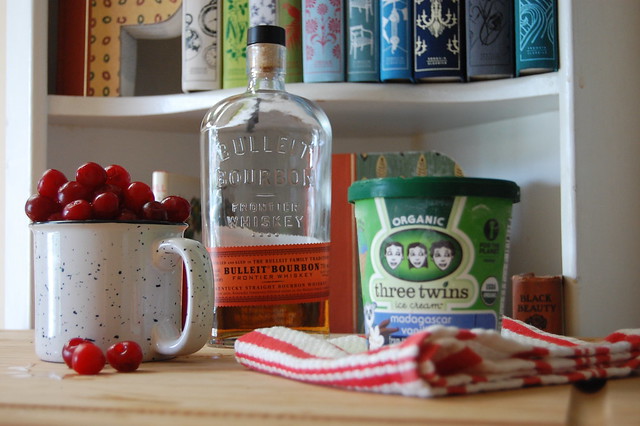
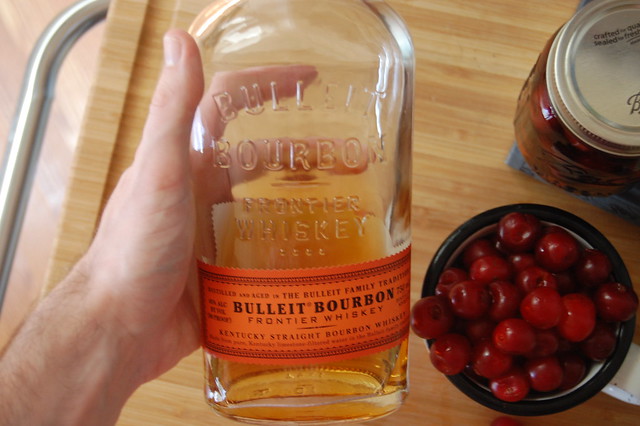
I always see recipes for bourbon milkshakes floating around the internet, and I don't know why I haven't made one yet. If old fashioneds have taught me anything, it's that cherries and bourbon go well together. This milkshake only proved my theory.

DSC_0865

DSC_0886

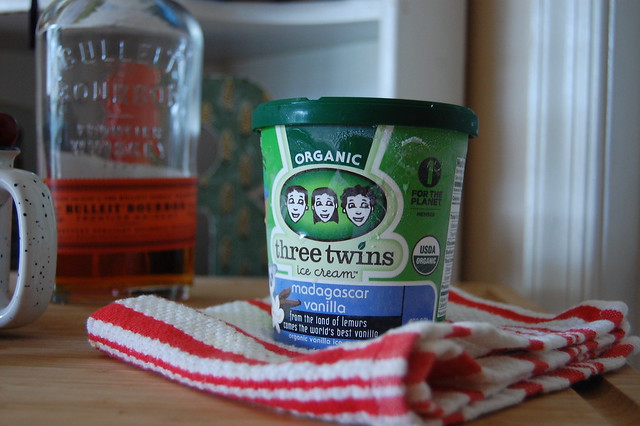
As for ice cream, I went with Three Twins Madagascar Vanilla. I wish I could say I chose this because it was organic, but in reality I was drawn to the higher grade vanilla they used. If you can find this brand, I would definitely use it. If not, go for the ice cream you think will add the best vanilla flavor to your shake. I hope this milkshake helps you cool down on the hotter days of summer!

Boozy Cherry Milkshake:
1 pint vanilla ice cream
1/4 cup milk (feel free to add more to reach the desired thickness)
1 scant cup tart cherries
4 oz bourbon

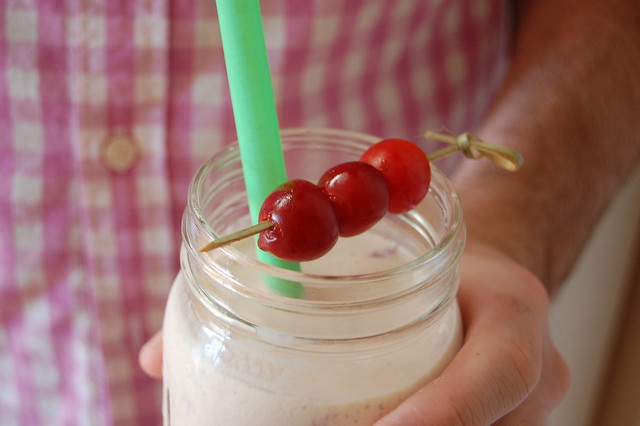
Combine all ingredients in a blender, and blend until its is as smooth as you like. Split between two glasses. Garnish with skewered cherries. Enjoy!

XO
Pat and Robbie

DSC_0879

Wednesday, July 15, 2015

Classic Cocktail: Pimm's Cup

DSC_0882

DSC_0915

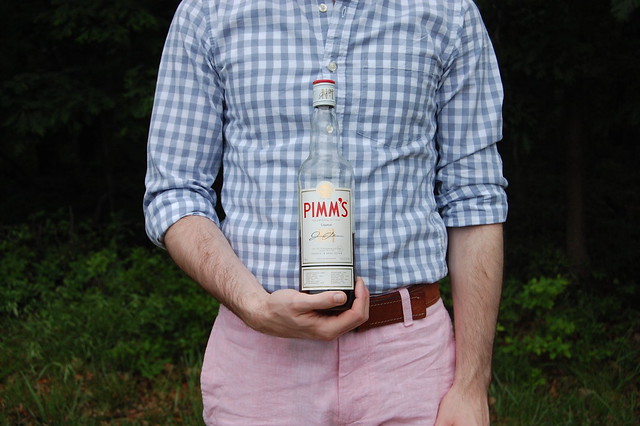
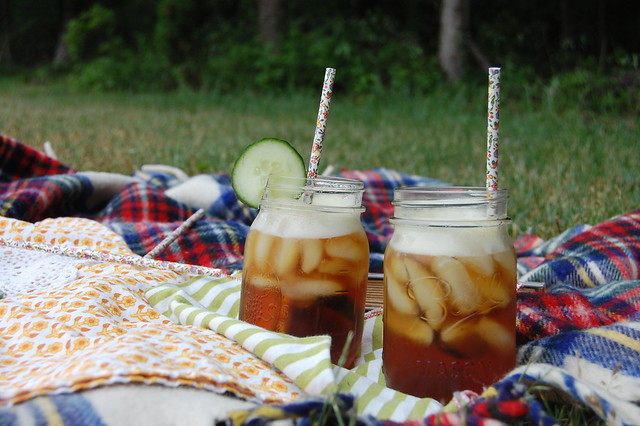
A common question I get as a bartender is "What is Pimm's?" Pimm's Cups appear on a lot of specialty cocktail lists, but its dark color and complex taste make this liqueur mysterious. Many popular liqueurs have single note flavors such as orange, ginger and elderflower. Pimm's, however, falls into a category of European liqueurs flavored with a secret blend of spices, fruits and herbs.

DSC_0886

DSC_0891

More specifically, Pimm's is one brand of fruit cup, which is a botanical flavored liqueur intended to be mixed with a fairly neutral mixer to make a light summery cocktail. Most fruit cups are gin based, and Pimm's No. 1 is no exception. If you aren't a fan of gin, you shouldn't let that fact scare you off from Pimm's; the strong juniper taste of gin that many find off putting is subdued in the flavoring process. At one point there were six varieties of Pimm's all with different base spirits, from rum to scotch, but the only varieties left are the classic gin based No. 1 and the vodka based No. 6, made in small amounts.

DSC_0894

DSC_0912

In England, Pimm's is held in the highest regard. The Pimm's Cup has become one of the most popular drinks to enjoy during the events that make up England's social season, such as the Henly Royal Regatta, Wimbledon, and the Chelsea Flower Show. Peerage is by no means a necessity to enjoy this drink; whether you're at a polo match, or enjoying a sunny day out back, you can easily mix you and your friends a few Pimm's Cups.

DSC_0920

DSC_0942

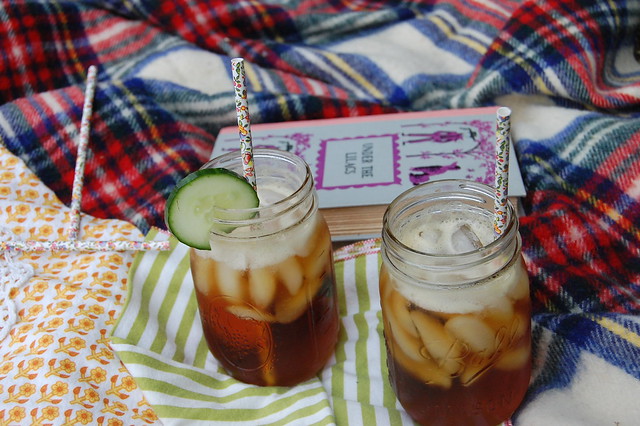
Alone Pimm's has a flavor similar to that of cola, so the most commonly used mixers tend to have light flavors to balance it. Sparkling lemonade, gingerale and sparkling wine are the most popular ones. Most fruits will serve as an acceptable garnish (blackberries and cucumbers are my personal favorite additions).

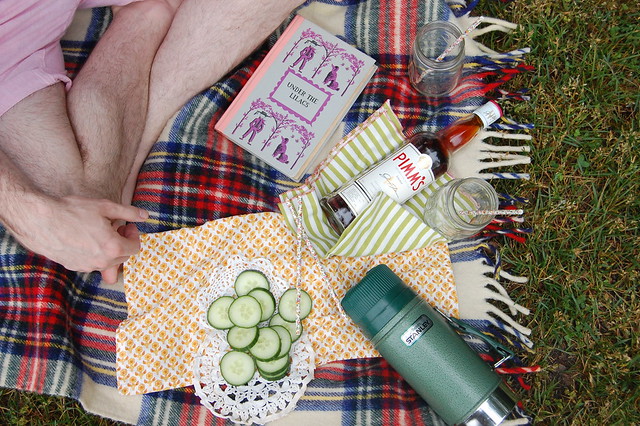
Robbie and I ventured out to enjoy an afternoon of reading classics and sipping on Pimm's Cups using my favorite recipe. Although I hope you enjoy my recipe, I'm interested to hear what all of you are using to make yours. Make sure to share your own creations with us!

Pimm's Cup:
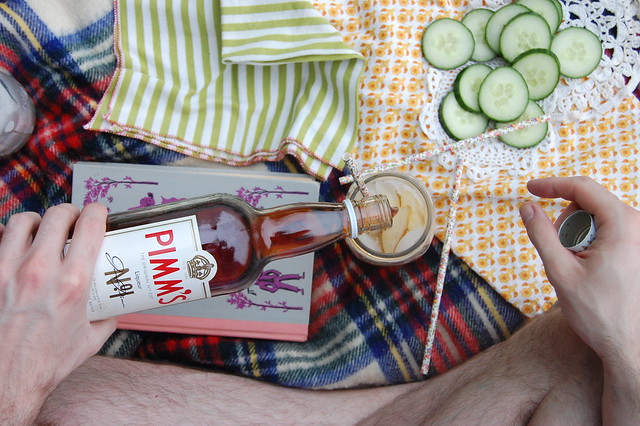
2 oz Pimm's No. 1
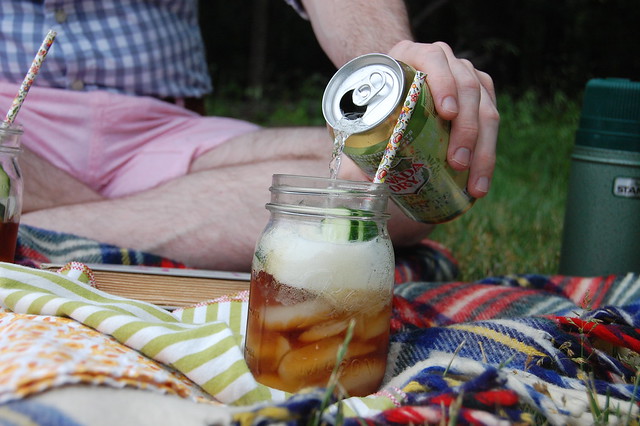
Canada Dry Green Tea Gingerale
Sliced Cucumber

Fill a glass with ice and a handful of sliced cucumber. Add Pimm's and top with Green Tea Gingerale.

DSC_0924

Enjoy!

XO
Pat and Robbie

Tuesday, June 16, 2015

The Martha Project: B is for Botanical Prints // Sun Printed Throw Pillows

DSC_0763

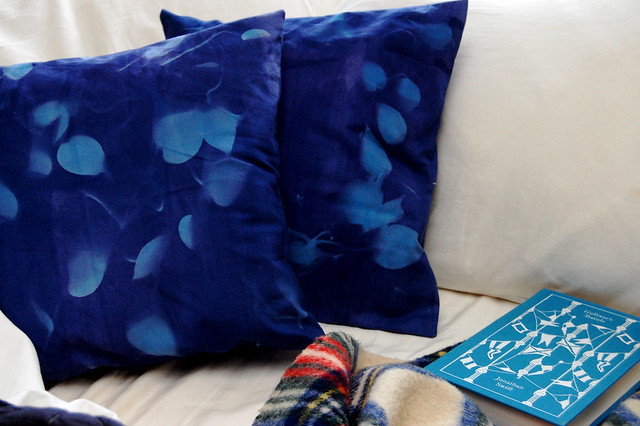
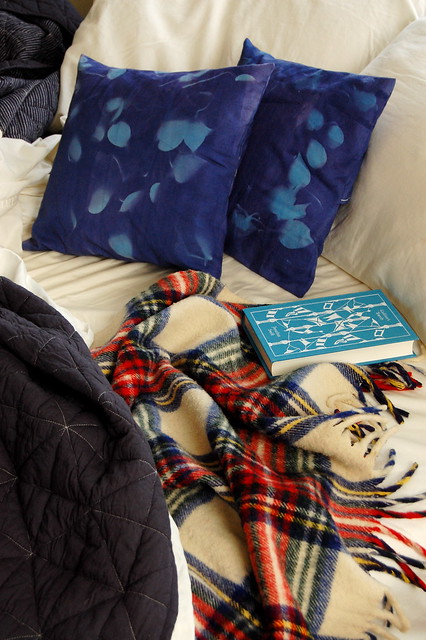
I've been DYE-ING to make these for ages. There's something so magical and ghostly about sun prints that instills a little quiet and a lot of style. Our bedroom is where almost all of our non-edible houseplants live, and with the exception of the green has been largely white and grey for the past year or so. So not only do these pillows mirror our botanically inspired bedroom, but they also bring a dose of much needed color to our cozy little nook.

DSC_0761_2

We haven't even started and I already have to confess our first modification to original tutorial (in the Martha Stewart Encyclopedia of Craft; page 68). Sun print fabric is VERY expensive. Like upwards of $30 a yard. However, I was obsessed with the idea of using a beautiful silk velvet cyanotype fabric to make these pillows. After pacing around the living room and checking my credit card balances, I decided to take the plunge. I mean, I would really only need around two yards. I filled out the form to make my purchase, hit place order and wondered how many lattes I would have to forego after this purchase.

"We regret to inform you that we are not currently shipping to your area."

What?! What does that even mean?

It means we're driving to the craft store to come up with a back up AND we're getting coffee on the way.

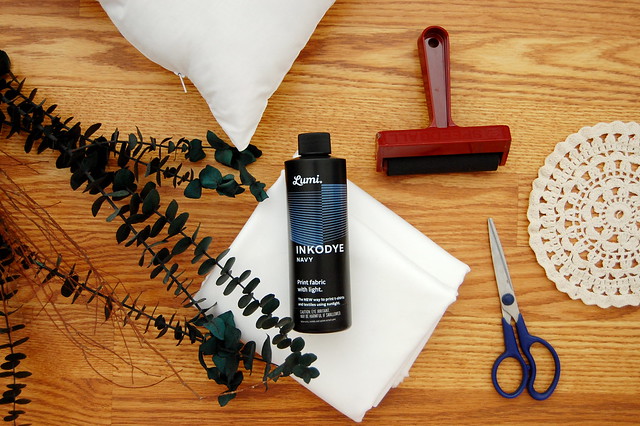
After picking up lattes and wandering around Michael's for half an hour, we found our answer in the clearance section. INKODYE! A light sensitive fabric dye. I didn't even know this was a thing. A thing that costs $6! We win and drive home.

DSC_0774_2

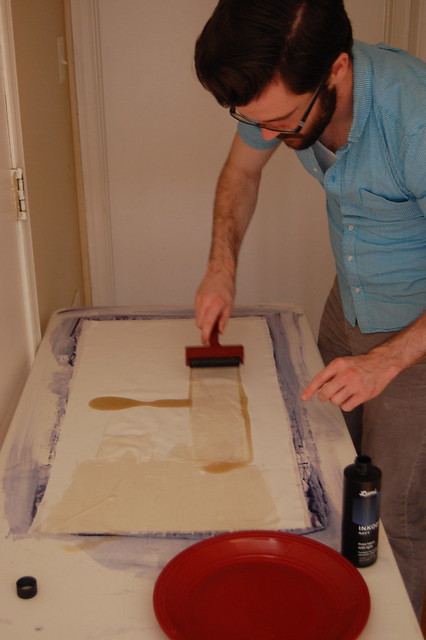
Not nearly as elegant as silk velvet, this stuff was a mess and it smelled like hot bleach. Patrick was such a champ for jumping in and spreading this stuff onto the fabric with a brayer. IN THE DARK. Yes. It's photo sensitive. You have to avoid as much light as possible. That's why the above photo is awful. We had to this in our halfway, with all of the doors closed.

DSC_0763_2

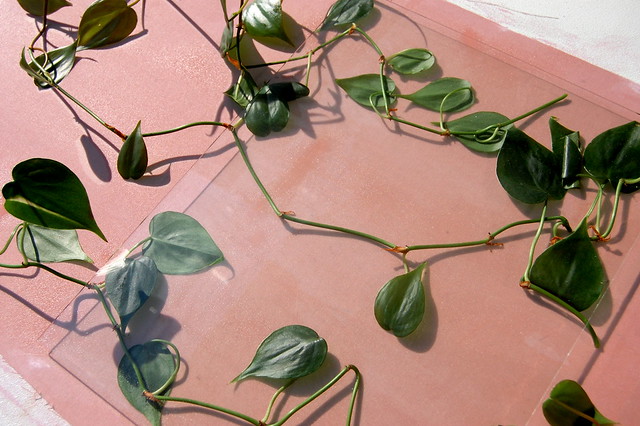
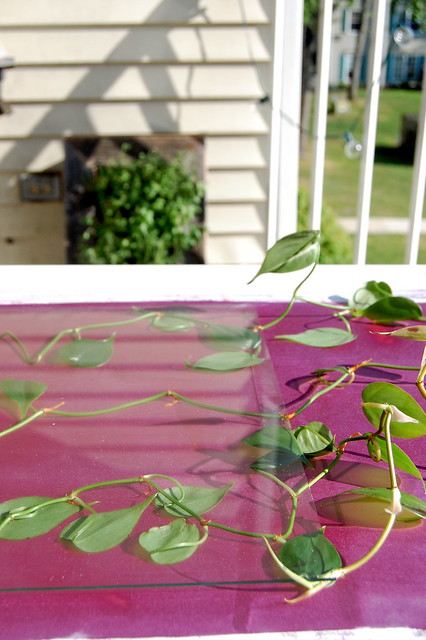
But this stuff is pure magic. This was what happened in the first minute or so. We used glass from old picture frames to hold down clippings from our pothos.

DSC_0766_2

This is what it looked like after around 7-10 minutes. Crazy, right? If you want to see the finished color, scroll up or down! (There's also a time lapse video on Patrick's Instagram: @phanlin12)

DSC_0777_2

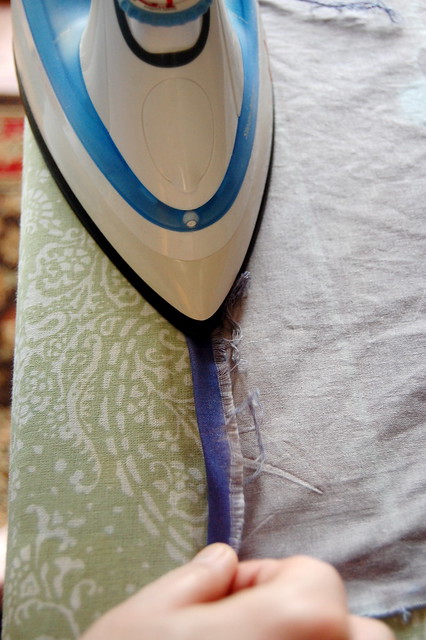
We chose the absolute easiest pillow tutorial on the Martha Stewart site, which is only two hems and two seams. We spent more time ironing than we did sewing. Minutes. This project seriously only took half of an afternoon.

DSC_0765

Have you sunprinted anything? How did it go?

XO

Robbie + Patrick
Thursday, June 4, 2015

Cocktail: Rhubarb-Apricot Tonic

DSC_0882

DSC_0873

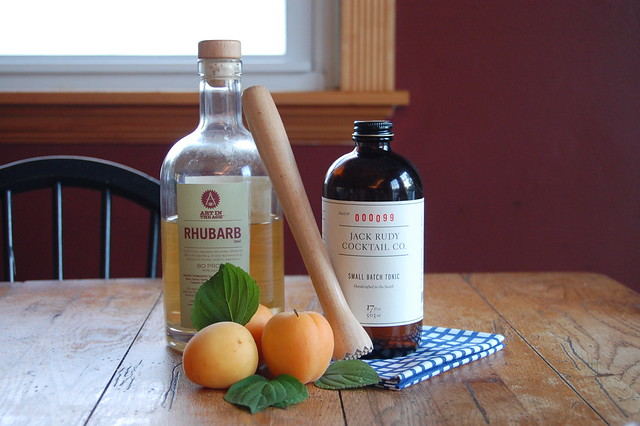
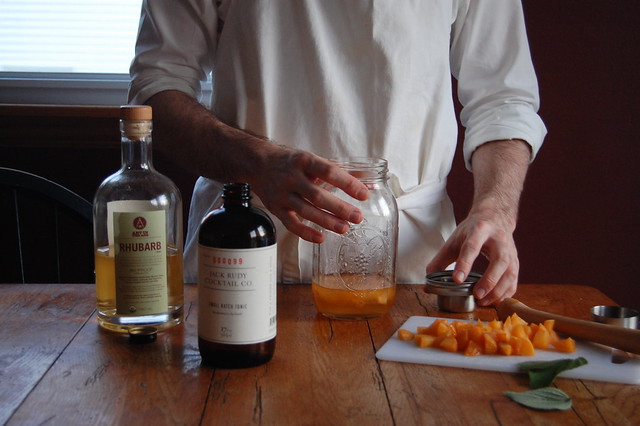
Ever since Robbie and I bought a bottle of Root, we have been obsessed with Art in the Age libations. You might remember that we used their Sage garden gin to make our own version of a Last Word on St. Patrick's Day. Most recently, we picked up a bottle of Rhubarb Tea and I immediately fell in love with its sweet, crisp taste. Enjoy this video from Art in the Age; it's so cute!


DSC_0912

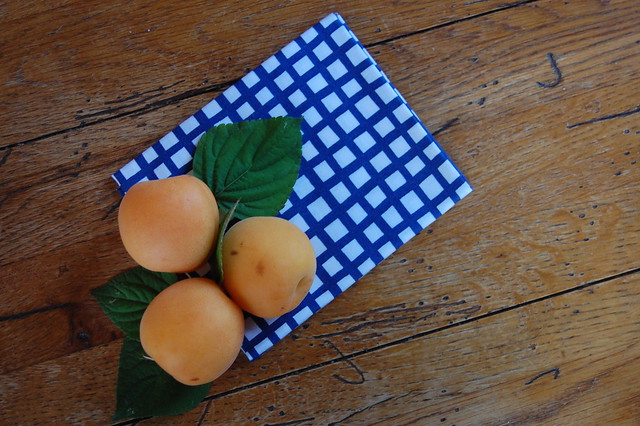
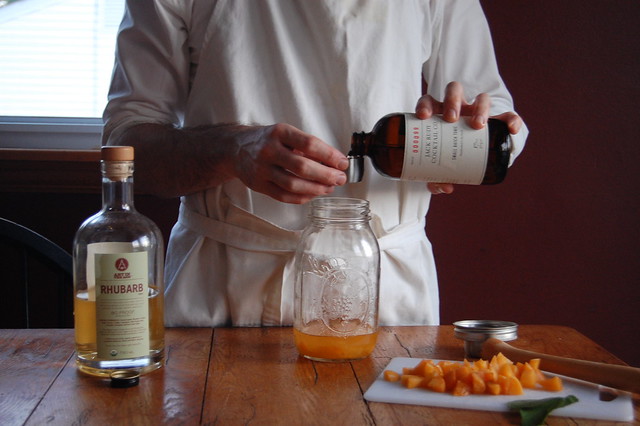
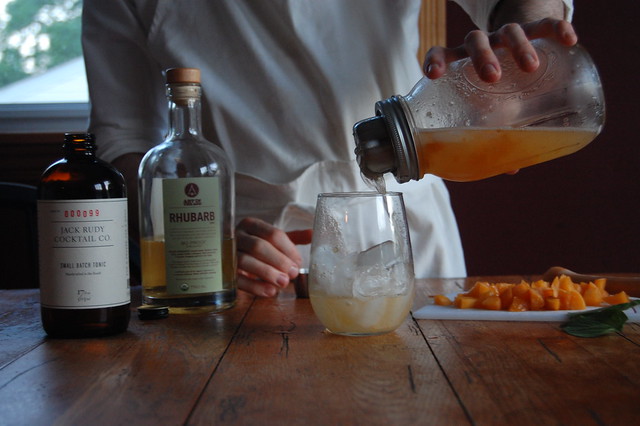
After a trip to the farmers market, I was very excited to use apricots in a cocktail with the Rhubarb Tea. Both have slightly delicate flavors, and neither would overpower the other. Keeping true to our roots, I pretended it would be simple; a Rhubarb-apricot tonic. We used a small batch tonic concentrate, and I highly recommend you buy yourself a bottle of Jack Rudy.

DSC_0910

DSC_0923

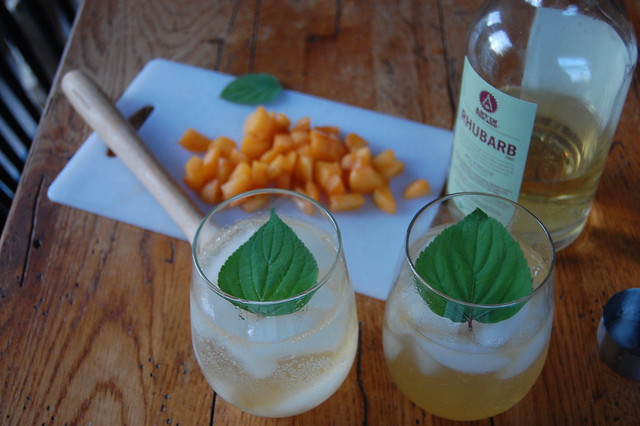
This cocktail is a light and refreshing, perfect for picnics and barbecues. We garnished ours with Tangerine Sage that we found at Terrain after taking a Garden Cocktail workshop. We bought a ton of hybrid herbs on our last visit, and I was so eager to use one with this drink. We enjoyed our drinks with Shredded Chicken Mole Tacos. The slight sweetness of the cocktail balanced the assertive spice of the tacos nicely.

DSC_0932

Rhubarb-Apricot Tonic:
1/2 of an apricot, diced
4 ounces Rhubarb Tea
1.5 ounces Jack Rudy small batch tonic
Soda water

Muddle diced apricot with Rhubarb tea. Add tonic and ice. Shake and strain over ice in two rocks glasses. Top with soda water, and garnish with aromatic herb of your choice. Enjoy!

XO
Pat and Robbie