I have to apologize for our absence lately. The past few weeks we've been apartment hunting, but I am so excited to share that we finally found a place in Philly! It's in one of our favorite neighborhoods near all of our favorite businesses. Robbie and I are both so excited to get settled in and to make the place our own. A lot of the apartments we saw we're terrible; a partially underground split studio and a one bedroom sandwiched under and overpass and above an abandoned laundromat were the highlights/low points. I've been holding my breath since we saw this apartment; it seemed too good to be true, or unlikely that we'd get it. I think Robbie flirted with the woman at the management office to ensure we would get it.

Leaving all of our friends and family will be tough. I'm relieved that it will be easier for everyone to visit, compared to when I lived in Boston. I felt like I missed so much the first time I left home, but all my siblings are still just a short drive away. My oldest brother is getting ready for his first child, and I'm just as excited to watch him become a dad as I am about meeting little Joseph Timothy.
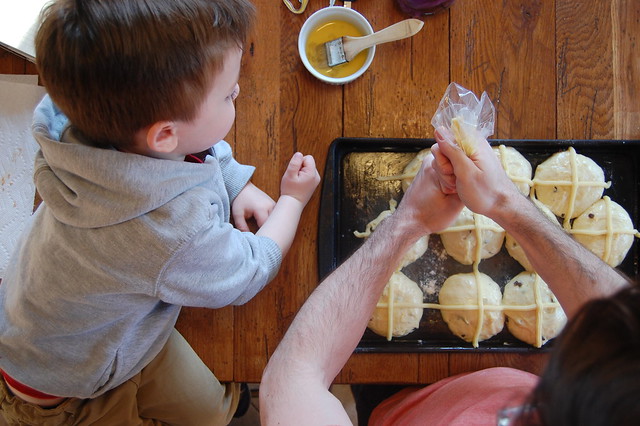
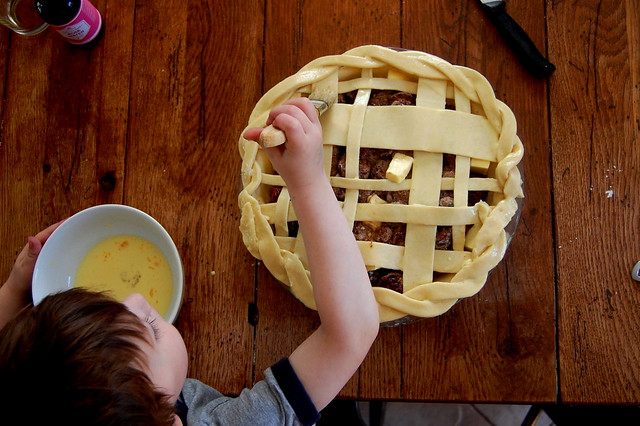
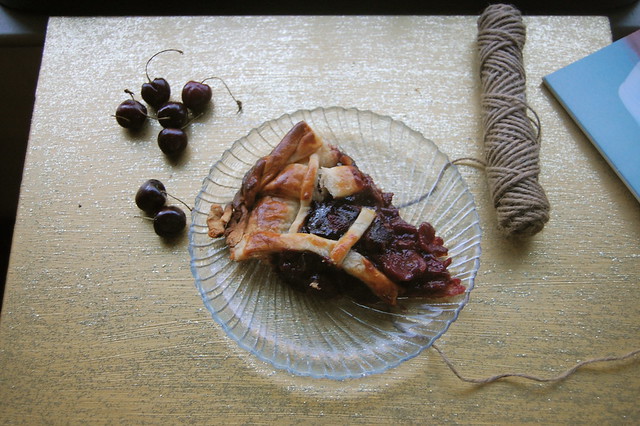
My brother and his family are also moving away this summer. Thankfully they're only moving to central Pennsylvania, which means they'll be close to us, and our place will become the family rest-stop. I still wish I had spent more time with all of them, but in the weeks before they moved I did get to see LOTS of my nephew Lucian. I decided to use this cherry pie to bond with him, not that I needed it; I'm his favorite uncle. It was how my mom and I bonded, and still spend most of our time together. I hope the memories of cooking together stay with him the way it stayed with me.
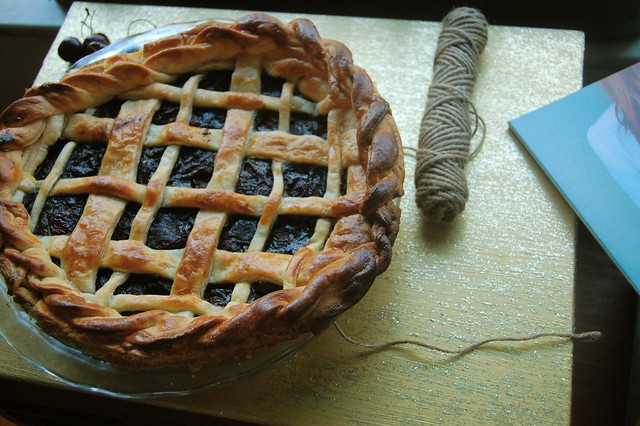
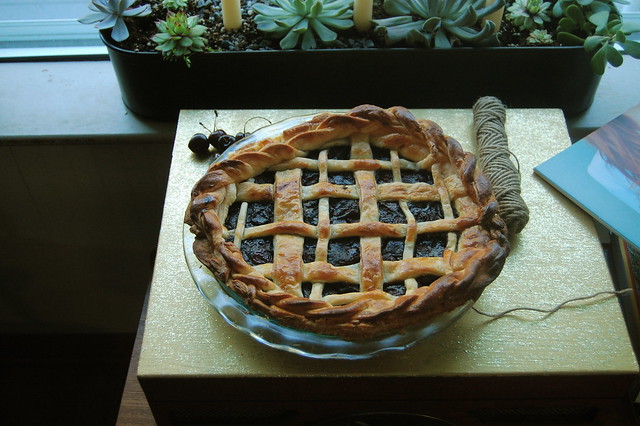
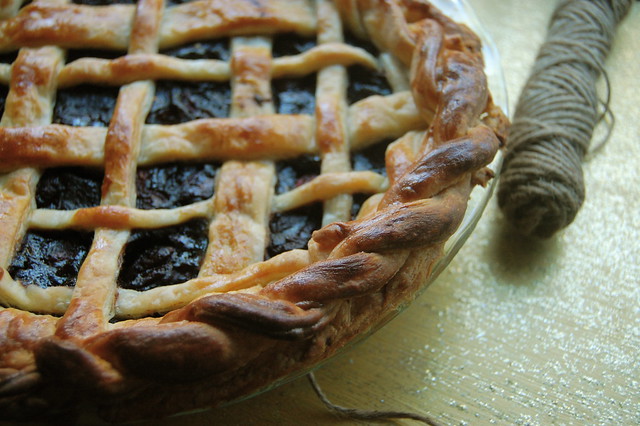
Date Sweetened Cherry Pie
For the dough:
1 lb grassfed butter, cut into cubes and chilled
2 1/2 c AP flour
1/2 tsp salt
1/2 c ice cold water
For the filling:
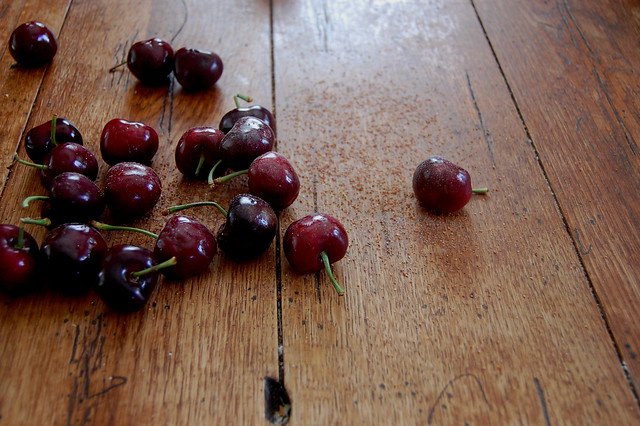
2 lb of bing cherries, pitted
1/2 c Bob's Red Mill date sugar*
2 tbsp tapioca starch
2 tbsp grassfed gelatin
1/3 c water
3 tbsp of rosewater
For the wash:
1 egg
1 tbsp of cream
In a food processor, mix AP flour and salt. Add the grassfed butter and pulse until the butter is broken into pea sized pieces. Add all of the water and pulse until the dough comes together. Turn the dough out onto a workspace, and bring the dough together into a single mass. If there is extra unincorporated flour, add a tablespoon or two of cold water to add it to the dough. Divide the dough in half, shape each half into a disk thick disc, wrap in plastic wrap and freeze.
While the dough chills, begin the filling. Mix the gelatin with water. Heat the cherries in a pot over medium heat, stirring occasionally. After a few minutes the cherries will have released a significant amount of juice. Add the date sugar and continue to stir. The sugar will take about two minutes to completely dissolve. When the cherries no longer look gritty, add the tapioca flour. Stir the cherries until the tapioca flour is incorporated, and pour in the gelatin and rosewater. Cook for an additional two minutes, and turn off the heat.
Take one half of the dough out of the freezer. Roll it out on a floured surface. Make sure to rotate and flip the dough constantly. When you have the dough 1/8 of an inch thick, line a 9" pie pan with it. Trim the excess and move it to the freezer. Preheat the oven to 425 degrees.
Wait until the cherries have reached room temperature before working on the second half of the dough. Take the second half of the dough, and roll it out the same way the first half was. Be creative here! If you've done a lattice top, get messy and try something new. You can do an extra thick lattice, or a plaid lattice, like mine. You can do one cut out shapes to lay on top. When you've cut the dough for your desired topping, remove the lined pie pan from the freezer. Fill the pie with your cherry mixture. Weave the lattice top, or top with cut out shapes. If you have extra dough, make a braid or twist to go around the edge of the pie. If you don't, crimp the edge of the pie. Whisk the egg and cream together and brush the dough completely with the egg wash. Bake for 45 minutes. Allow to cool before serving.
* Bob's Red Mill date sugar has oat flour in it, so less thickeners are necessary compared to traditional cherry pie recipes.
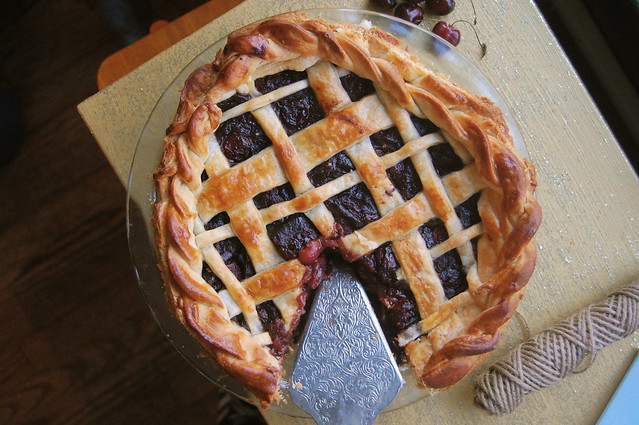
Enjoy!
Pat