Tuesday, September 29, 2015

GIVE // If You Continually Give, You Will Continually Have

DSC_0786

When I first started blogging, I felt so weird and lost and alone. I had a long list of hobbies that I was embarrassed to reveal in large groups. Things like knitting, holistic health and doing every from scratch seemed so difficult to explain to people, and when I did have the courage to bring something up, it was always met with adversity. ("You can buy a scarf instead of wasting your time knitting" or "If all of those herbs worked, modern medicine wouldn't exist") It was difficult to live as fully as I wanted.

But a few years of blogging has given me the confidence to embrace my realness. To live a life that's complete and full and even abundant. The reason? ALL OF YOU. You may not know, but you're my secret cheerleaders. I may wake up to an Instagram comment that not only brightens my day, but motivates me to do more. To be more. To be ME. I may get a Facebook message from someone I haven't seen in ages, explicitly cheering me on (even when their own life is hectic and overwhelming). I'm so grateful.

DSC_0778

As I dig out my own space, and you all bring your shovels and your smiles and support, things grow. Things are made. Unique, special things that are results of alchemy or collaboration.

Pat and I joke that we both have "internet best friends", but it's totally true.

Forest of The Rose Journals is one of those people. A few months ago, we agreed to a swap/barter situation after following each other of Instagram for a little while. He made me a beautiful fragrance with patchouli and vetiver and magic. It came so quickly and with a long handwritten letter. The was so much trust and authenticity in his gesture.

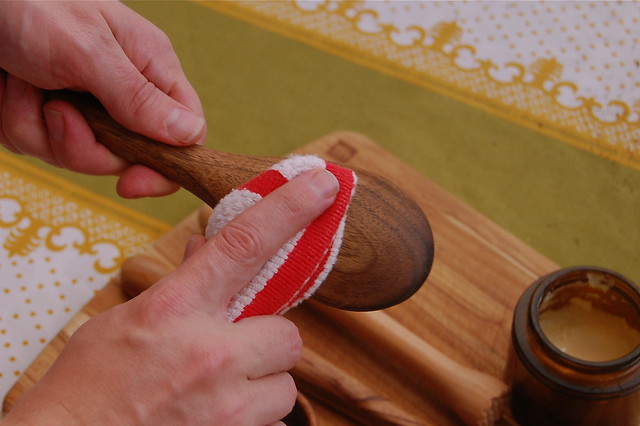
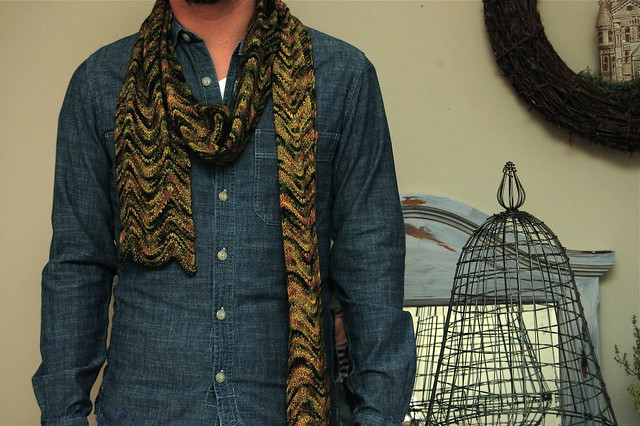
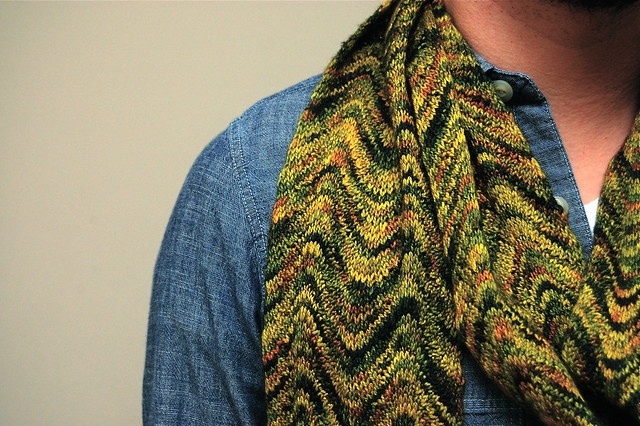
My end of our deal was that I would make him a scarf. I picked my very favorite yarn from my collection and a pattern that I have never knit before. It turns out that knitting a scarf out of sock yarn takes AGES. But he was patient.

This is what I sent him.

DSC_0772
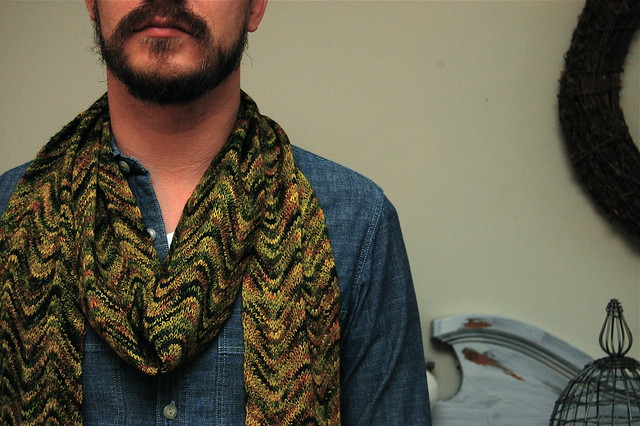
PATTERN: CHEVRON SCARF / YARN: EIDOS THE VERDANT GRYPHON

This is what I learned:

-Be connected to the things you give, receive with gratitude.
-Not all friends need to live next door, your people are everywhere.

XO
Robbie


Thursday, September 10, 2015

NESTING // Beeswax Spoon Butter

DSC_0759

With Autumn approaching Robbie and I have enter full nesting mode. Our apartment has been filled with the smell of various pots of broth cooking away for hours, and Robbie has recovered the batch of pumpkin pie spices that had been lost to the back of the spice cabinet. Much to his chagrin, I still think its too early to pull on our cabled sweaters and play the Bright Eyes Christmas album (as I write this the temperature outside is 80 degrees).

One of the projects we've done to prepare for the colder months was treating all of our wooden cooking utensils and cutting boards with beeswax spoon butter. Sealing wooden utensils with spoon butter helps prevent future damage and fills in cracks where damage has already occurred. Wooden cutting boards and utensils are amazing investments, or in my case my favorite gifts, and this recipe will help preserve them season after season.

DSC_0765

For this recipe you will need a small saucepan, a glass jar (used to make and store your spoon butter), beeswax pellets and coconut oil. The amount of beeswax and coconut oil you will need depends on the size of the jar you use. The ratio you should follow is one part beeswax to 4 parts coconut oil, as a large amount of oil is needed to make the beeswax spreadable.

1. Add enough water to your saucepan so that when the jar is added, the water level is halfway up the height of the jar.
2. Add the jar filled with the coconut oil and beeswax to the water and warm up over medium heat.
3. Once the beeswax has melted, stir the mixture and remove from the heat, taking care not to burn yourself on the jar.
4. Allow the contents of the jar to cool until it is room temperature.

At this point you can use your spoon butter by taking a small amount and rubbing it on your utensils with a napkin or paper towel until it has a soft glossy finish. I highly recommend using this at the beginning of each season!

XO
Pat

DSC_0764

Wednesday, September 2, 2015

The Martha Project: C is for Candle // Teacup Candles

DSC_0826

These candles are adorable, right? We were both really excited to make them. Like more excited than both the shadow box and the sun-printed pillows. Mostly because they would make really great simple gifts. They had already had homes before we even started. one would go to one of our best internet friends, Brett and one to Patrick's mom. We spent a week scouring thrift shops and antique stores looking for the perfect teacups. I wanted something classic and simple, and Patrick was looking for something a little more whimsical.

Sometimes I feel fancier than Martha. I know. Is that even possible? It's not. SHE DOES ALL THINGS PERFECTLY AND HER DIRECTIONS (when followed exactly) ARE FLAWLESS. I saw that these candles called for melt & pour soy wax, but thought "We're so much better than that. We don't need melted phytoestrogens and vaporized GMOs floating around our home. We'll use organic beeswax and it will purify the air. We're so rustic and health conscious!"

DSC_0762 DSC_0796

And so we made a double boiler and a magical little autumnal spice blend, then melted the wax. No microwave or any sketchy shortcuts. It smelled beautiful and warm. Everyone would thank us for giving them candles that cleaned the air and improved all other aspects of their lives. These really were the most amazing candles.

But they weren't.

Apparently, all wicks are NOT created equal. The wicks burn MUCH faster than the wax. The candles burned themselves out in just few minutes.

We'll melt out the beeswax and use it for body care, and keep the teacups for fancy mornings.

DSC_0824

So, we learned a valuable lesson three crafts into The Martha Project: Martha knows best. Use the appropriate tools, follow the directions exactly, and always trust the queen. YASSS.

XO
Robbie