
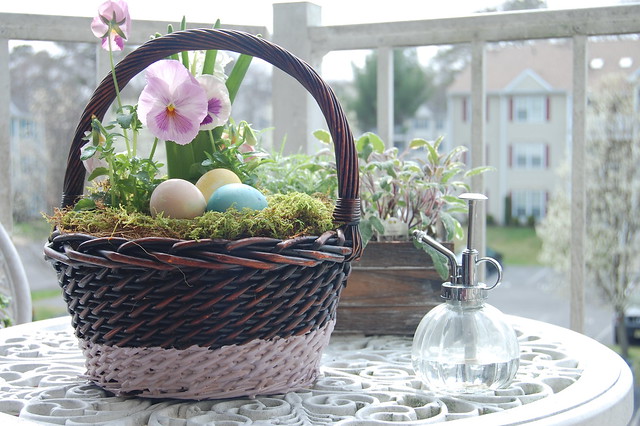
On a recent thrifting adventure, Robbie and I found a basket that reminded us both that Easter was soon. It has been years since I've dyed an egg or received an Easter basket, so I thought it would be fun to do an Easter craft. After seeing a paint dipped tote online, I thought this would be the perfect opportunity to try this craft.
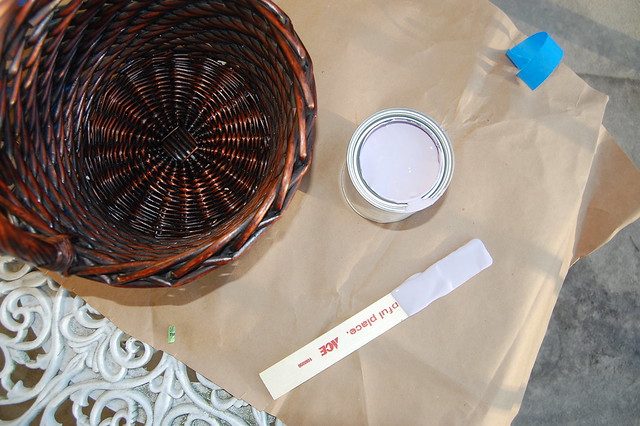
I originally loved the idea of dipping the basket in a container of paint, but the amount of paint necessary to do this was anything but economical. The two of us went to hardware store, so we would have plenty of options when it came to the color of paint. We decided on a light lilac color that we thought would provide the perfect contrast against the dark brown of the basket.
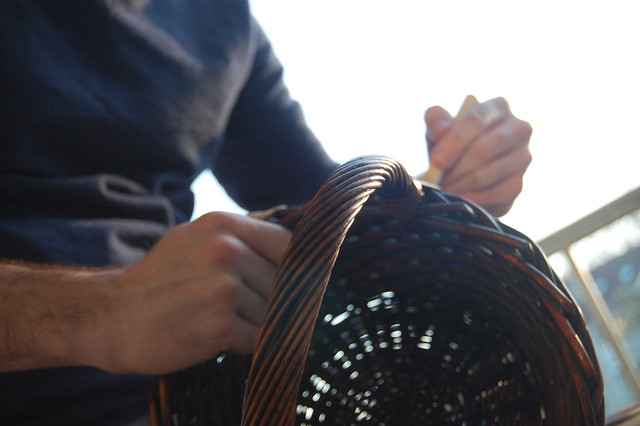
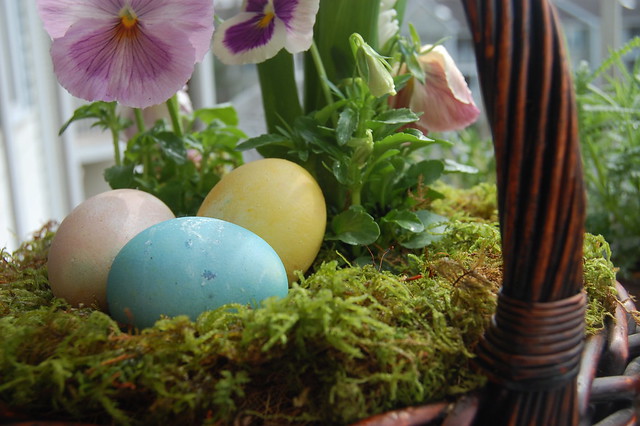
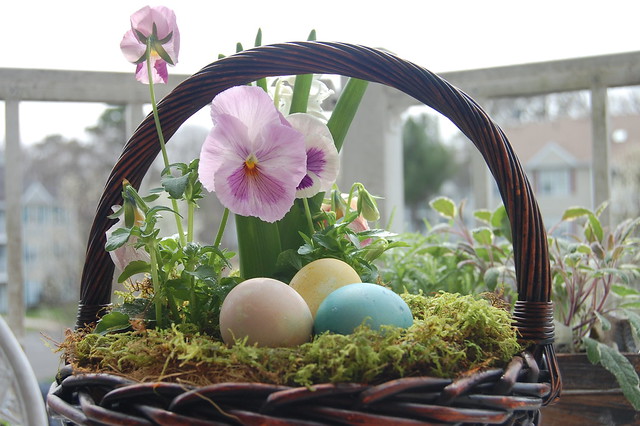
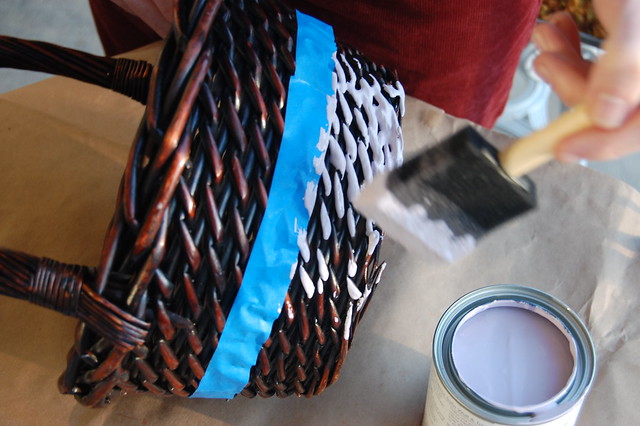
Taping and painting took a lot of patience. The spiral of the basket made it difficult to keep the tape in a straight line, but Robbie came up with the idea of using his finger to make sure the tape was at the same height all the way around. If I had to do it again I would have used a brush with bristles, rather than a sponge. Bristles will make painting every part of the basket much easier. Once the basket was painted and had dried, we used coconut hair to line the basket. After placing the hyacinth and pansies in, we filled the gaps with potting soil. For a final touch we topped the soil with moss that we used to line our terrarium.
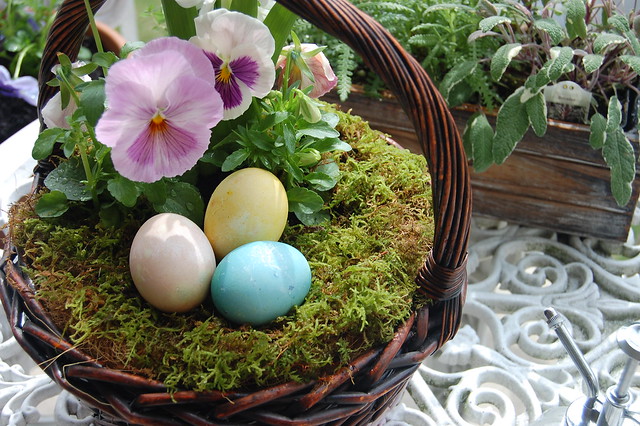
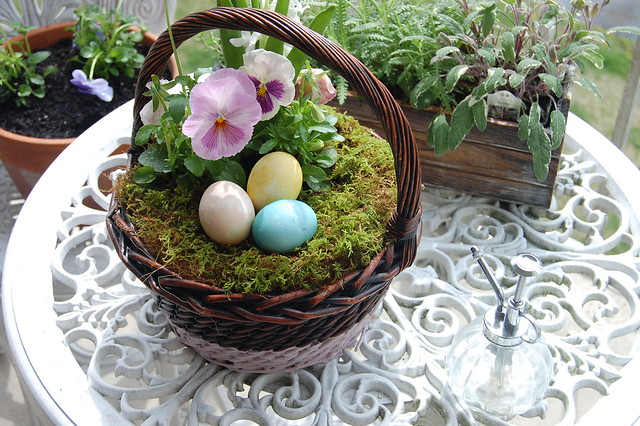
We used our basket to hold our naturally dyed Easter eggs, tips for which will be in our next post!
XO
Pat