Wednesday, March 23, 2016

MAKE // PLANTED EASTER CENTERPIECE


Easter is usually a difficult holiday for me. It means accepting that the winter is over and that we'll be forced into short pants and tank tops far too soon. Popsicles will melt quickly and lead to sticky hands and cuddling under piles of blankets will be something we only think about in overzealous air conditioning. I really love the cold seasons.

There is one exception. I love flowers! Of all sorts, really. Old fashioned portulaca and pansies, clumsy ranunculus, and even marigolds make my heart swell. The first daffodil to peek through the snow is enough to keep me smiling for days. Naturally, flowers are an important part of our Easter decor--even if their petals are waving goodbye to warm fires and hot coffee.

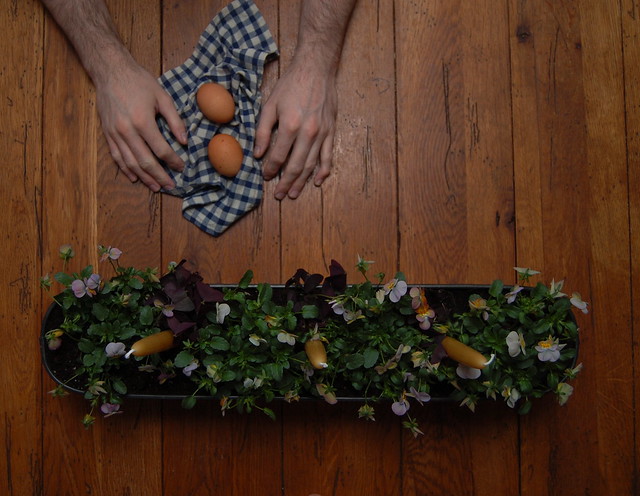
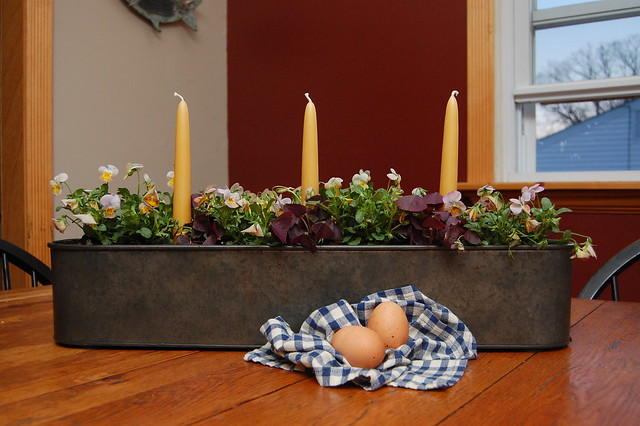
After browsing the Terrain site with Patrick's mom for easter decorating ideas, we kept coming back to this plantable iron trough with candle holders welded on the inside. I hesitated ordering it, but Patrick and I decided to change our weekend plans and we ended up in Glen Mills anyway. I picked up the trough right away and got to designing.


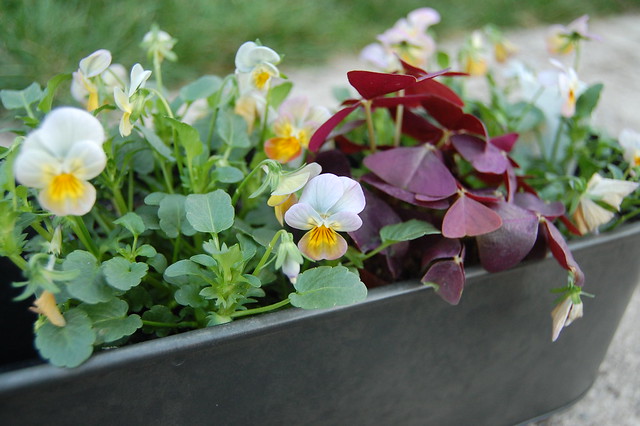
Terrain has beautiful natural beeswax candles, and I absolutely cannot resist anything in yellow. I opened the package in the store and began holding them up to different kinds of pansies. I kept coming back to the Antique Apricot variety. I absolutely adore the Oxalis--since they've been planted, they've sprouted tiny purple flowers--and they broke up the pansies nicely. For once, my enthusiasm and lack of editing skills paid off.

    CANDLE CENTERPIECE TROUGH    PURE BEESWAX TAPERS   /   DR. EARTH ALL PURPOSE FERTILIZER

We got everything home after an amazing day of shopping and an incredible dinner at the cafe, and planted the trough with regular potting soil and a fantastic fertilizer we found last year at a herbal planter workshop.

Looking at this centerpiece really is easing my vernal anxieties. Maybe I'll even go outside and get some fresh air tomorrow--at the very least, I'll crack a window.

We have so much to share this week! Stay tuned!

XO - Robbie

Tuesday, March 1, 2016

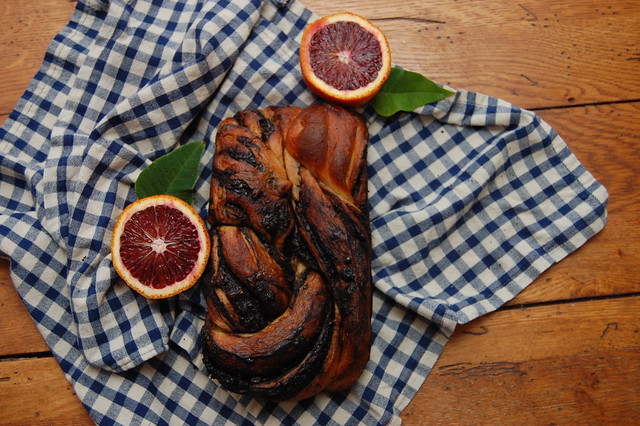
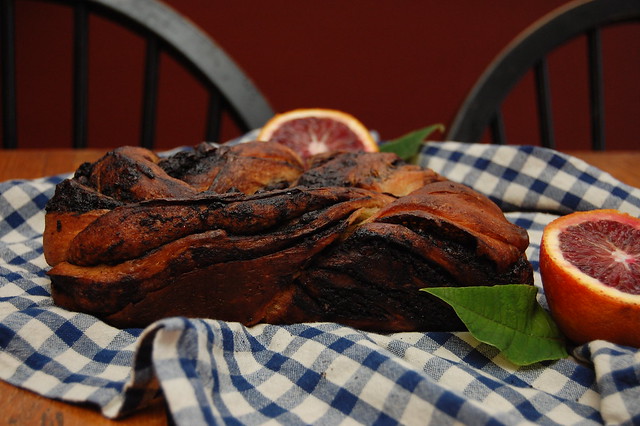
RECIPE // Blood Orange Espresso Babka

DSC_0799

About a year ago, Robbie and I decided to get rid of all TV except for basic cable. We had flipped through hundreds of channels without finding anything to watch, and realized that this scenario was occurring too frequently. It was so nice to go from watching TV every day to only watching it occasionally. Since then we have relapsed once, but during this cable-less period I discovered two of my favorite shows. The first was A Chef's Life, a PBS docuseries about a Southern-born, New York chef who returns home to open a farm-to-table restaurant. The second was The Great British Baking Show.
DSC_0756

In the UK the show has been on for six seasons, but PBS has only aired the last two seasons. If anyone knows where I can watch the previous four, I would be forever indebted to you. The show is a baking competition, but it is the farthest thing from cooking competition shows in the US. Twelve bakers leave for the idyllic English countryside to leisurely cook. The cut throat attitude you're used to is gone; the bakers spend almost as much time helping each other as they do baking their own pastries. To make it even more relaxed, the bakers are get to practice and perfect their recipes during the week leading up to each episode. This show is the most relaxing thing to watch on TV.
DSC_0788

On one episode the bakers were tasked with baking a pastry similar to babka. I've always wanted to make babka because its a close relative to my favorite bread, brioche. You basically roll out brioche dough super thin, cover it in a chocolate filling, roll it up, twist it into a loaf, and bake! Procrastination got the better of me though, and it was pushed to the back of my mind. Some time later I was watching PBS again, when Martha Stewart came on to bake, of course, babka. It seemed like a divine message brought to me by the Public Broadcasting gods. I couldn't ignore it. So if you have also seen that episode of the Great British Baking Show, and that Martha Stewart special, don't ignore this third message to bake babka.
DSC_0767

Blood Orange Espresso Babka

For the dough:

1 package of yeast
1/3 c of milk, room temperature
3 tbsp + 1/2 tsp of sugar
zest of 2 blood oranges
4 large eggs
2 3/4 c of flour
2 tsp salt
1 c + 4 tbsp unsalted grassfed butter, softened and cubed

For the filling:
8 oz of bittersweet chocolate
1 c unsalted grassfed butter, softened
3 tbsp of instant espresso powder
1/4 c of 100% dark cocoa powder
1/4 c of sugar

For assembly:
Unsalted grassfed butter
1 egg
2 tbsp of cream

For the glaze:
Juice of one blood orange
3 tbsp of sugar

Begin the dough by mixing the yeast, milk, and 1/2 tsp of sugar in a bowl. Let stand for 10 minutes, or until the yeast begins to bubble.

In a stand mixer with a dough hook attachment, combine the milk mixture with the remaining sugar, blood orange zest, eggs, flour, and salt. Mix on low speed for 5 minutes. Slowly add the butter, while increasing the speed to medium. Once all of the butter is incorporated, continue to mix for 10-15 minutes, or until the dough comes away from the sides of the bowl. Move the dough to a floured bowl and cover with linen or plastic wrap, and let rise for 2 1/2 hours, or until it has doubled in size.

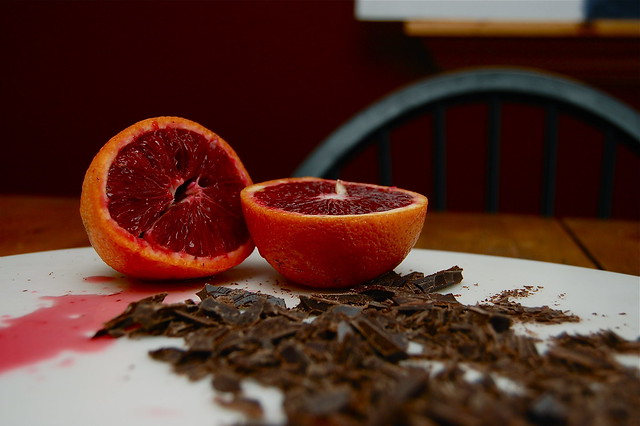
While the dough rises, make the filling. Chop the bittersweet chocolate as finely as possible. Crumble all of the ingredients for the filling together. The smaller the pieces are, the easier it will be later. Divide the filling in half.

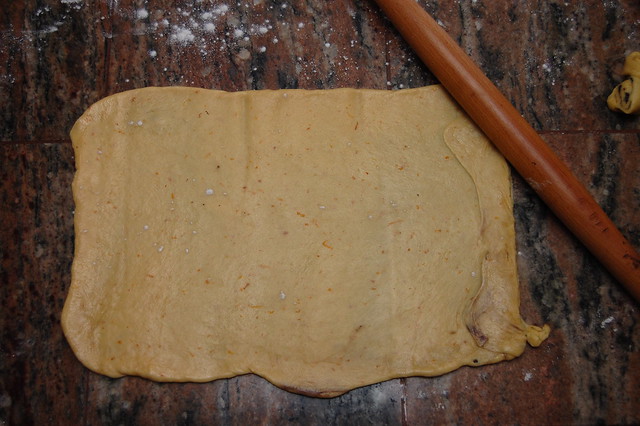
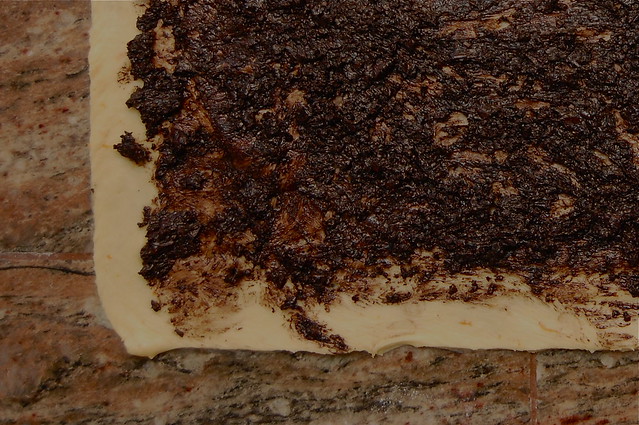
Once the dough has finished rising, punch it down and divide it in half. Take one half of the dough and begin to roll it out on a floured surface. Continue to roll it thinner into a 14x18 inch sheet. Take one half of the filling and spread it evenly over the surface of the dough, leaving a 1/2 inch gap on all sides. Starting at a short end, roll the dough onto itself, until you have a 14 inch long roll. Wrap in parchment paper and put it into the freezer for 20 minutes. Repeat this process with the other half of the dough and filling.

Grease two 9x5 inch loaf pans with butter and line each pan with two strips on parchment paper going lengthwise and widthwise. This will make removing the loaves so easy. Take the two rolls out of the freezer and uncover. Trim a half inch of dough from each end of both rolls. Cut each roll in half, lengthwise. Take two halves of one roll and begin to place them in a loaf pan. Starting at one end, twist the loaves around each other until both halves fit snugly into the pan. Repeat this process with the other two halves. Cover the loaves with linen or plastic wrap and put them into the refrigerator. Allow them to rise overnight.

The next day, remove the loaves from the refrigerator and allow to come to room temperature. Preheat the oven to 375 degrees. Whisk an egg with 2 tbsp of cream, and brush over both loaves. Bake the loaves for 30-35 minutes or until they have reached a deep golden brown color.

While the babka bakes, start the glaze. Stir the blood orange juice and sugar in a saucepan, and bring to a boil over medium high heat. Once it has reached a boil, remove the glaze from the heat. Remove the babka from the oven and transfer to a wire cooling rack. Immediately brush the babka with your blood orange glaze and allow to cool.

Enjoy!
Pat
DSC_0810

Tuesday, February 16, 2016

RECIPE // Beet Brownies

DSC_0961

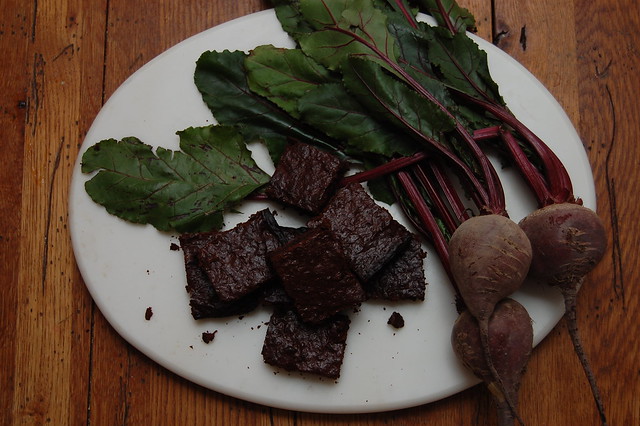
I love beets! I just thought you should all know that. It's my favorite vegetable to incorporate into any meal. Whenever I'm at the grocery store, at a loss for what to make for dinner, I always gravitate towards them. Up until recently I've used them only in savory dishes, but I've been thinking about adding them to a dessert for a while now. We all know about the famous Tiger in a Jar Beet Cake video; I'm still not sure which is more beautiful, the cake or the styling. I've had beets and goat cheese together more times than I can count, but now I am ready for beets and chocolate. Make sure you check out the list of my favorite beet filled foods under the recipe!

DSC_0787

In case you missed my last post, January was a pretty busy month for me and Robbie (packing, moving, deciding how long we could keep our Christmas tree up). Cooking meant working with only the things that hadn't been bubble wrapped yet. Brownies seemed like an easy enough dessert to make, but as Robbie will tell you, I never let ANYTHING become too easy. In my defense, Robbie did remind me that I should try combining beets and chocolate.

DSC_0852

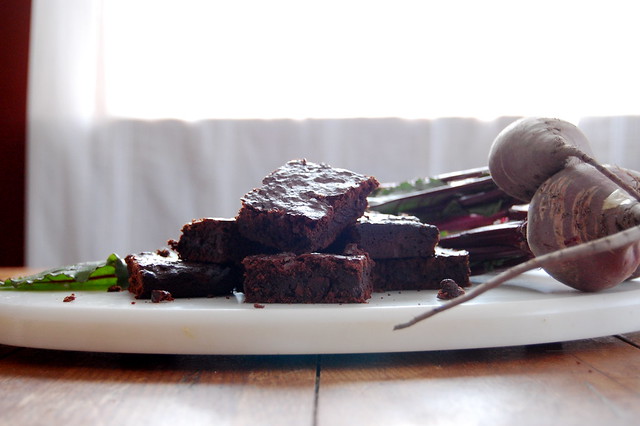
When it came to brownies, texture was a source of tension in our house. My mom and I are fans of dense, fudgy brownies, but my dad and my sister preferred theirs more cake-y--why wouldn't you just bake a chocolate cake?. If you're like me, you'll love this recipe for fudgy beet brownies. If you're like my sister, you should still try this recipe; she ate one anyway.

DSC_0905

Beet Brownies:

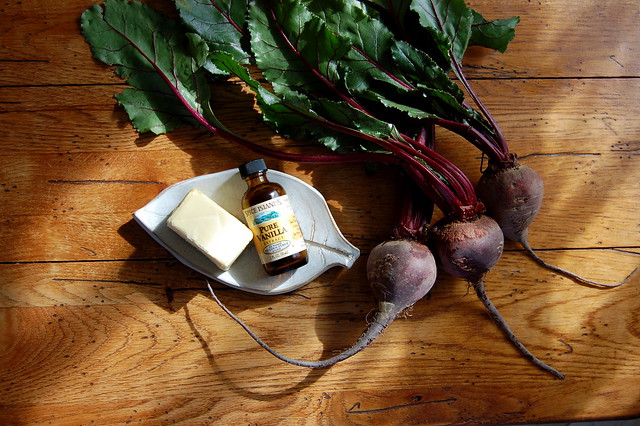
6 medium sized beets, stems removed
1 c of unsweetened cocoa powder
1 1/2 c of sugar
1 tsp of salt
10 tbsp of unsalted grass-fed butter, melted
3 eggs
2 tsp  of vanilla extract
1/2 c all purpose flour
4 oz of  bittersweet chocolate chips

Steam the beets whole for 45 minutes. Plunge into ice cold water. When cool, peel and finely grate. Set aside.

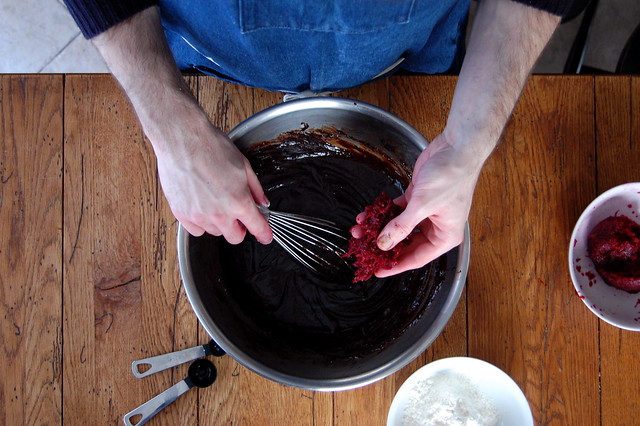
Preheat the oven to 350 degrees. Combine cocoa powder, sugar, and salt in a large mixing bowl. Whisk in the butter, followed by the eggs and vanilla extract. Fold in the flour, chocolate chips, and grated beets.

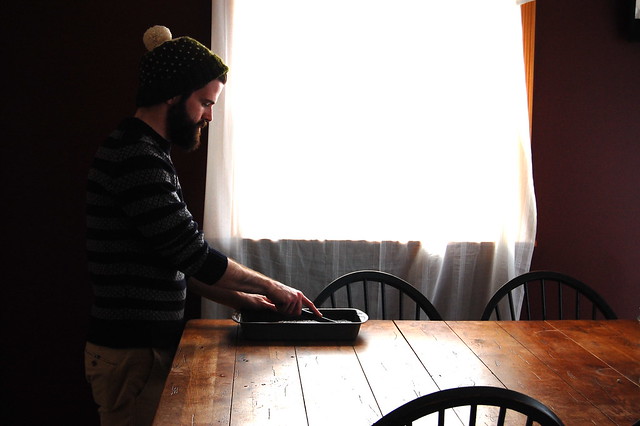
Grease a 9x13 baking pan with butter. Fill the pan with batter and spread to evenly distribute. Bake for 25-30 minutes, or until a toothpick comes out of the brownies cleanly.

Enjoy!

DSC_0915


FOR MORE BEETS!:

-- Check out this recipe for golden beet and smoked paprika hummus from Food52. For at least two months, I was making this once a week.

-- If you want more beets and chocolate, try the beet hot cocoa recipe from Fox Meets Bear.

-- For South Jersey Shore locals--or tourists--stop by Greens and Grains in Northfield for their Beet & Berry smoothie.

XO
Pat!


Friday, February 12, 2016

SELF-CARE // VALENTINE'S DAY WARMTH

 DSC_0927 

We decided that self-love was going to play an important role in our Valentine's Day preparations this year. We spend so much time stressing over gifts or experiences we want to give the other, that we sometimes end up with ferocious neck beards and ferocious anxiety. Going into this holiday (Hallmark or not, we'll use any excuse to celebrate love) I wanted to make sure a sense of calm washed over us before we had to worry about competing schedules or unnecessary gifts (We just KonMarie'd and I can't even think of owning more STUFF--more on that later).

Our theme? WARMTH. It's been so cold out and we're adjusting to living in a new place, so comfort was our ultimate goal. We came up with a plan that soared straight past warm to totally hot!


We started our day with Bach's Rescue Remedy. We've only just started exploring floral essences, but there's definitely something magical about them. While this may not scream "WARM!" it subtly hinted at Spring and started our day off so very gently.

After breakfast we applied Patrick's favorite DIY mask; ACV and French Green clay, before dry brushing and filling the tub with Dr. Singha's Mustard Bath. We squished into the thickly scented, spicy tub together for the full twenty minutes, and talked about our plans for the rest of the day. 

I like to think that I'm a yoga guy, but I rarely have the opportunity to go. There's a beautiful Baptiste yoga studio near our new place that we are both very excited about. There's no better way to practice self-care and stay WARM, so we joined an early afternoon session; sixty minutes of the amazing Grace & Glory experience was exactly what we were looking for.

We headed home, showered, put on cozy sweaters and ended our day at one of the best kept secret Pho restaurants in the county; endless cups of jasmine tea and giant bowls of fatty broth wrapped around us.

We harnessed WARMTH through self-love. We shared the vulnerable experience of self-love. Insecurities and anxiety have melted away; we are now fully prepared to stand inside our love for each other.

 DSC_0929
Sending you all LOVE & WARMTH!
Happy Valentine's Day!
XO-Robbie

Wednesday, February 10, 2016

COCKTAIL // Valentine's Day Sloe 75

DSC_0893
Happy [almost] Valentine's Day! I hope everyone has something fun planned with their sweeties, whether that's a boyfriend, girlfriend, or obese cat. Robbie and I will both be working this Valentine's Day, but we decided to celebrate our own way a few days early. Rather than going out to a swanky restaurant, we decided to spend the day doing yoga and pampering ourselves before going to a hole-in-the-wall pho restaurant.  Somewhere between downward facing dog and slurping up rice noodles, I made Robbie a cocktail to say "I love you!"
DSC_0764

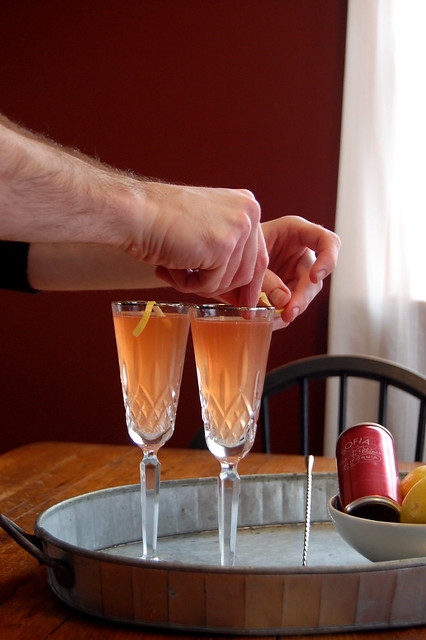
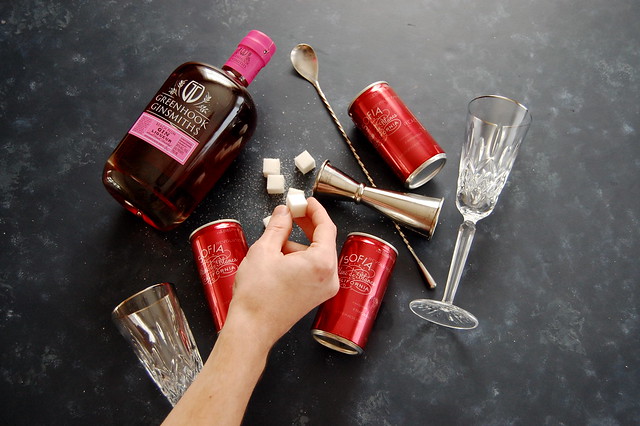
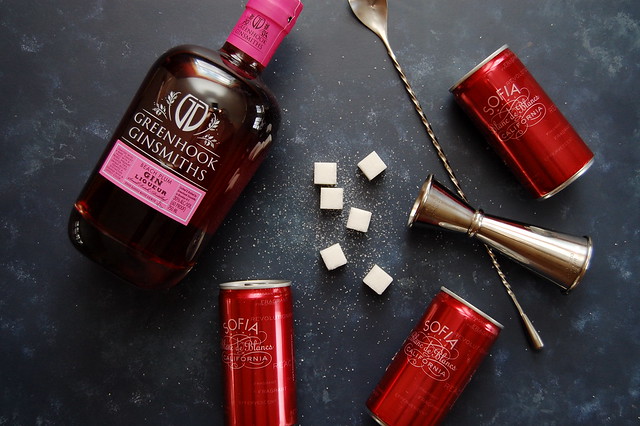
It was Robbie's idea to have a champagne cocktail; a bottle of Vueve is always a nice treat, but we thought it would be hilarious to use pink cans of bubbly. The cocktail we made is a twist on a French 75, which normally has gin, lemon and champagne. Ours uses Greenhook Beach Plum Gin, the American cousin of sloe gin. This summer, when Robbie would walk on the beach before he went into work, he would find secret spots where beach plums grew. It was my dream to forage them and make my own version of sloe gin, so I was pretty happy to find out that someone else had done just that.

DSC_0876

Pink and fruity aren't usually words that describe my favorite cocktails, but I'm pretty sweet on this plum flavored champagne cocktail. I especially loved how easy it was to throw together; you don't want to ever let your ambitious V-day plans take time away from cuddling with your loved one. After making this, snuggle on your sheep skin together surrounded by beeswax candles, and enjoy your night.

DSC_0873

Sloe 75:

2 oz of Greenhook Beach Plum Gin
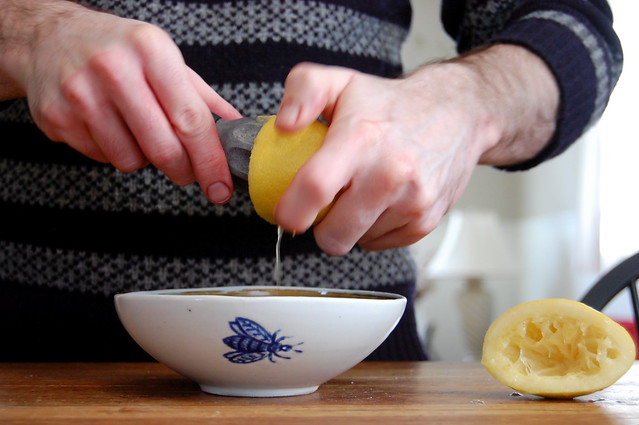
.75 oz of lemon juice
2 sugar cubes
Sparking wine (canned or bottled)

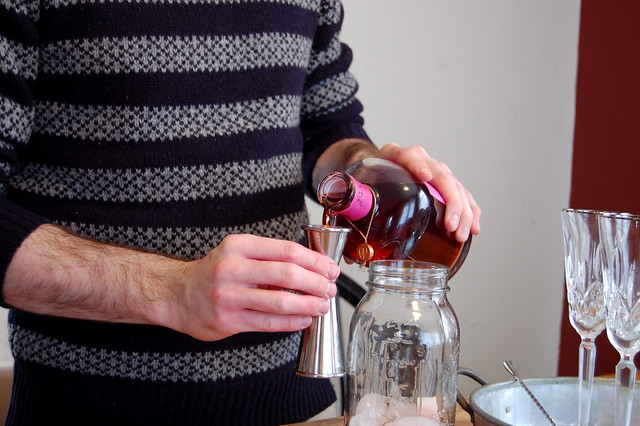
Combine gin, lemon juice and sugar cubes in a cocktail shaker over ice. Shake vigorously to incorporate the sugar. Strain into two champagne flutes, and top with sparkling wine.

Enjoy!
Pat

DSC_0756

Friday, February 5, 2016

RECIPE // Date Oat Scones + Apple Cider Curd

DSC_0815

January has been such a busy month for Robbie and me! The last few weeks have been spent packing up our apartment, and moving back into the house I grew up in. When I first got accepted to graduate school, my parents were generous enough to open their house up to us before we move again in the spring. Between wrapping champagne flutes and guessing how many books can fit in a box before it becomes to heavy to carry, I managed to make a few lists of how I wanted to enrich my life and improve the blog in 2016. Now that we're settled in, and have had a month off from blogging, I'm excited to share what I've been up to.

DSC_0779

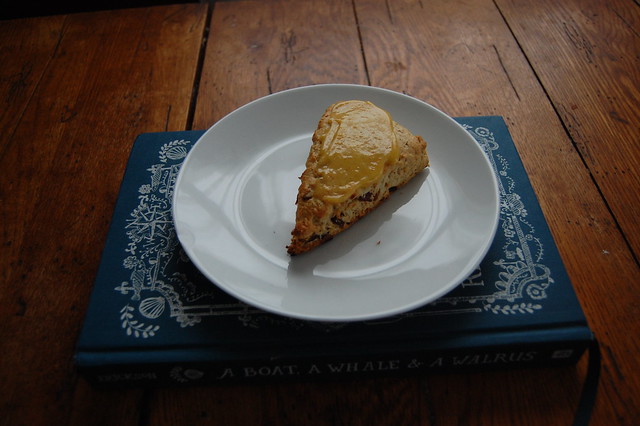
After Robbie, the person I've talked to the most about the blog has been one of my favorite bloggers, Brett of Fig + Bleu. Over the last few months he has been my biggest inspiration and my biggest cheerleader--sans pleated skirt. About a year ago we became friends when he shared a photo a cookbook I owned called "A Boat, A Whale & A Walrus". I commented that he had to make the scones from the book, after I had made them for Easter brunch. Now he's the friend I turn to if I have an existential crisis over a loaf of bread that just wont rise. I decided that scones would be my first recipe of the year.

DSC_0791

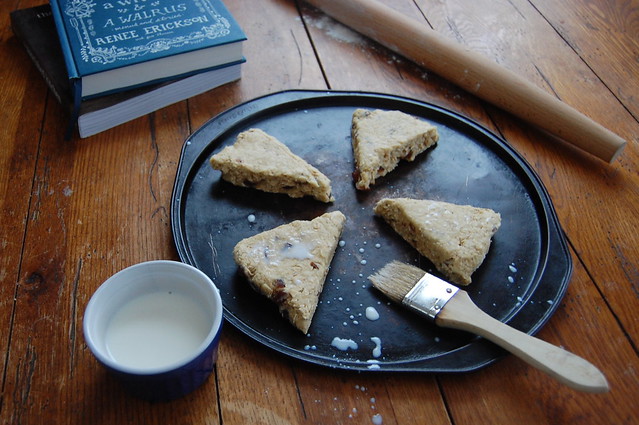
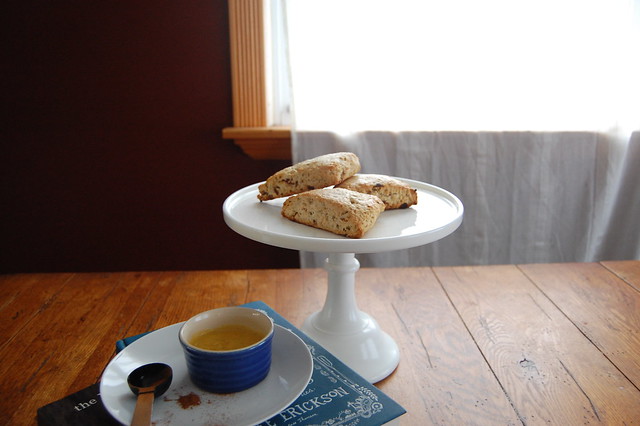
These scones are actually nothing like the scones that made Brett and I friends. During the packing process, I discovered a giant unopened bag of oats. I had no idea what to do with them; I couldn't just throw it away like the bottles filled with a teaspoon of soy sauce, but I didn't want to drag it around the state either. The scones were my solution. I took an entire day to bake and cook everything I wanted before packing away all of my favorite kitchen utensils and baking pans. At the end of it, I leaned against a box brimming with cookbooks and enjoyed these scones.

DSC_0804

Oat Date Scones with Apple Cider Curd

For the scones:

11 tbsp of butter (We used Kerrygold)
3 tbsp of maple syrup
1 large egg
1/3 c of milk + extra for brushing
1/2 c of all purpose flour
1/2 c of rolled oats
1 tbsp of baking powder
1/2 tsp of salt
1/2 c of chopped pitted dates

For the apple cider curd:

6 egg yolks
3 tbsp sugar
8 tbsp of butter
1/4 c of maple syrup
scant 1/2 c of apple cider vinegar
1/2 tsp of cinnamon

Preheat the oven to 450 degrees.

Cream the butter and maple syrup together in a stand mixer with a paddle attachment on medium speed. Mix in the egg and milk.

In a separate bowl mix the flour, oats, baking powder, and salt. When the eggs and milk are incorporated into the butter, turn the mixer to the lowest speed. Add the dry ingredients. Once the dough has come together, add the chopped dates.

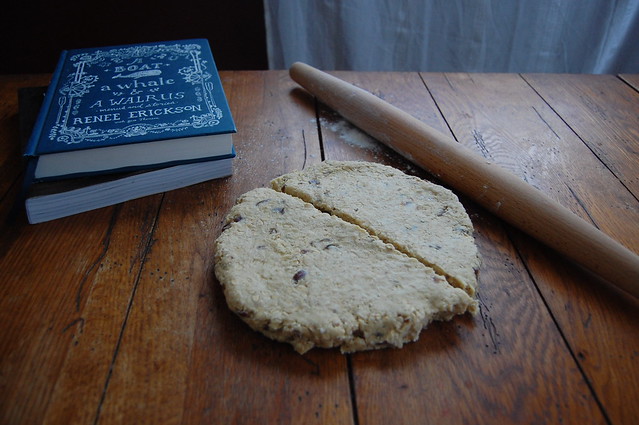
Turn out the dough on to a floured surface. With your hands or a rolling pin, shape the dough into a 3/4 inch thick disc. Cut the disc into 8 wedges. Brush the top of each scone with milk before baking for 14 minutes, or until the edges just begin to brown.

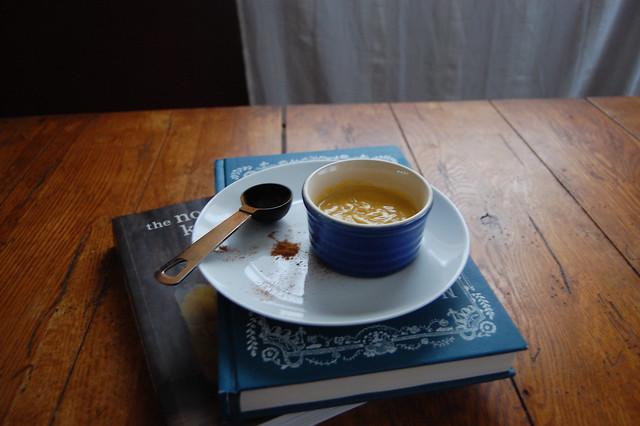
While the scones bake start the curd. Put the butter, maple syrup, cinnmamon and ACV into a saucepan and warm over medium-low heat. In a stand mixer whisk the egg yolks and sugar together. Once the butter is fully melted, turn the heat up to medium. When the mixture comes to a boil, take it off the heat. With the mixer still whisking, slowly add the hot butter mixture to the egg yolks, tempering the yolks.

After adding the last of the butter, add everything back into the saucepan. Heat the custard over medium-low heat, whisking constantly. Slowly bring the heat up to medium, continuing to whisk. When the custard comes to a boil, remove it from the stove, and transfer it to a separate bowl. Cover the bowl with plastic wrap, with the wrap against the surface of the custard. Refrigerate until cooled and set.

Enjoy!
Pat

DSC_0810

Monday, December 21, 2015

MAKE // Last Minute Hand Stamped Gift Wrap

DSC_0777

During the summer, Patrick and I needed to wrap a wedding gift for his cousin but didn't like any of the paper we found. We were shopping at Paper Source and found the cutest tandem bicycle stamp instead. Patrick suggested that we make our own wrapping paper using the cute stamp and very fancy bronze ink. So fun! I can only hope that my craftiness is contagious.

In my previous gift wrap post, I told you that we're trying to use the things we have this Christmas so we won't have to move half used rolls of wrapping paper in the spring. Naturally, that means using as many of our giant rolls of kraft paper as possible.

DSC_0765

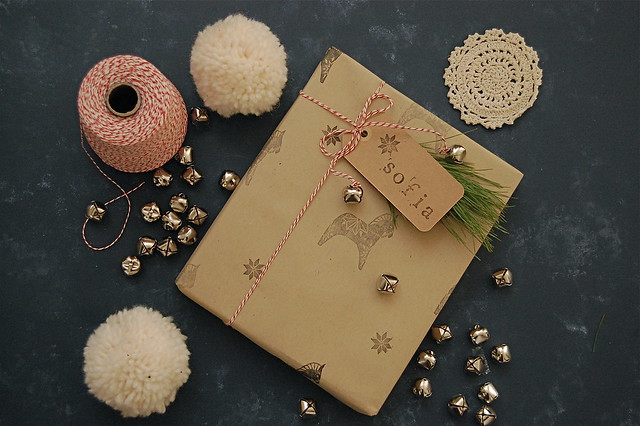
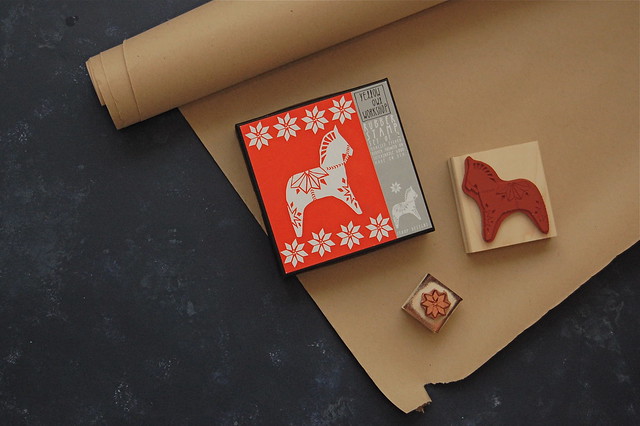
I bought this stamp on a crafter's binge at Home Made in the summer, I think. Even then, I couldn't resist the little Dala horse--or the 50% off price tag. I really love the aesthetic of Yellow Owl Workshop stamps! Kind of rustic and crude, the hand carved look is so dreamy.

DSC_0766

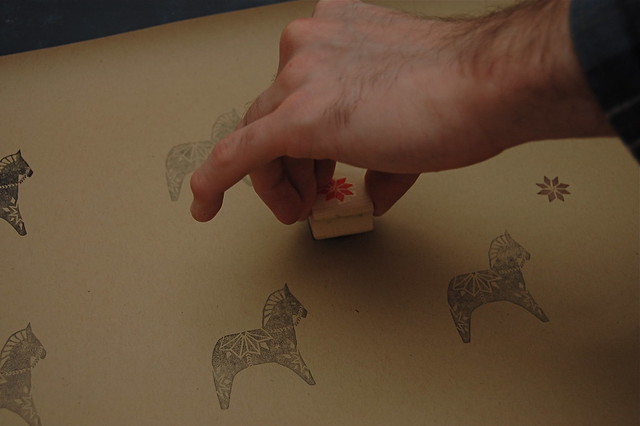
This is the perfect last minute wrapping idea. We cut the paper first, so we wouldn't waste ink or time, and quickly stamped out a repeating pattern with two stamps in the kit.

DSC_0769

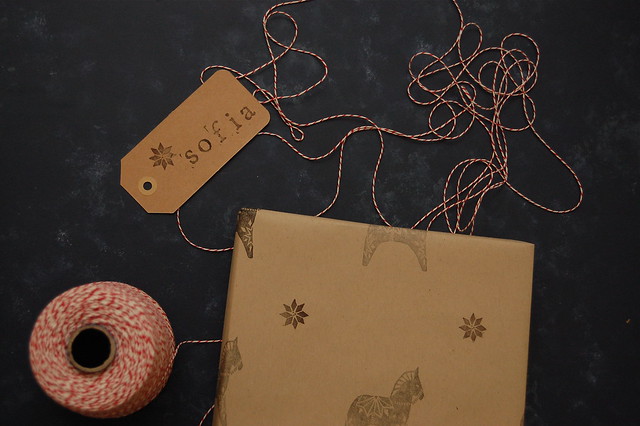
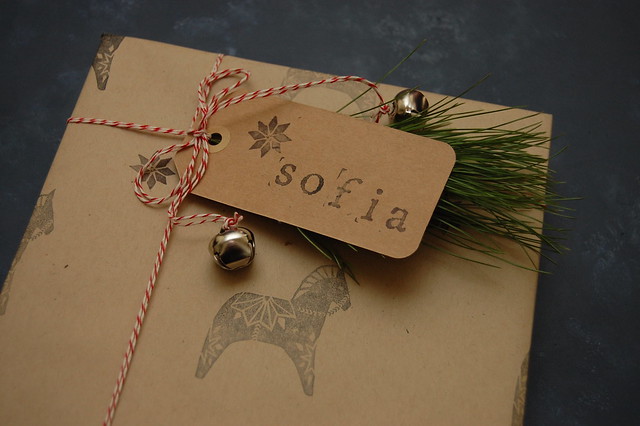
Patrick gave me these typeset letters last year, and I am so excited to use them for gift tags. I like that I'm not great at lining the letters up. It adds a quirky handmade touch that I know Zooey Deschanel would approve of.

DSC_0772

In this house we always have both a ton of brown paper and plenty of baker's twine, so they're kind of a natural pairing around here. Someone on Instagram suggested that my next book should be called "101 Uses for Baker's Twine" and they're probably right.

XO
Robbie