Wednesday, June 29, 2016
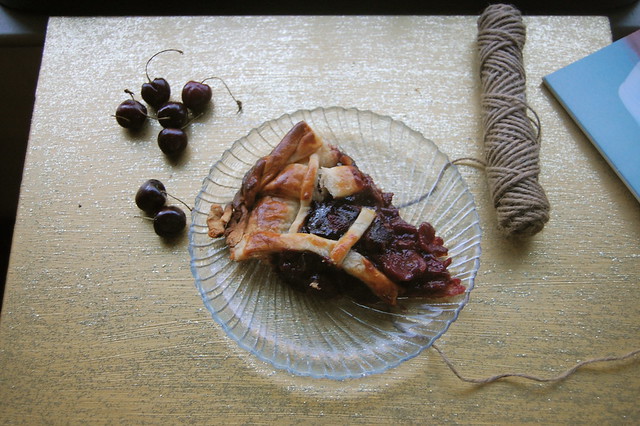
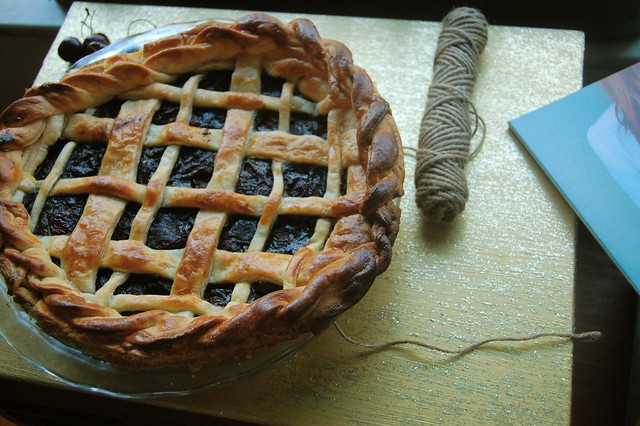
Date Sweetened Cherry Pie
I have to apologize for our absence lately. The past few weeks we've been apartment hunting, but I am so excited to share that we finally found a place in Philly! It's in one of our favorite neighborhoods near all of our favorite businesses. Robbie and I are both so excited to get settled in and to make the place our own. A lot of the apartments we saw we're terrible; a partially underground split studio and a one bedroom sandwiched under and overpass and above an abandoned laundromat were the highlights/low points. I've been holding my breath since we saw this apartment; it seemed too good to be true, or unlikely that we'd get it. I think Robbie flirted with the woman at the management office to ensure we would get it.
Leaving all of our friends and family will be tough. I'm relieved that it will be easier for everyone to visit, compared to when I lived in Boston. I felt like I missed so much the first time I left home, but all my siblings are still just a short drive away. My oldest brother is getting ready for his first child, and I'm just as excited to watch him become a dad as I am about meeting little Joseph Timothy.
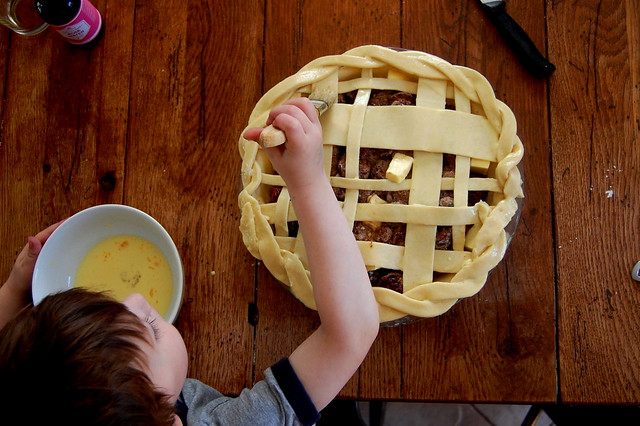
My brother and his family are also moving away this summer. Thankfully they're only moving to central Pennsylvania, which means they'll be close to us, and our place will become the family rest-stop. I still wish I had spent more time with all of them, but in the weeks before they moved I did get to see LOTS of my nephew Lucian. I decided to use this cherry pie to bond with him, not that I needed it; I'm his favorite uncle. It was how my mom and I bonded, and still spend most of our time together. I hope the memories of cooking together stay with him the way it stayed with me.
Date Sweetened Cherry Pie
For the dough:
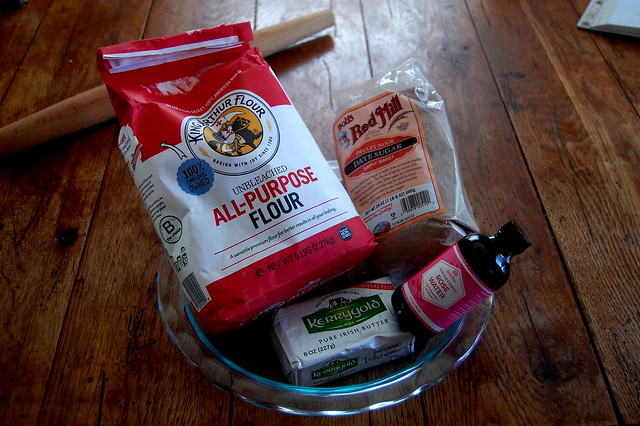
1 lb grassfed butter, cut into cubes and chilled
2 1/2 c AP flour
1/2 tsp salt
1/2 c ice cold water
For the filling:
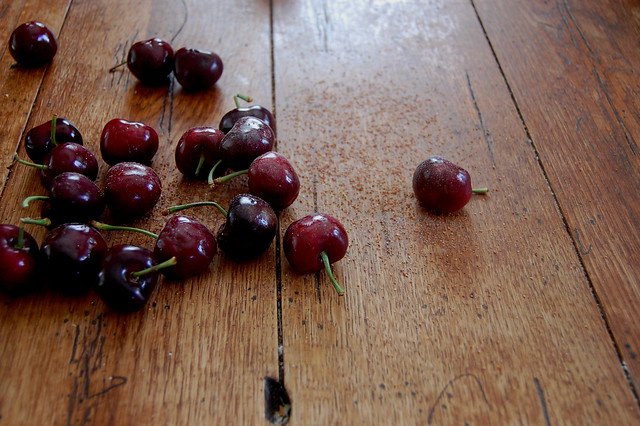
2 lb of bing cherries, pitted
1/2 c Bob's Red Mill date sugar*
2 tbsp tapioca starch
2 tbsp grassfed gelatin
1/3 c water
3 tbsp of rosewater
For the wash:
1 egg
1 tbsp of cream
In a food processor, mix AP flour and salt. Add the grassfed butter and pulse until the butter is broken into pea sized pieces. Add all of the water and pulse until the dough comes together. Turn the dough out onto a workspace, and bring the dough together into a single mass. If there is extra unincorporated flour, add a tablespoon or two of cold water to add it to the dough. Divide the dough in half, shape each half into a disk thick disc, wrap in plastic wrap and freeze.
While the dough chills, begin the filling. Mix the gelatin with water. Heat the cherries in a pot over medium heat, stirring occasionally. After a few minutes the cherries will have released a significant amount of juice. Add the date sugar and continue to stir. The sugar will take about two minutes to completely dissolve. When the cherries no longer look gritty, add the tapioca flour. Stir the cherries until the tapioca flour is incorporated, and pour in the gelatin and rosewater. Cook for an additional two minutes, and turn off the heat.
Take one half of the dough out of the freezer. Roll it out on a floured surface. Make sure to rotate and flip the dough constantly. When you have the dough 1/8 of an inch thick, line a 9" pie pan with it. Trim the excess and move it to the freezer. Preheat the oven to 425 degrees.
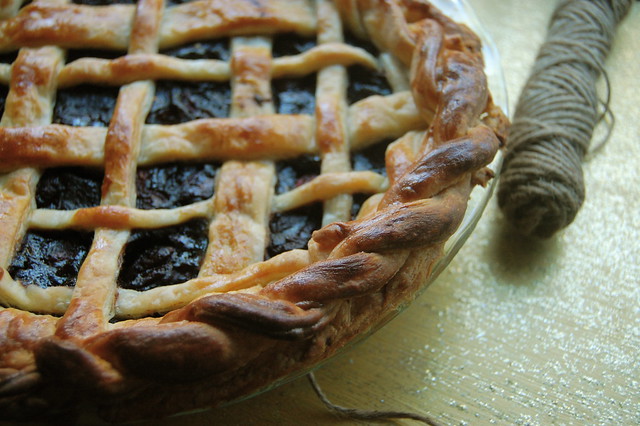
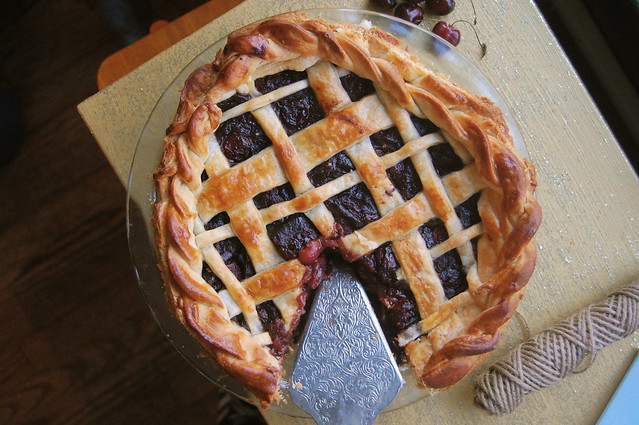
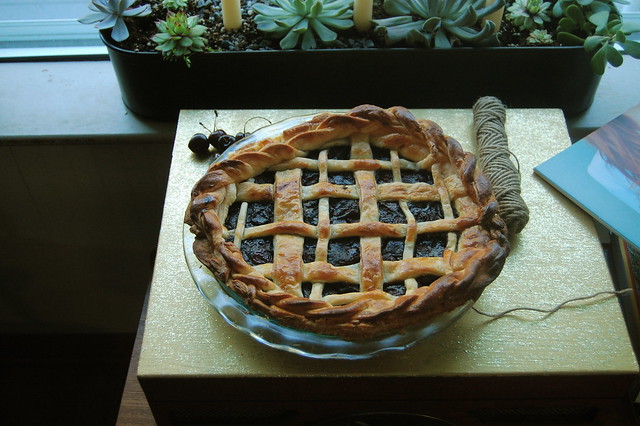
Wait until the cherries have reached room temperature before working on the second half of the dough. Take the second half of the dough, and roll it out the same way the first half was. Be creative here! If you've done a lattice top, get messy and try something new. You can do an extra thick lattice, or a plaid lattice, like mine. You can do one cut out shapes to lay on top. When you've cut the dough for your desired topping, remove the lined pie pan from the freezer. Fill the pie with your cherry mixture. Weave the lattice top, or top with cut out shapes. If you have extra dough, make a braid or twist to go around the edge of the pie. If you don't, crimp the edge of the pie. Whisk the egg and cream together and brush the dough completely with the egg wash. Bake for 45 minutes. Allow to cool before serving.
* Bob's Red Mill date sugar has oat flour in it, so less thickeners are necessary compared to traditional cherry pie recipes.
Enjoy!
Pat
Saturday, May 28, 2016
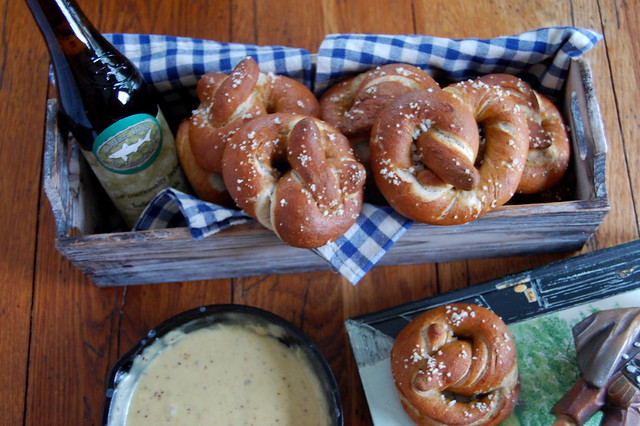
RECIPE // Sourdough Rye Pretzels + IPA Cheddar Dip
Happy Memorial Day Weekend, everyone! If you aren't celebrating it at the beach, I'm sorry to hear it. The temperature has finally stayed above 70 degrees, and I've been doing cartwheels in my backyard to celebrate. Robbie and I will both be working, but we enjoyed our first warm weekend of the year our own way. Last night we made a dinner consisting of oysters, steamed mussels, and seared scallops, and tomorrow morning, we'll be doing yoga on the beach. We decided to make tranquility the theme of our weekend.
Now that it's finally warmed up, it's time to open up the windows, put on a Vampire Weekend record and start cooking my favorite summer foods. I'm especially excited to visit farmers markets and pick-your-own farms to get the best ingredients to share on here. To start summer off, I decided to make pretzels. For many of you, pretzels might make you think of autumn and Octoberfest, but for me, pretzels instantly take me to summer and the boardwalk. Even though they make you a target for seagulls, they still make the best treat on the beach.
I usually make all of my breads for the week in one day. When I went to make pretzels, I had also planned on making a loaf of rye bread. It occurred to me while I was feeding the starter to make both that rye flour would be a perfect addition to the pretzels. The trademark caraway seeds that normally appear in rye bread instead made their way into the cheddar cheese dip. Using a sourdough starter, rather than yeast, means waiting a little longer for dough to rise, but embrace it! Cover your dough and step outside for a few hours!
Sourdough Rye Pretzels + IPA Cheddar Dip
For the pretzels:
1 1/2 c of unfed sourdough starter
1 c dark rye flour
2 c AP flour
1 c lukewarm water
1 tbsp of salt (not iodized, preferably mineral rich)
Coarse sea salt
1/2 c baking soda
For the cheddar dip:
1 tbsp grassfed butter
1 tbsp AP flour
2 c grassfed milk
1/2 c IPA
1 tbsp dijon mustard
1/2 tsp of ground caraway seeds
1 c grassfed cheddar
Mix the sourdough starter, rye flour, AP flour, water and salt together in a large bowl. If there is any excess flour, add extra water, a tablespoon at a time, until all the ingredients are incorporated into the dough. Turn the dough out onto a floured surface. Knead the dough by folding it onto itself and pressing down with the heel of your hand. Continue for 15 minutes. Move the dough back into the mixing bowl, cover, and let it rise until it has doubled in size, about 2-3 hours.
Preheat the oven to 450 degrees. Begin to bring 10 cups of water in a wide pot to a boil over high heat.
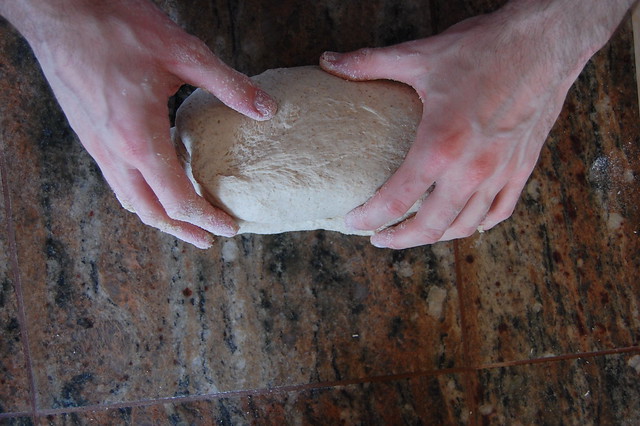
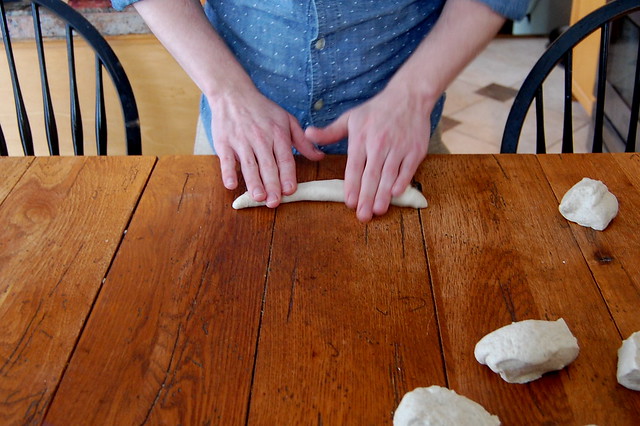
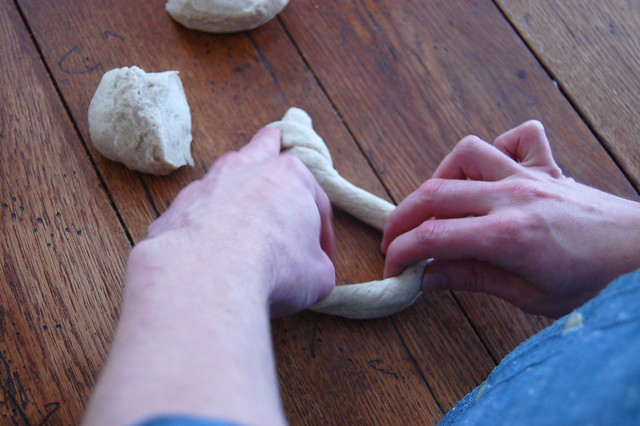
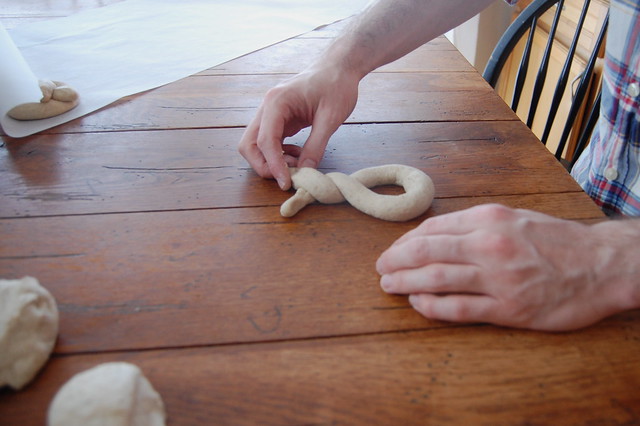
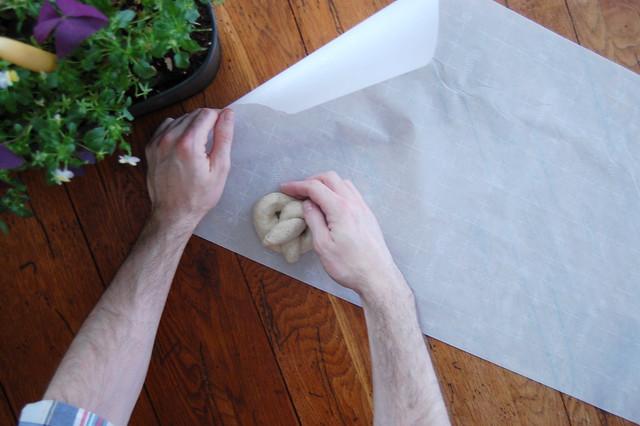
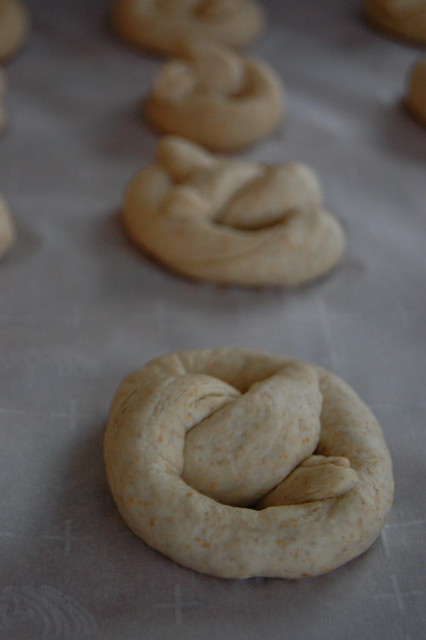
When the dough has finished rising, punch it down and turn it out onto a lightly floured work surface. Divide the dough into 12 equally sized pieces. Roll each piece between your hand and the work surface, until it is 18 inches long, with tapered ends. Twist the ends around each other once, and fold it back on itself to make the pretzel shape. Move the pretzel on top of a piece of parchment paper. Repeat with the remaining pieces of dough.
When the water has come to a boil and all of the pretzels are twisted, add the baking soda to the boiling water. Reduce the heat on the water to medium, and place the pretzels, two to three at a time, in the water upside down. After 20 seconds, flip the pretzels and cook for another 20 seconds. Remove them and place them on a towel to remove excess water. When all of the pretzels have been poached and drained, move them to a greased baking sheet, and sprinkle liberally with coarse sea salt. Bake for 15-18 minutes, or until they have reached a deep brown color. Cool on a wire rack.
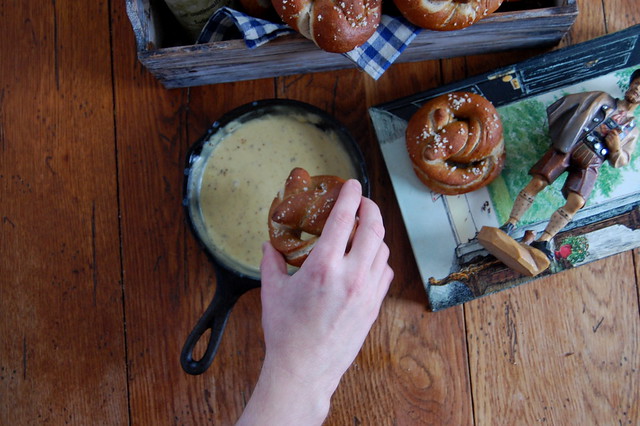
While the pretzels bake, begin the cheese dip. Melt butter over medium heat in a cast iron skillet. Once it begins to bubble, sprinkle in the flour, whisking constantly. When they have completely mixed, begin adding milk, whisking constantly. Turn the heat up just under medium high and continue to whisk. As the milk begins to bubble, add the IPA, caraway seeds, and mustard. Increase the heat to medium high. When the mixture reaches a boil, lower the heat to medium low and begin to add the cheddar cheese, whisking as you incorporate more cheese. Remove from heat, and serve!
Enjoy!
XO
Pat!
Wednesday, May 11, 2016
RECIPE // Brown Butter Banana Cream Tart
If you're reading this, I hope your experiencing better weather than we are here in New Jersey. April showers have spilled into May, and I think I've seen the sun shining once in the last two weeks. Normally Robbie and I would be spending all of our time off outdoors, but jumping in rain puddles in my Hunter boots is only so fun for so long. The bright side to this overcast tale is that it inspired us to visit the Amish market in Williamstown. During this trip it came out that Robbie dreams of being Amish, and tried to figure out how he could join their community. While he fantasized about barn raisings and quilting, I wandered around the bakery and bookstore.
When I find myself surrounded by old cookbooks, I have to rely on Robbie to exercise self control for me. If I didn't, I would need a second bedroom just to store all of the ones I would buy. This time, though, Robbie was just as excited. Stuck between two books from the 1970s on dieting was an old Pepperidge Farm cookbook. A few of the recipes were advertisements for their products, but most were completely from scratch. So many old cookbooks are almost useless because the techniques are so dated, but a lot of what I have planned next for the blog was inspired by this cookbook.
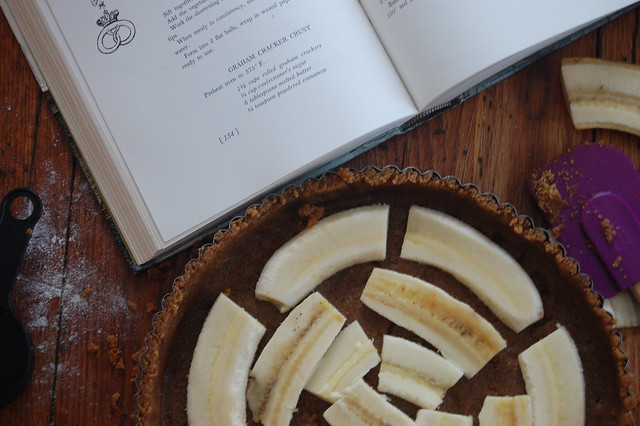
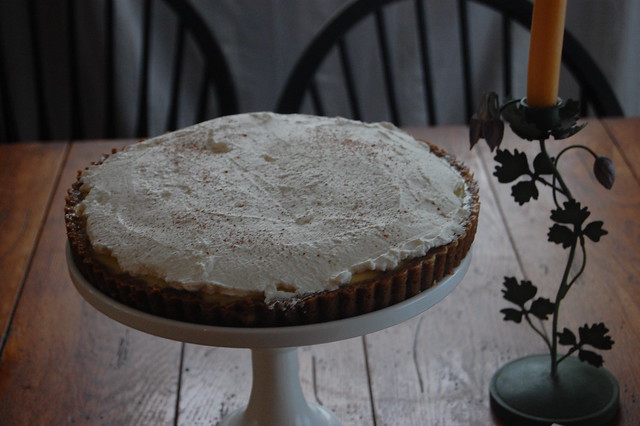
I combined and altered a few recipes from the book to make a banana cream tart. As a kid I loved this dessert, I got one every year on my birthday in place of a cake. I almost bought one at the bakery in the Amish market, but I already had two apple dumplings and a loaf of bread in my hands. I decided to use my new cookbook to satiate this childhood craving. I decided to roast the bananas and use browned butter in the custard to give the whole dish a more nutty, caramel flavor. I added spiced rum to the whipped cream, because this dish isn't for 10 year old Patrick. Instead of using store bought graham crackers, I baked my own. It was saddening to bake them just to crumble them up, but they made a nice treat while the crust baked and the custard set.
Brown Butter Banana Cream Tart:
For the crust:
1 1/2 c finely crumbled graham crackers
3 tbsp maple syrup
6 tbsp melted grass-fed butter
1/4 tsp of cinnamon
3 bananas sliced in half, widthwise, and again, lengthwise
For the custard:
2 cups of milk
1 tbsp of grass-fed gelatin (We used Great Lakes)
3 tbsp of grass-fed butter
1/4 c maple syrup, divided
4 egg yolks
For the whipped cream:
1 1/2 c heavy cream
3 tbsp maple syrup
3 tbsp spiced rum
cinnamon
Preheat the oven to 375 degrees. Combine the graham crackers, maple syrup, butter and cinnamon for the crust in a medium sized bowl. Work the ingredients with your hands until the crust comes together. Press the crust into a 9" tart pan until the entire pan is lined with a thin layer of crust. Using the bottom of a drinking glass to press will get an even thickness. Line the bottom of the crust with sliced banana. Bake for 15 minutes. Cool completely in the tart pan.
While the crust bakes, begin the custard. Whisk the gelatin and 2 tbsp of maple syrup into the milk, and let sit for 5 minutes to allow the gelatin to bloom. Add the mixture to a double boiler. Heat this mixture over medium heat.
Melt the butter in a saucepan over medium heat. Cook for an additional 6 minutes, stirring occasionally. The milk solids in the butter should go from white to brown, and the butter will take on a nutty aroma. When the butter has browned, add it to the milk in the double boiler. Bring the milk to a boil.
While the milk comes to a boil, whisk the egg yolks and the remaining 2 tbsp of maple syrup in a stand mixer. When the milk has reached a boil, turn the heat off and begin slowly adding it to the egg yolks a ladleful at a time, whisking on medium-high the entire time.
Once all of the milk has been incorperated, move the custard back into the double boiler. Cook over medium, while whisking constantly. Once the custard has thickened, but not boiled, remove it from the heat. Allow it to cool to room temperature.
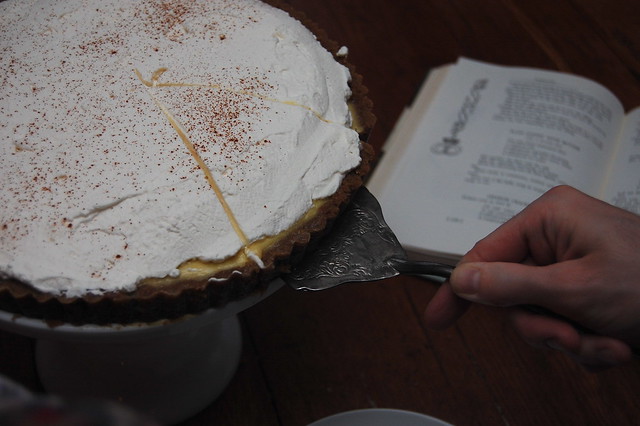
Spoon the custard into the cooled crust and move it to the refrigerator to set, about two hours. Near the end of the two hours make the whipped cream topping. Whisk the heavy cream, maple syrup and rum in a stand mixer on medium speed until you have a firm whipped cream.
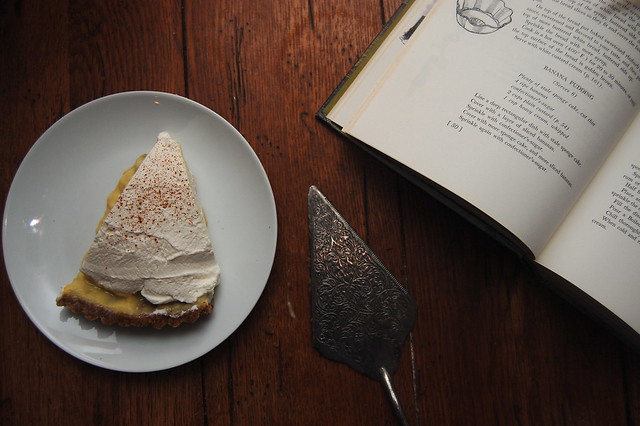
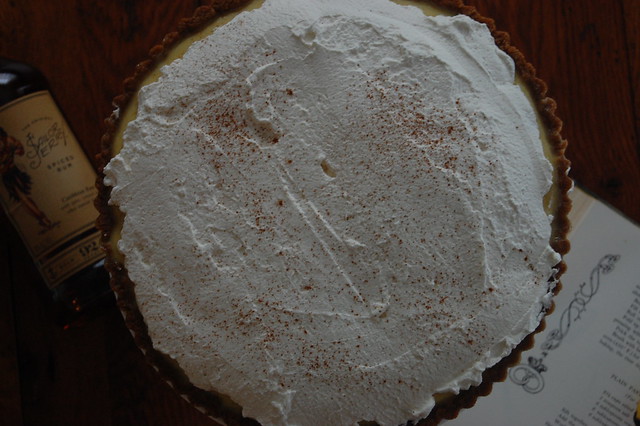
Remove the tart from the refrigerator once the custard is completely set. Using an offset spatula, carefully spread small scoops of whipped cream over the top of the tart. When you have a smooth, even layer of whipped cream, sprinkle the top with cinnamon.
Enjoy!
XO
Pat!
Sunday, May 1, 2016
May Day Recipe // May Wine
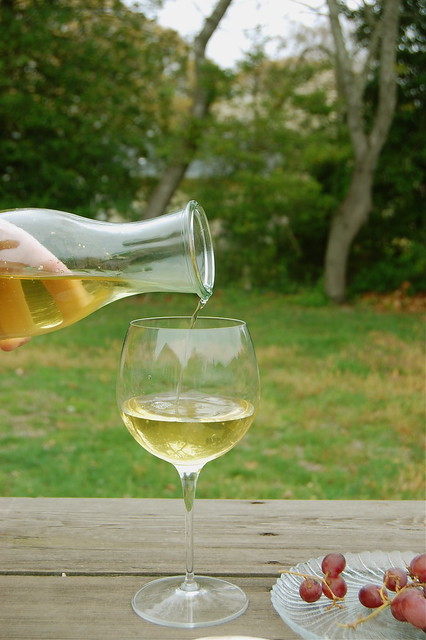
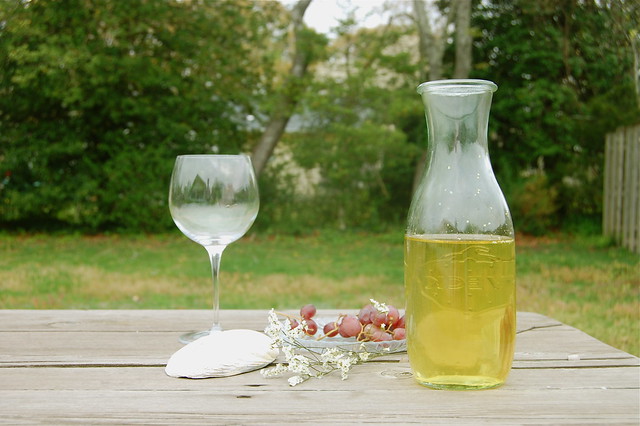
Happy May Day, everyone! I hope someone reading this is having a bright, sunshine filled day. Unfortunately our May Day is filled with rain, so we won't be dancing around a maypole or making flower crowns. As much as I enjoy a good excuse to hide under a quilt and watch old movies, I would have preferred to spend today laying in the sun drinking may wine.
I learned about may wine from Martha Stewart, obviously. Before bed I like to watch Murder, She Wrote and 1990's Martha Stewart on YouTube. If there were DVD's of her original show, I would buy them all up immediately. When you've watched as many episodes as I have you realize just how much she recycles ideas. She usually updates them or adds some twist, but a traditional German may wine makes an appearance in every spring special.
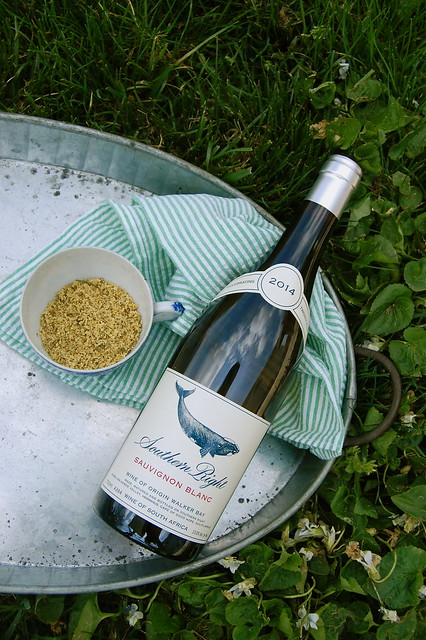
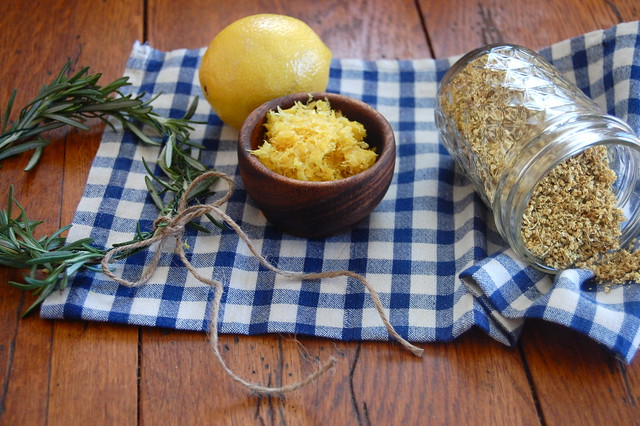
Traditional may wine is made by infusing Riesling with sweet woodruff, which is a super aromatic flower. For a few reasons, I didn't go the traditional route. I'm personally not a fan of sweet white wine. When I drink white wine, I want it to be light and crisp with subtle flavors. I decided to use Robbie's and my favorite Sauvignon Blanc from South Africa. I didn't get to use sweet woodruff, because it's impossible to find unless you're growing it yourself. Instead I added the dried elderflower from the April birthday cake I made a few weeks ago. If your looking for elderflower, check out the post; there are a few tips on where to find it!
To make sure the wine doesn't oxidize, it's best to infuse the wine cold. This also allows you plenty of time to control how floral you want the wine. After one week, you'll taste the subtle flavors on the back end. A second week of rest will give you much stronger flavors. Once you've made it, step away from the computer, put the phone down, step outside, and marvel at nature.
May Wine:
1 bottle of Sauvignon Blanc
1/4 c dried elderflower
Combine wine and elderflower in an airtight container. Refrigerate. After a week, taste the wine. If it has reached the desired floral flavor you like, enjoy! If not, refrigerate another week. Go outside, and enjoy!
XO
Pat!
Wednesday, April 20, 2016
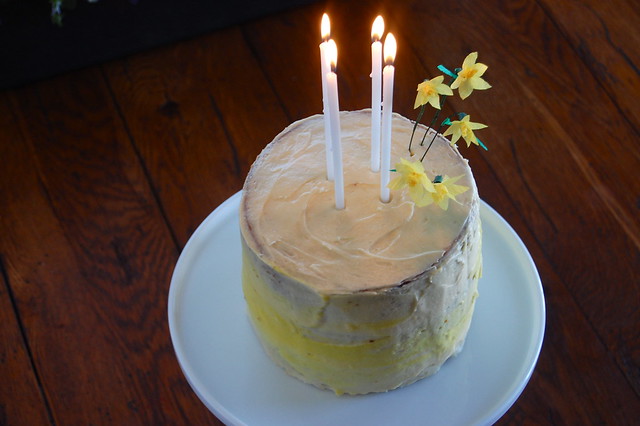
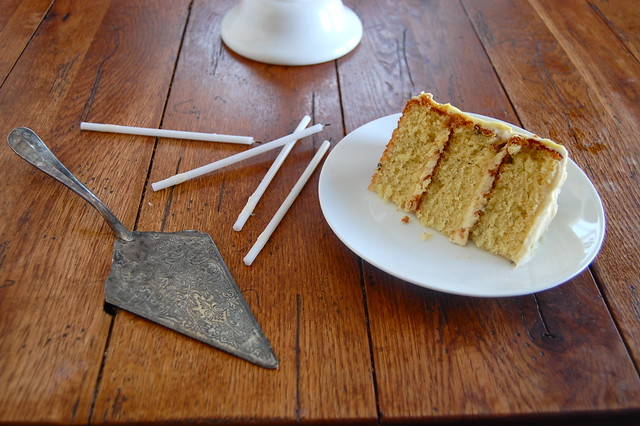
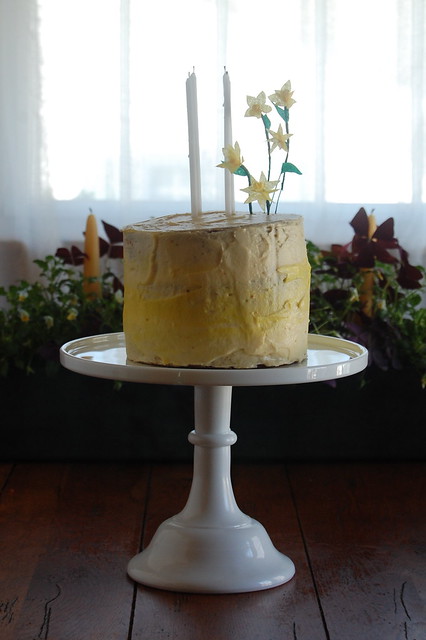
April Birthday Cake // Lemon-Rosemary Olive Oil Cake with Elderflower Honey Buttercream
After November, April is the biggest month for birthdays in my family. My nephew Lucian and niece Kayla, who frequently appear on my Instagram feed, my sister and her boyfriend are all Spring babies. When I lived in Boston, I didn't get to see much of any of them; short visits during winter and summer breaks meant that I got to see them quickly once or twice. A combination of school and suburban ennui made me eager to leave home, but once I was away I realized how much I missed being surrounded by family. Being back at home has given me the opportunity to spend time with my family and really appreciate their company. When Robbie and I move, I'll know that I'll have these last few years of memories to ease my homesickness.
My sister Katie was the one who always baked birthday cakes for family members. In high school I made ice cream, cookies and pies, but never cakes. I think the first birthday cake I ever made was for Robbie. It seemed like the right time to bake something to say thank you for being my best friend for 25 years.
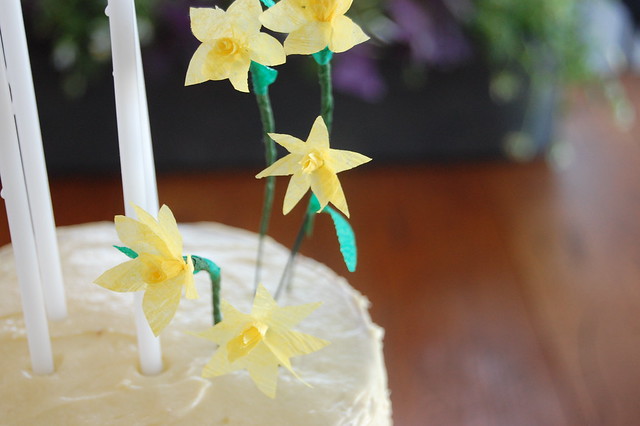
The inspiration for this cake came from my parents' home, which is currently surrounded on all sides by daffodils and forsythia. Another thing I never appreciated growing up here was all of the flowers that bloomed in April. One side of our lawn is completely taken over with yellow blooms, although the tulips will be fighting for space soon. Forsythia is everywhere the daffodils aren't. During the colder months, the woody shrubs aren't much to look at, but it's worth it for the few weeks where they cover the yards around us in yellow.
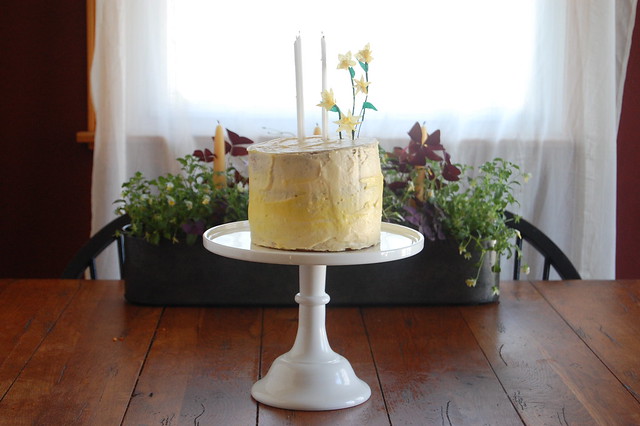
Besides being an opportunity to slow down and think about the April birthdays in my life, this cake was also an exercise in humility. I started this cake thinking it would be easy. I've baked plenty of things that I've been really proud to share, so how hard could a three layer cake be? My first attempt at olive oil cake was a disaster. It was terribly dense and ended up coming out of the oven raw. I fixed the recipe, and tried again. The cake came out great and the buttercream was amazing. I began to assemble, and I thought everything couldn't go smoother. Then I stepped back and realized, as you may have too, that the top layer was a little lopsided. I felt pretty defeated, but I remembered this Martha Stewart quote: "So the pie isn't perfect? Cut it into wedges. Stay in control, and never panic." This is why I always say "what would 1990's Martha do?" Just kidding, maybe.
Lemon Rosemary Olive Oil Cake with Elderflower Honey Buttercream:
For the cake:
Zest and juice of 6 lemons
2 1/2 tbsp finely chopped rosemary
2 c sugar
1 c buttermilk
6 large eggs
1 1/3 c olive oil
1 tbsp baking powder
1/2 tsp baking soda
1/2 tsp salt
3 1/2 c AP flour
For the buttercream:
1 c of alfalfa honey
2/3 c elderflower tea*
5 large egg whites, cold
1 pinch cream of tartar
1 lb of unsalted butter, cold and cubed
Preheat the oven to 350 degrees. Oil and flour three 5" cake pans.
Rub the lemon zest and rosemary into the sugar with your hands. Whisk the eggs and buttermilk into the sugar mixture. Whisk in the lemon juice and buttermilk. Add the olive oil and eggs. Sift the remaining dry ingredients and add them to the wet ingredients. Whisk until smooth without overmixing.
Divide the batter between the three pans and bake for 45 minutes, or until an inserted toothpick comes out clean.
Cool the cakes for 15 minutes before removing them from their pans. Transfer to a wire rack and cool further. With a serrated knife, cut the rounded tops of each cake. Transfer the cakes to your refrigerator.
While the cakes cool, begin the buttercream. Combine the honey and elderflower tea in a saucepan over medium heat. Cook the mixture until it reaches 238 degrees on a candy thermometer, increasing the heat to medium high if necessary.
In a stand mixer with a whisk attachment, beat the egg whites on low until frothy. Add the cream of tartar and beat on medium speed just until the egg whites become stiff.
Take the elderflower honey, still hot, and slowly add it to the egg whites while beating on high speed. Once the honey is incorporated, reduce the speed to medium and begin to add the butter one cube at a time.
Remove the cakes from the refrigerator and begin to assemble. With the cut side down, cover the tops and sides with a thin layer of buttercream to form a crumb coat. Put the cakes in your freezer for 10 minutes. Remove the cakes. Spread a scant cup of buttercream on top of your bottom layer and spread it evenly until the buttercream is hanging off of the sides, add the second layer on top and repeat. Repeat again with the third layer. Use the excess buttercream to cover the sides. Dipping your offset spatula in warm water will help to spread the buttercream smooth.
To create splashes of yellow, reserve a 1/2 cup of buttercream and add yellow food coloring gel a drop at a time until the buttercream is bright yellow. When the cake is frosted, take small scoops of yellow buttercream and spread them sporadically around the sides.
*To make elderflower tea, brew 1 heaping tablespoon of dried elderflowers in 1 cup of boiling water for five minutes. You can find elderflower at your local herbalist or apothecary or here!
Enjoy!
XO
Pat
Sunday, March 27, 2016
Thursday, March 24, 2016
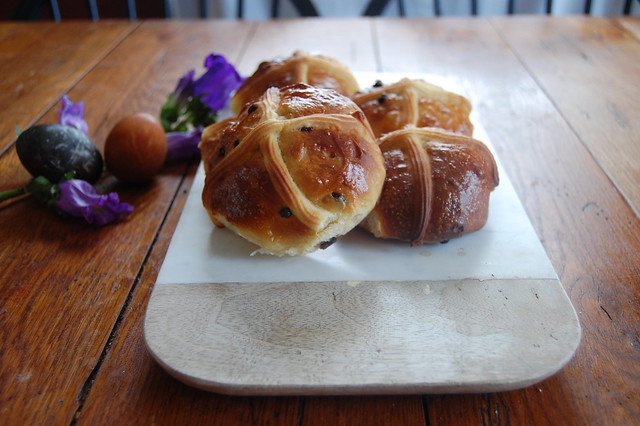
RECIPE // Sourdough Hot Cross Buns
I know Robbie is disappointed that winter is over, but I am so excited that spring is here. I felt cheated out of a snow filled winter for a week or two. After a hyacinth filled trip to Terrain, I got over it. The temperature is perfect right now; the sun is warming everything, but there's a perfect breeze keeping it cool. If every day could be like Easter, that would be perfect.
This week I'm doing all of the prep work for Easter brunch. This is the second year that my mom and I have teamed up to make breakfast for my entire family. There will be quiches everywhere, scones for days, and endless mimosas. The amount of work that goes into it is daunting, but I love an opportunity to cook with my mom. A day that would normally be hectic is filled with relaxed cooking and fun music.
Brunch is certainly the main affair on Easter, but we still have to worry about dinner too. I normally sit back and enjoy the ham. This year I decided to contribute to the meal. I've been baking sourdough bread a lot recently, but rye bread is the most adventurous bread I've made. Hot cross buns seemed like a good bread to experiment with an enriched sourdough. The added fat, sugar, and eggs slow rising in doughs with commercial yeast, and sourdoughs also rise at a slower speed. I was worried that this was going to take a few days. Thankfully the rise was not as slow as I had feared. It's just slow enough that you can set it aside to rise while you work on the rest of dinner. If you time it just right, you can start it in the morning, and have them coming out of the oven as everyone sits down for dinner.
Sourdough Hot Cross Buns:
for the buns:
1 heaping cup of unfed sourdough starter
1/4 cup of milk
1 1/2 cups of bread flour
1 egg
zest of half of a lemon
3 tbsp of grass fed unsalted butter, melted
3 tbsp of honey
pinch of cinnamon
pinch of nutmeg
pinch of clove
2 tsp of salt, not iodized
1/2 cup of dried currants
for the topping:
2 tbsp of grass fed unsalted butter
3 tbsp sugar
2 tbsp of milk
1/2 cup of flour
1 egg
tbsp of heavy cream
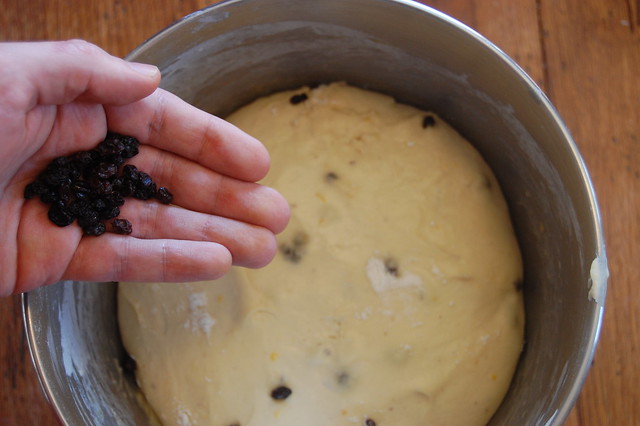
In a stand mixer with a hook attachment, combine all of the ingredients except the currants. Mix on low speed for 4 minutes. Increase the speed to high and mix for another 4 minutes. Add the currants and mix on low for another minute to incorporate.
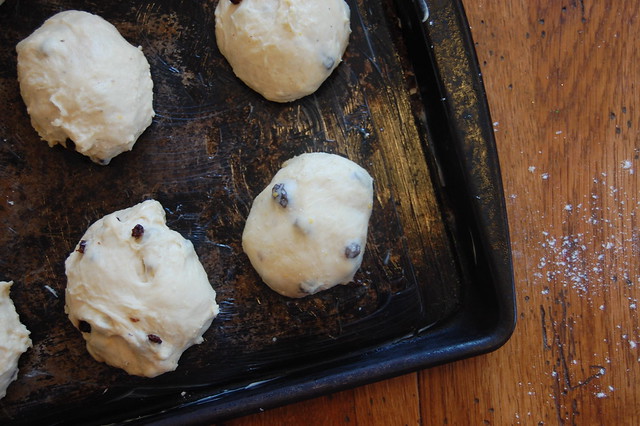
Cover the dough and let it rise until it doubles in size, about two hours. Punch the dough down and divide it into 1 1/2 inch pieces (an ice cream scoop works perfectly). Put the buns on a greased baking tray, three inches apart from one another. Cover the buns and let them rise until doubled in size, about two hours.
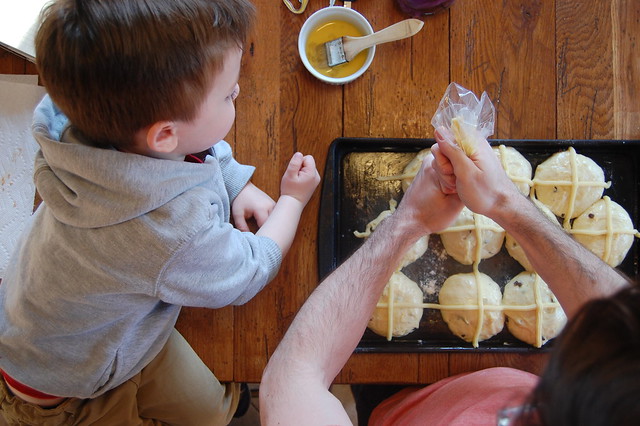
Near the end of the two hours, begin the topping. Preheat the oven to 375 degrees. In a stand mixer with a paddle attachment, mix the butter, sugar, and milk. Add the flour and mix until all of the flour is incorporated. Fill a pastry bag with a #6 tip with this topping.
In a separate bowl whisk the egg and heavy cream together. Brush this egg wash onto the buns. Pipe crosses onto each bun with the topping. Bake the buns for 18 minutes. Cool on a wire racks.
Enjoy!
Pat
Wednesday, March 23, 2016
MAKE // PLANTED EASTER CENTERPIECE
Easter is usually a difficult holiday for me. It means accepting that the winter is over and that we'll be forced into short pants and tank tops far too soon. Popsicles will melt quickly and lead to sticky hands and cuddling under piles of blankets will be something we only think about in overzealous air conditioning. I really love the cold seasons.
There is one exception. I love flowers! Of all sorts, really. Old fashioned portulaca and pansies, clumsy ranunculus, and even marigolds make my heart swell. The first daffodil to peek through the snow is enough to keep me smiling for days. Naturally, flowers are an important part of our Easter decor--even if their petals are waving goodbye to warm fires and hot coffee.
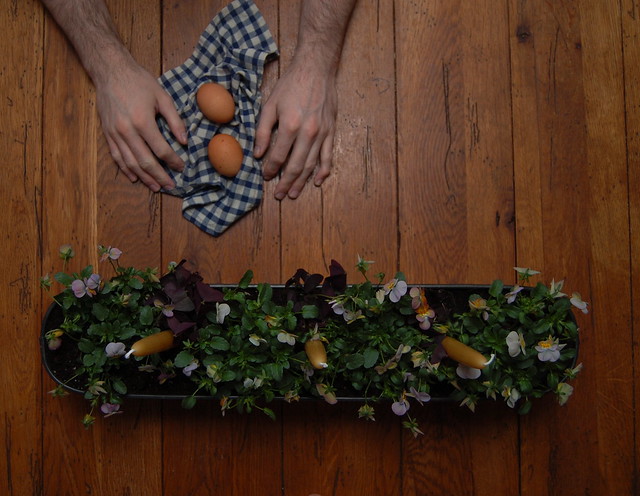
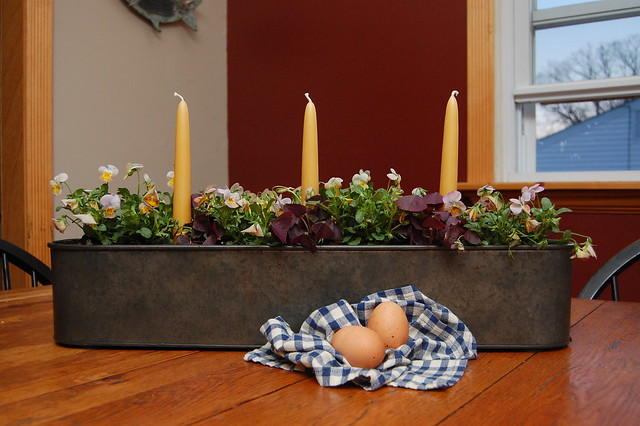
After browsing the Terrain site with Patrick's mom for easter decorating ideas, we kept coming back to this plantable iron trough with candle holders welded on the inside. I hesitated ordering it, but Patrick and I decided to change our weekend plans and we ended up in Glen Mills anyway. I picked up the trough right away and got to designing.
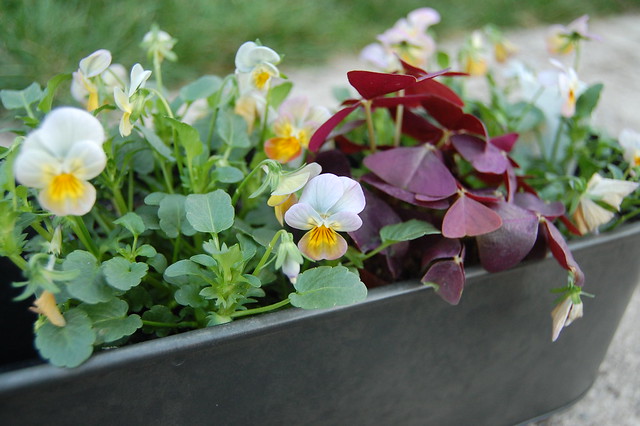
Terrain has beautiful natural beeswax candles, and I absolutely cannot resist anything in yellow. I opened the package in the store and began holding them up to different kinds of pansies. I kept coming back to the Antique Apricot variety. I absolutely adore the Oxalis--since they've been planted, they've sprouted tiny purple flowers--and they broke up the pansies nicely. For once, my enthusiasm and lack of editing skills paid off.
CANDLE CENTERPIECE TROUGH / PURE BEESWAX TAPERS / DR. EARTH ALL PURPOSE FERTILIZER
We got everything home after an amazing day of shopping and an incredible dinner at the cafe, and planted the trough with regular potting soil and a fantastic fertilizer we found last year at a herbal planter workshop.
Looking at this centerpiece really is easing my vernal anxieties. Maybe I'll even go outside and get some fresh air tomorrow--at the very least, I'll crack a window.
We have so much to share this week! Stay tuned!
XO - Robbie
Tuesday, March 1, 2016
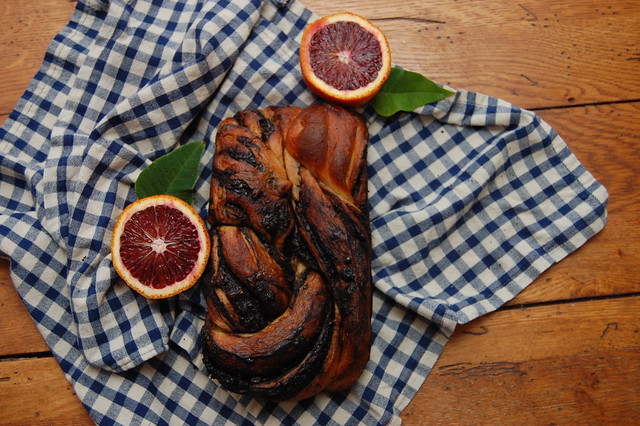
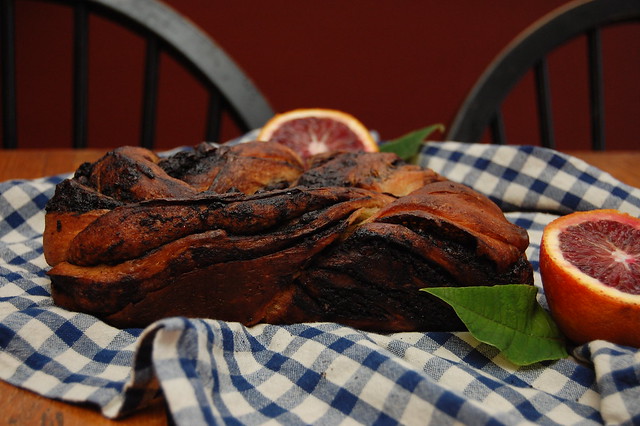
RECIPE // Blood Orange Espresso Babka
About a year ago, Robbie and I decided to get rid of all TV except for basic cable. We had flipped through hundreds of channels without finding anything to watch, and realized that this scenario was occurring too frequently. It was so nice to go from watching TV every day to only watching it occasionally. Since then we have relapsed once, but during this cable-less period I discovered two of my favorite shows. The first was A Chef's Life, a PBS docuseries about a Southern-born, New York chef who returns home to open a farm-to-table restaurant. The second was The Great British Baking Show.
In the UK the show has been on for six seasons, but PBS has only aired the last two seasons. If anyone knows where I can watch the previous four, I would be forever indebted to you. The show is a baking competition, but it is the farthest thing from cooking competition shows in the US. Twelve bakers leave for the idyllic English countryside to leisurely cook. The cut throat attitude you're used to is gone; the bakers spend almost as much time helping each other as they do baking their own pastries. To make it even more relaxed, the bakers are get to practice and perfect their recipes during the week leading up to each episode. This show is the most relaxing thing to watch on TV.
On one episode the bakers were tasked with baking a pastry similar to babka. I've always wanted to make babka because its a close relative to my favorite bread, brioche. You basically roll out brioche dough super thin, cover it in a chocolate filling, roll it up, twist it into a loaf, and bake! Procrastination got the better of me though, and it was pushed to the back of my mind. Some time later I was watching PBS again, when Martha Stewart came on to bake, of course, babka. It seemed like a divine message brought to me by the Public Broadcasting gods. I couldn't ignore it. So if you have also seen that episode of the Great British Baking Show, and that Martha Stewart special, don't ignore this third message to bake babka.
Blood Orange Espresso Babka
For the dough:
1 package of yeast
1/3 c of milk, room temperature
3 tbsp + 1/2 tsp of sugar
zest of 2 blood oranges
4 large eggs
2 3/4 c of flour
2 tsp salt
1 c + 4 tbsp unsalted grassfed butter, softened and cubed
For the filling:
8 oz of bittersweet chocolate
1 c unsalted grassfed butter, softened
3 tbsp of instant espresso powder
1/4 c of 100% dark cocoa powder
1/4 c of sugar
For assembly:
Unsalted grassfed butter
1 egg
2 tbsp of cream
For the glaze:
Juice of one blood orange
3 tbsp of sugar
Begin the dough by mixing the yeast, milk, and 1/2 tsp of sugar in a bowl. Let stand for 10 minutes, or until the yeast begins to bubble.
In a stand mixer with a dough hook attachment, combine the milk mixture with the remaining sugar, blood orange zest, eggs, flour, and salt. Mix on low speed for 5 minutes. Slowly add the butter, while increasing the speed to medium. Once all of the butter is incorporated, continue to mix for 10-15 minutes, or until the dough comes away from the sides of the bowl. Move the dough to a floured bowl and cover with linen or plastic wrap, and let rise for 2 1/2 hours, or until it has doubled in size.
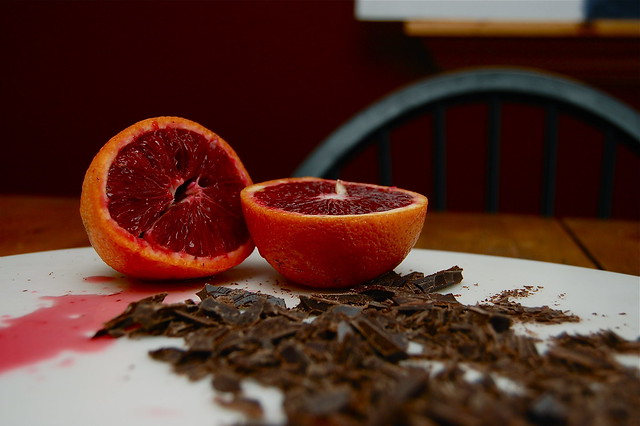
While the dough rises, make the filling. Chop the bittersweet chocolate as finely as possible. Crumble all of the ingredients for the filling together. The smaller the pieces are, the easier it will be later. Divide the filling in half.
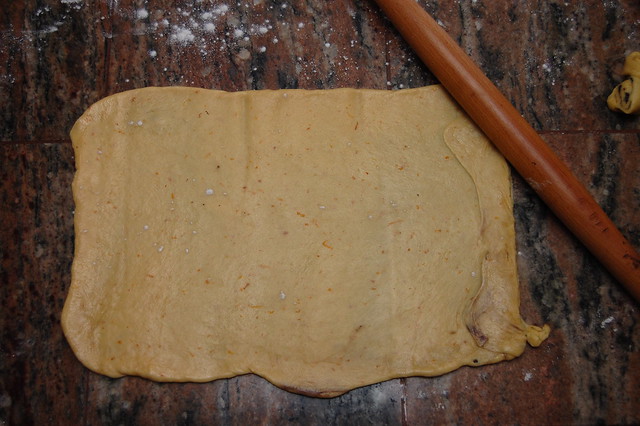
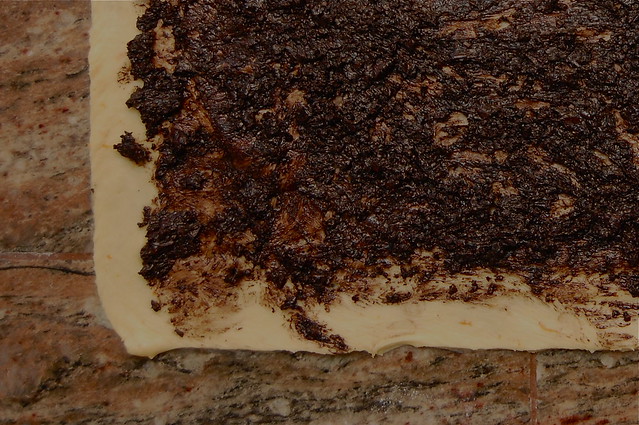
Once the dough has finished rising, punch it down and divide it in half. Take one half of the dough and begin to roll it out on a floured surface. Continue to roll it thinner into a 14x18 inch sheet. Take one half of the filling and spread it evenly over the surface of the dough, leaving a 1/2 inch gap on all sides. Starting at a short end, roll the dough onto itself, until you have a 14 inch long roll. Wrap in parchment paper and put it into the freezer for 20 minutes. Repeat this process with the other half of the dough and filling.
Grease two 9x5 inch loaf pans with butter and line each pan with two strips on parchment paper going lengthwise and widthwise. This will make removing the loaves so easy. Take the two rolls out of the freezer and uncover. Trim a half inch of dough from each end of both rolls. Cut each roll in half, lengthwise. Take two halves of one roll and begin to place them in a loaf pan. Starting at one end, twist the loaves around each other until both halves fit snugly into the pan. Repeat this process with the other two halves. Cover the loaves with linen or plastic wrap and put them into the refrigerator. Allow them to rise overnight.
The next day, remove the loaves from the refrigerator and allow to come to room temperature. Preheat the oven to 375 degrees. Whisk an egg with 2 tbsp of cream, and brush over both loaves. Bake the loaves for 30-35 minutes or until they have reached a deep golden brown color.
While the babka bakes, start the glaze. Stir the blood orange juice and sugar in a saucepan, and bring to a boil over medium high heat. Once it has reached a boil, remove the glaze from the heat. Remove the babka from the oven and transfer to a wire cooling rack. Immediately brush the babka with your blood orange glaze and allow to cool.
Enjoy!
Pat
Subscribe to:
Posts (Atom)