Friday, July 31, 2015

Cocktail: Boozy Cherry Milkshake

DSC_0869

DSC_0836

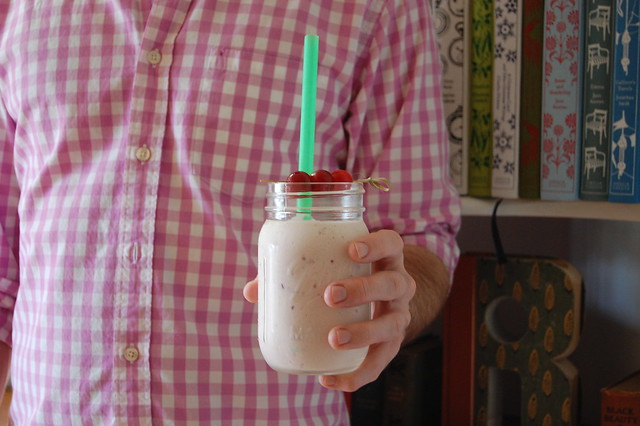
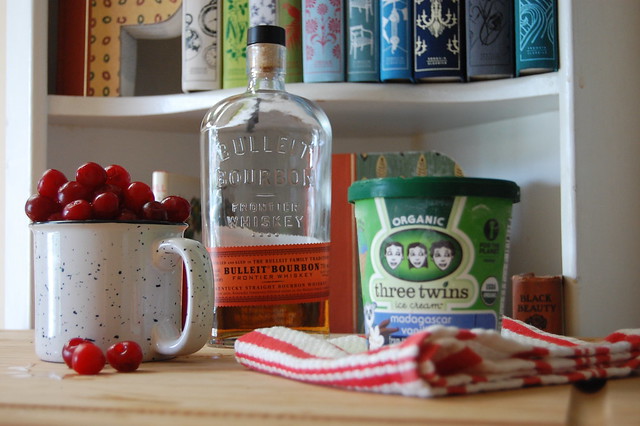
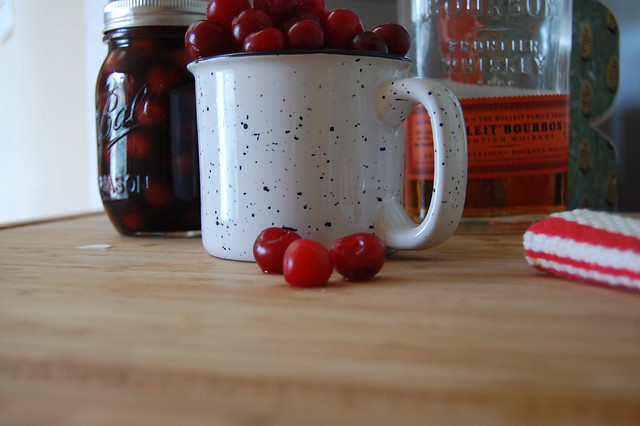
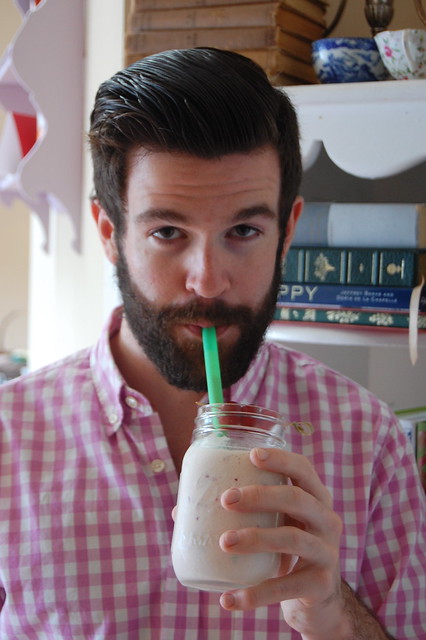
After a cherry picking adventure in Mullica Hill, our house has been full of tart cherries. Fresh tart cherries are difficult to procure, so I may have gotten a little overzealous. They are the best cherries to use for desserts, as they balance the sweetness of the rest of the dish. Instead of a pie or a tart, my mind immediately went to an alcholic milkshake. Oops!
DSC_0845

DSC_0846

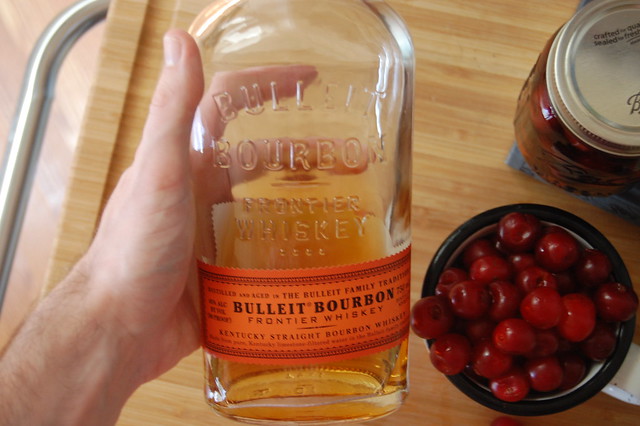
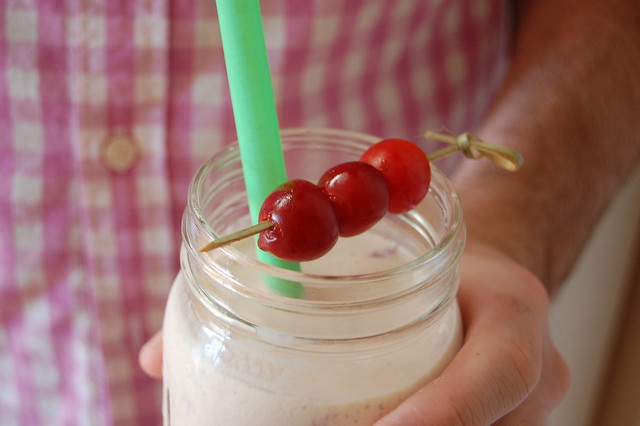
I always see recipes for bourbon milkshakes floating around the internet, and I don't know why I haven't made one yet. If old fashioneds have taught me anything, it's that cherries and bourbon go well together. This milkshake only proved my theory.
DSC_0865

DSC_0886

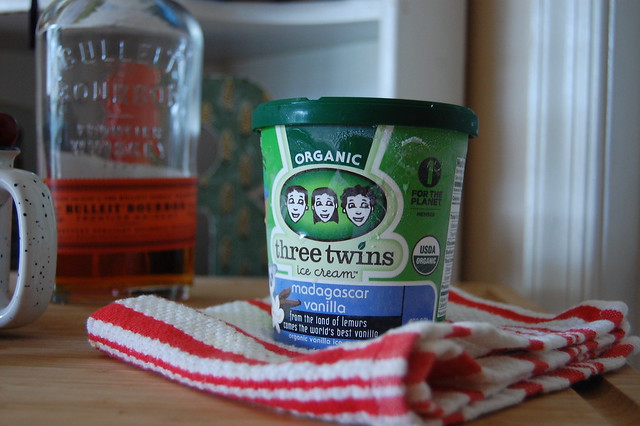
As for ice cream, I went with Three Twins Madagascar Vanilla. I wish I could say I chose this because it was organic, but in reality I was drawn to the higher grade vanilla they used. If you can find this brand, I would definitely use it. If not, go for the ice cream you think will add the best vanilla flavor to your shake. I hope this milkshake helps you cool down on the hotter days of summer!

Boozy Cherry Milkshake:
1 pint vanilla ice cream
1/4 cup milk (feel free to add more to reach the desired thickness)
1 scant cup tart cherries
4 oz bourbon

Combine all ingredients in a blender, and blend until its is as smooth as you like. Split between two glasses. Garnish with skewered cherries. Enjoy!

XO
Pat and Robbie
DSC_0879

Wednesday, July 15, 2015

Classic Cocktail: Pimm's Cup

DSC_0882

DSC_0915

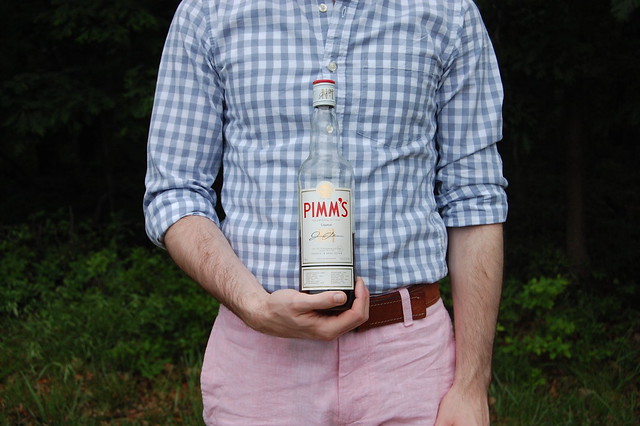
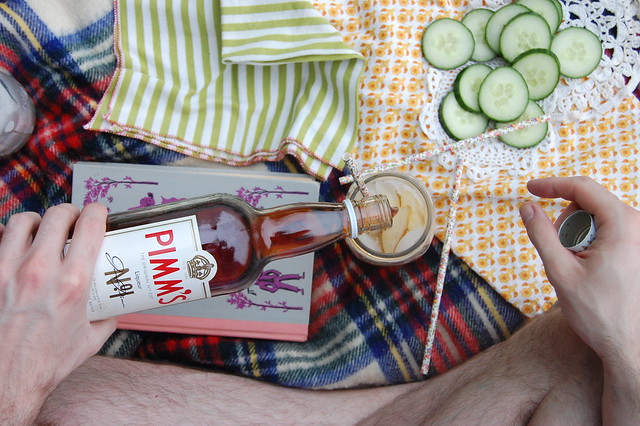
A common question I get as a bartender is "What is Pimm's?" Pimm's Cups appear on a lot of specialty cocktail lists, but its dark color and complex taste make this liqueur mysterious. Many popular liqueurs have single note flavors such as orange, ginger and elderflower. Pimm's, however, falls into a category of European liqueurs flavored with a secret blend of spices, fruits and herbs.

DSC_0886

DSC_0891

More specifically, Pimm's is one brand of fruit cup, which is a botanical flavored liqueur intended to be mixed with a fairly neutral mixer to make a light summery cocktail. Most fruit cups are gin based, and Pimm's No. 1 is no exception. If you aren't a fan of gin, you shouldn't let that fact scare you off from Pimm's; the strong juniper taste of gin that many find off putting is subdued in the flavoring process. At one point there were six varieties of Pimm's all with different base spirits, from rum to scotch, but the only varieties left are the classic gin based No. 1 and the vodka based No. 6, made in small amounts.

DSC_0894

DSC_0912

In England, Pimm's is held in the highest regard. The Pimm's Cup has become one of the most popular drinks to enjoy during the events that make up England's social season, such as the Henly Royal Regatta, Wimbledon, and the Chelsea Flower Show. Peerage is by no means a necessity to enjoy this drink; whether you're at a polo match, or enjoying a sunny day out back, you can easily mix you and your friends a few Pimm's Cups.

DSC_0920

DSC_0942

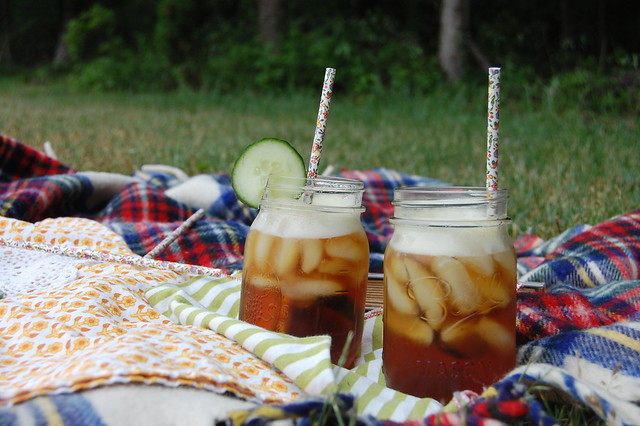
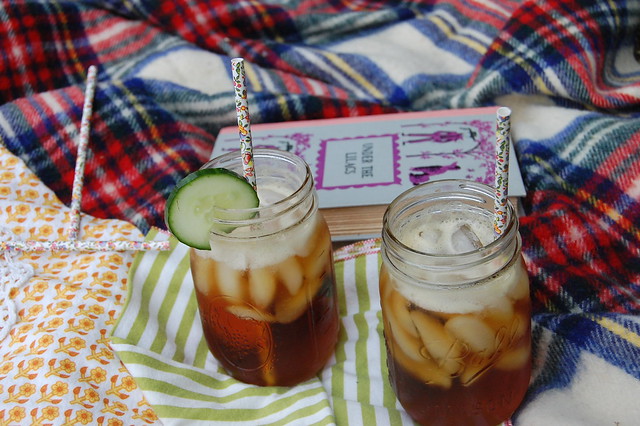
Alone Pimm's has a flavor similar to that of cola, so the most commonly used mixers tend to have light flavors to balance it. Sparkling lemonade, gingerale and sparkling wine are the most popular ones. Most fruits will serve as an acceptable garnish (blackberries and cucumbers are my personal favorite additions).

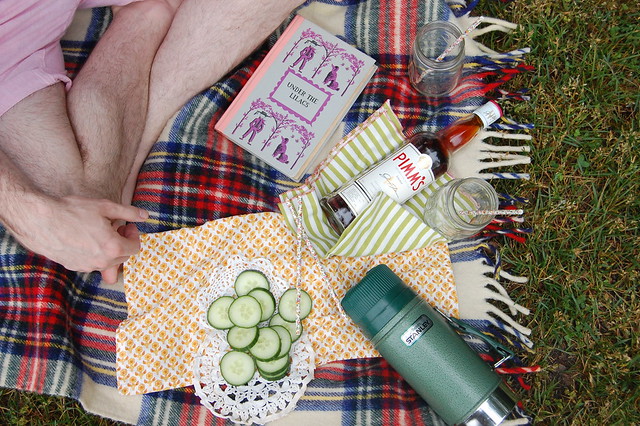
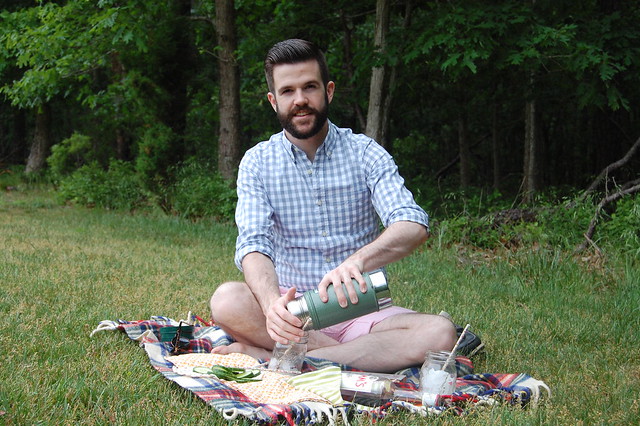
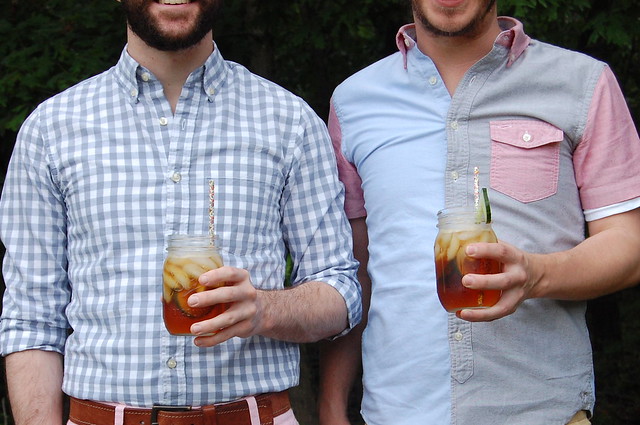
Robbie and I ventured out to enjoy an afternoon of reading classics and sipping on Pimm's Cups using my favorite recipe. Although I hope you enjoy my recipe, I'm interested to hear what all of you are using to make yours. Make sure to share your own creations with us!

Pimm's Cup:
2 oz Pimm's No. 1
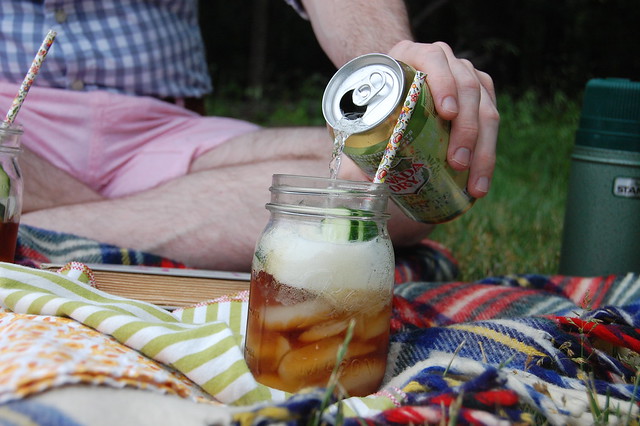
Canada Dry Green Tea Gingerale
Sliced Cucumber

Fill a glass with ice and a handful of sliced cucumber. Add Pimm's and top with Green Tea Gingerale.

DSC_0924

Enjoy!

XO
Pat and Robbie

Tuesday, June 16, 2015

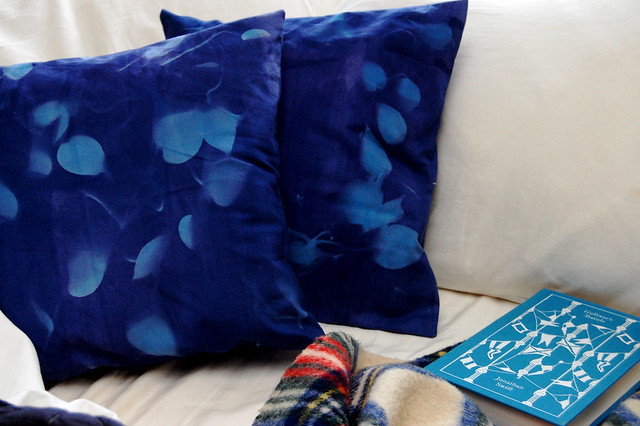
The Martha Project: B is for Botanical Prints // Sun Printed Throw Pillows

DSC_0763

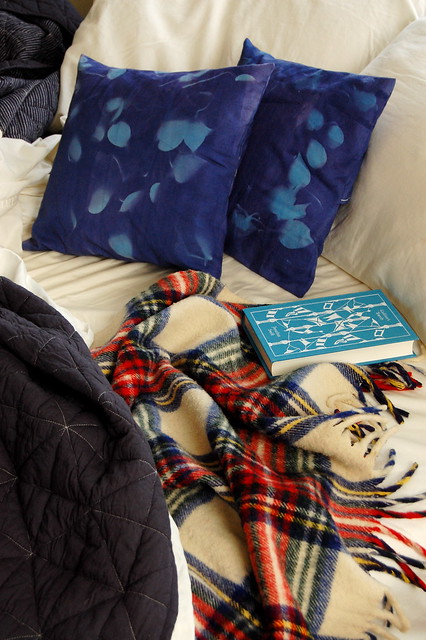
I've been DYE-ING to make these for ages. There's something so magical and ghostly about sun prints that instills a little quiet and a lot of style. Our bedroom is where almost all of our non-edible houseplants live, and with the exception of the green has been largely white and grey for the past year or so. So not only do these pillows mirror our botanically inspired bedroom, but they also bring a dose of much needed color to our cozy little nook.

DSC_0761_2

We haven't even started and I already have to confess our first modification to original tutorial (in the Martha Stewart Encyclopedia of Craft; page 68). Sun print fabric is VERY expensive. Like upwards of $30 a yard. However, I was obsessed with the idea of using a beautiful silk velvet cyanotype fabric to make these pillows. After pacing around the living room and checking my credit card balances, I decided to take the plunge. I mean, I would really only need around two yards. I filled out the form to make my purchase, hit place order and wondered how many lattes I would have to forego after this purchase.

"We regret to inform you that we are not currently shipping to your area."

What?! What does that even mean?

It means we're driving to the craft store to come up with a back up AND we're getting coffee on the way.

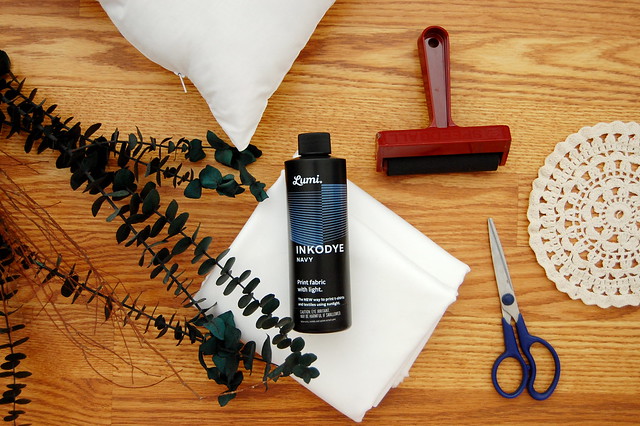
After picking up lattes and wandering around Michael's for half an hour, we found our answer in the clearance section. INKODYE! A light sensitive fabric dye. I didn't even know this was a thing. A thing that costs $6! We win and drive home.

DSC_0774_2

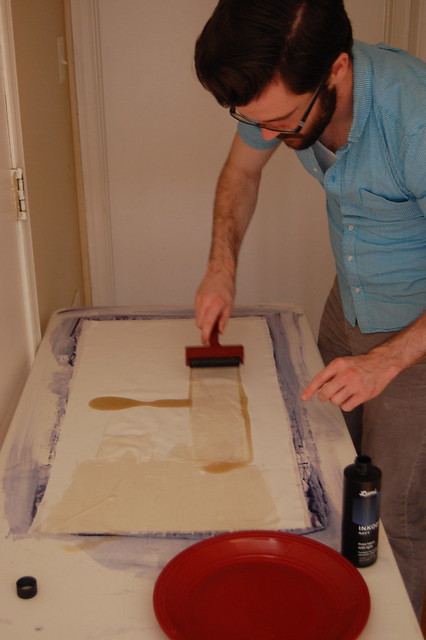
Not nearly as elegant as silk velvet, this stuff was a mess and it smelled like hot bleach. Patrick was such a champ for jumping in and spreading this stuff onto the fabric with a brayer. IN THE DARK. Yes. It's photo sensitive. You have to avoid as much light as possible. That's why the above photo is awful. We had to this in our halfway, with all of the doors closed.

DSC_0763_2

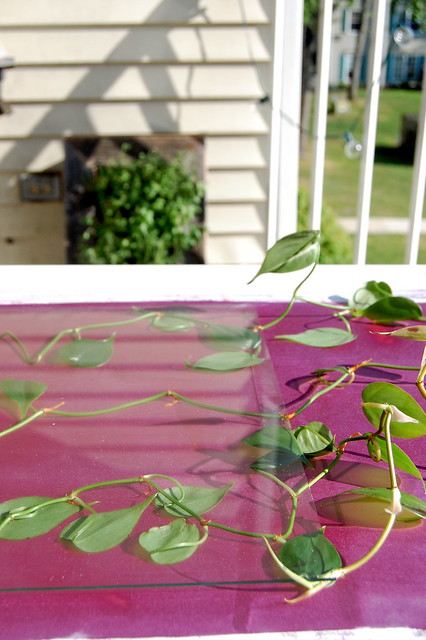
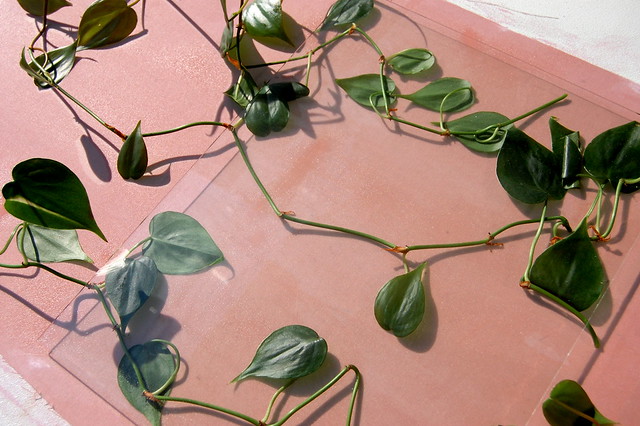
But this stuff is pure magic. This was what happened in the first minute or so. We used glass from old picture frames to hold down clippings from our pothos.

DSC_0766_2

This is what it looked like after around 7-10 minutes. Crazy, right? If you want to see the finished color, scroll up or down! (There's also a time lapse video on Patrick's Instagram: @phanlin12)

DSC_0777_2

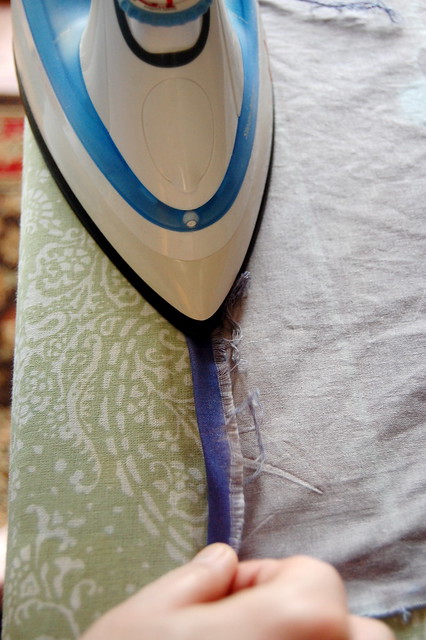
We chose the absolute easiest pillow tutorial on the Martha Stewart site, which is only two hems and two seams. We spent more time ironing than we did sewing. Minutes. This project seriously only took half of an afternoon.

DSC_0765

Have you sunprinted anything? How did it go?

XO

Robbie + Patrick

Thursday, June 4, 2015

Cocktail: Rhubarb-Apricot Tonic

DSC_0882

DSC_0873

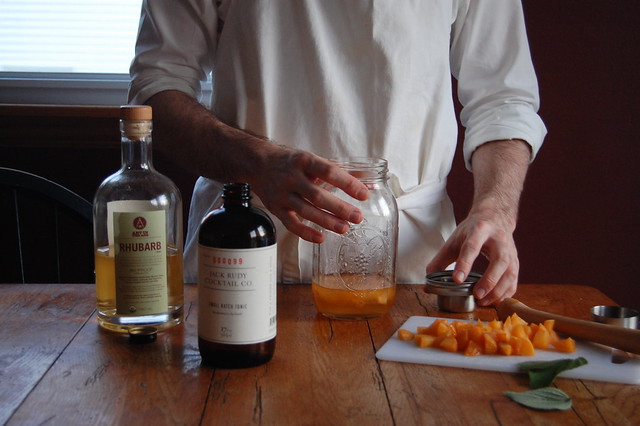
Ever since Robbie and I bought a bottle of Root, we have been obsessed with Art in the Age libations. You might remember that we used their Sage garden gin to make our own version of a Last Word on St. Patrick's Day. Most recently, we picked up a bottle of Rhubarb Tea and I immediately fell in love with its sweet, crisp taste. Enjoy this video from Art in the Age; it's so cute!


DSC_0912

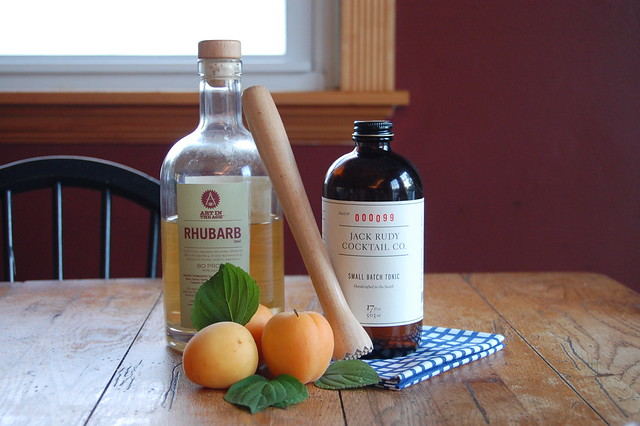
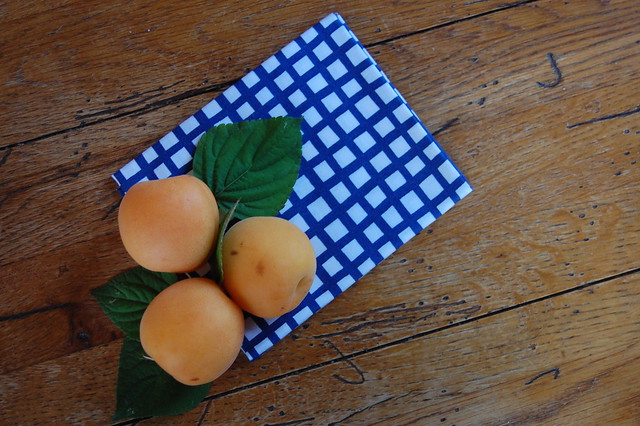
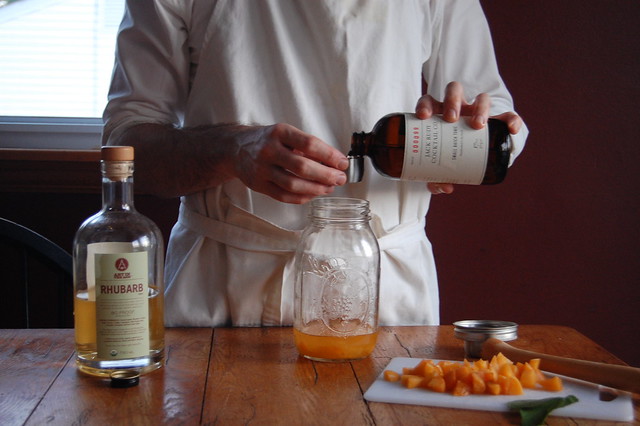
After a trip to the farmers market, I was very excited to use apricots in a cocktail with the Rhubarb Tea. Both have slightly delicate flavors, and neither would overpower the other. Keeping true to our roots, I pretended it would be simple; a Rhubarb-apricot tonic. We used a small batch tonic concentrate, and I highly recommend you buy yourself a bottle of Jack Rudy.

DSC_0910

DSC_0923

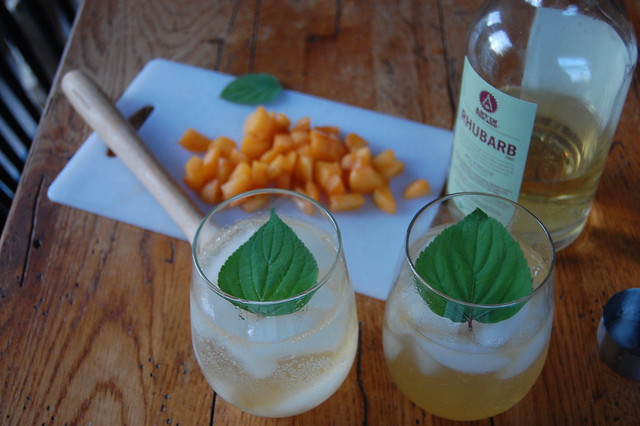
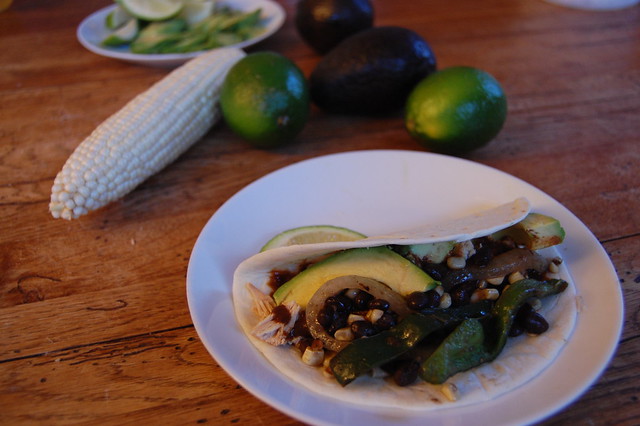
This cocktail is a light and refreshing, perfect for picnics and barbecues. We garnished ours with Tangerine Sage that we found at Terrain after taking a Garden Cocktail workshop. We bought a ton of hybrid herbs on our last visit, and I was so eager to use one with this drink. We enjoyed our drinks with Shredded Chicken Mole Tacos. The slight sweetness of the cocktail balanced the assertive spice of the tacos nicely.

DSC_0932

Rhubarb-Apricot Tonic:
1/2 of an apricot, diced
4 ounces Rhubarb Tea
1.5 ounces Jack Rudy small batch tonic
Soda water

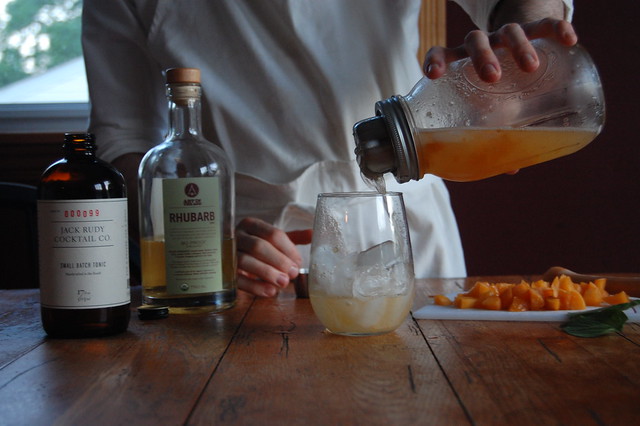
Muddle diced apricot with Rhubarb tea. Add tonic and ice. Shake and strain over ice in two rocks glasses. Top with soda water, and garnish with aromatic herb of your choice. Enjoy!

XO
Pat and Robbie
Tuesday, May 26, 2015

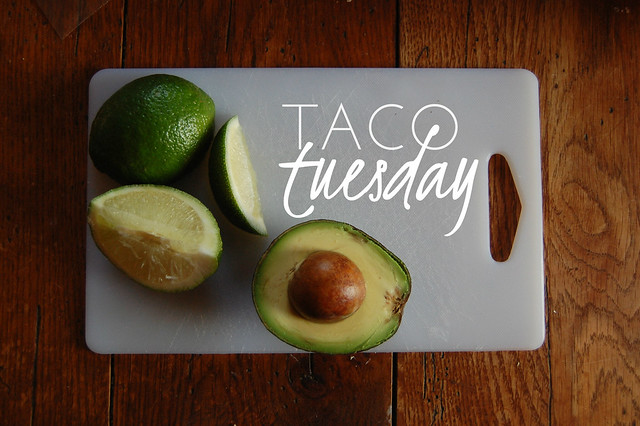
RECIPE // TACO TUESDAY: Shredded Chicken Mole Tacos

taco tuesday

DSC_0941

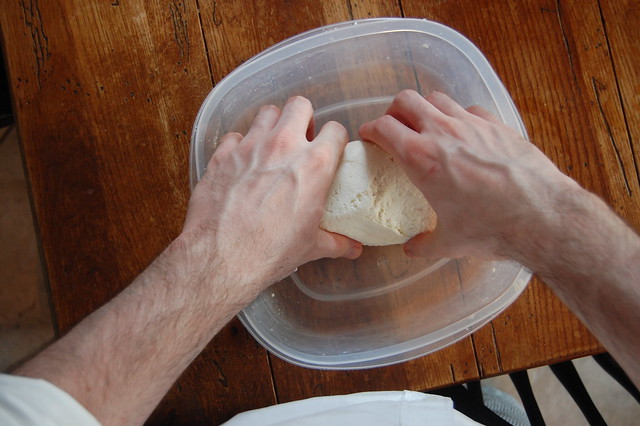
A burgeoning Christmas tradition between Robbie and I is to get each other gifts that inspire or teach us to make new things. This past Christmas Robbie got me One Hour Cheese by Claudia Lucero of Urban Cheesecraft. I was so excited by so many of the recipes, but the one that stood out most was Chipotle-Lime Oaxaca. It's a sort of Mexican mozzarella that is rubbed with a chipotle chili powder and lime juice mixture. Before I made the cheese, I wanted to come up with the perfect dish to add it to.
DSC_0862

DSC_0869

The inspiration for the dish came during a trip to Whole Foods, where I found a mole sauce that I immediately wanted to try with the oaxaca. I knew the roasted chili flavors would pair so well with the sharp creaminess of the cheese. From here the rest of the dish came together easily; I knew that I wanted to make pulled chicken tacos, so that the flavor of the other ingredients would really stand out. I highly recommend that you get yourself a copy of One Hour Cheese for this recipe, not only to make the best version of this dish, but also to teach yourself how to make great, easy cheeses. If you can't wait to make these tacos, though, queso fresco also works.

tacotacotacoDSC_0890

Shredded Chicken Mole Tacos

Ingredients:
2 chicken breasts
4 12 oz bottles of Malta Goya
1/4 c cumin seeds
1 c mole poblano (Sky Valley Mole is a great organic option)
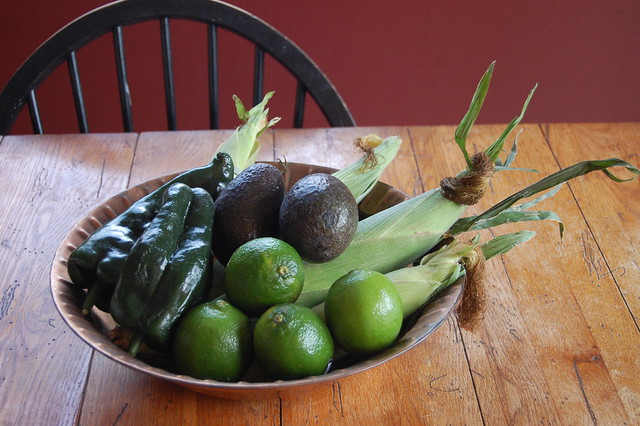
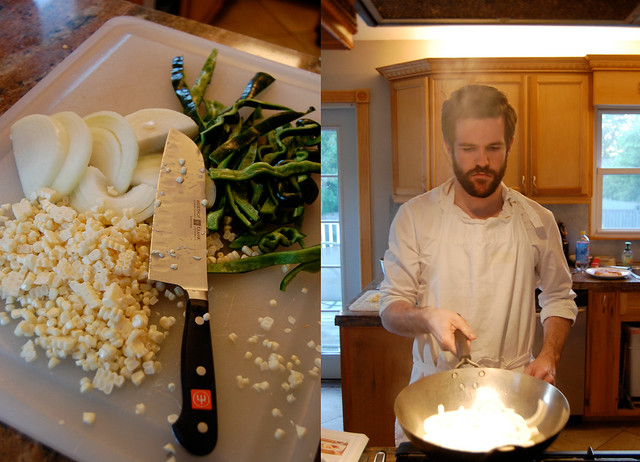
2 ears of corn, kernels cut off the cob
2 tbsp coconut oil
1/2 onion, thinly sliced
1 poblano pepper, sliced
1 c dried black beans, soaked overnight and cooked ahead OR 1 can, drained and rinsed
1 tsp ground cumin
salt and pepper to taste

For assembly:
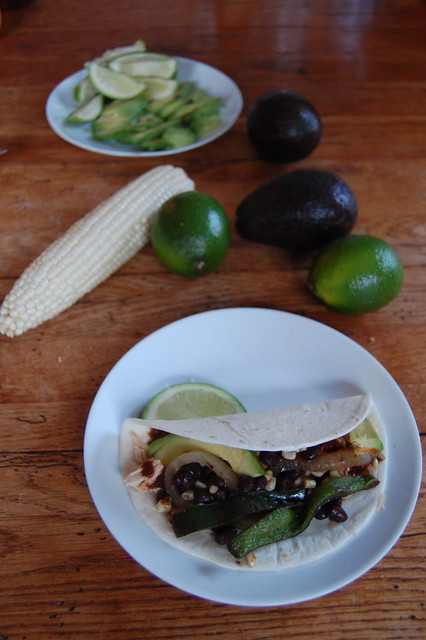
Flour tortillas
Chipotle-Lime Oaxaca or queso fresco
Lime wedges
Sliced Avocado

1. Add the chicken breasts, Malta Goya, and cumin seeds to a slow cooker and cook on low for 6 hours. At the end of that time, shred the chicken and toss in mole sauce. Add more mole sauce as desired.
2. Heat coconut oil over medium-high heat. Add the onion and cook until translucent (about 5 minutes)
3. Add the sliced poblano pepper and cook until soft. Mix in the ground cumin and stir to coat the onion and pepper. When the peppers and onion start to brown add the corn. As the corn starts to brown, toss the black beans into the pot, and cook for an additional 4 minutes.
4. Serve the cooked vegetables and chicken with warmed tortillas, oaxaca, lime wedges and avocado.

  DSC_0944

 Enjoy!

 XO
 Pat

Monday, May 25, 2015

Handmade Monday // The Martha Project: Letter A

The Martha Project: A is for Album // Shadow Box

Patrick is looking at Grad schools and I'm planning my next step. In moving forward, I really want to find a career doing something that I love. I've looked at Rhode Island School of Design to see if they have a general crafting Master's program, and googled around a few traditional craft programs that aren't accredited. How does one become a Master crafter? Where does Martha Stewart find the people that fold paper flowers and hot glue acorns to wooden boxes? How do I get that job?

It doesn't seem as though there is simple answer. There are very focused programs for knitting design at RISD, we have several glass blowing schools nearby, and I'm terrible at pottery. I was hoping for a craft program with a liberal arts structure; learn a little about everything, decide what works best for you.

As strong supporters of the 10,000 hour rule (10,000 hours of practice makes you an expert in a field), Pat and I decided to aggressively craft as much as we can throughout a year. Easy, right?

Our idea had humble beginnings, but as we planned our idea we found a few kinks. We needed a comprehensive text book for this program that would both inspire us to keep moving forward, fully educate us on the proper techniques, and produce quality end results.

The only answer was Martha Stewart's Encyclopedia of Crafts. After we chose the book, the rest was simple.

-We will be making a craft for each letter present (9 are skipped)
-The letters that are not accounted for will be replaced by an appropriate holiday or vintage craft from our collection of other Martha Stewart books.
-We will have two weeks to complete each craft, keeping this project within the time frame of one year.
-We will share honest reviews of each project finished, and any modifications made to the original directions. These modifications may be made with regard to material sourcing, time adjustments or personal taste.

So that's it. We' ll be self-proclaimed craft masters in one year! See you at the finish line!

The Martha Project: A is for Album // Shadow Box

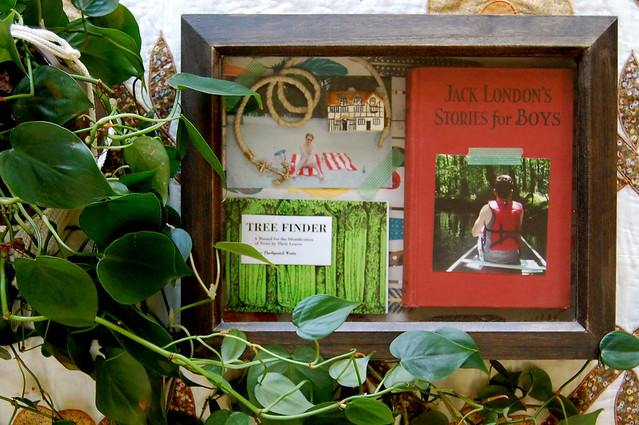
The Martha Project: Letter A, "Album" - Specimen Boxes (Page 29)

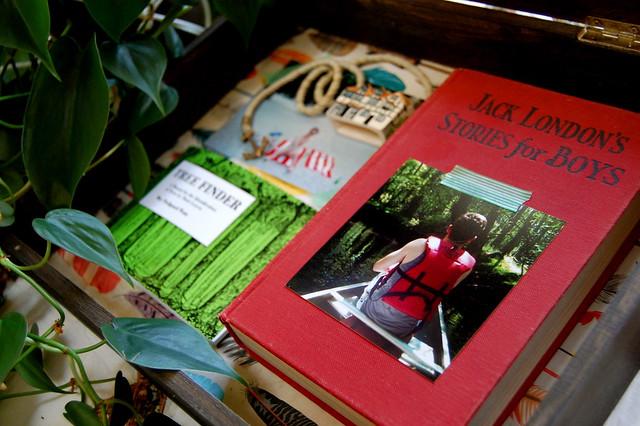
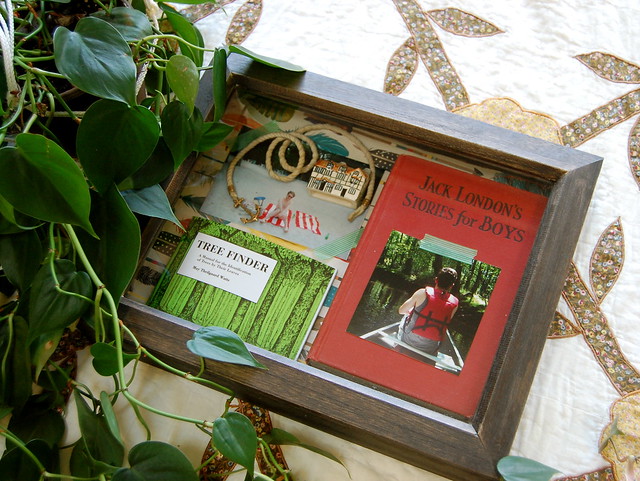
We love the finished box! Scrapbooking seems so limiting now! When we vacation or go on adventures, we usually take a lot of Instagrams and digital photos but we are not so great about printing them out. However, we do collect a lot of books and trinkets from our travels. A shadow box is a perfect way to display these things and share them with our guests. This project went very smoothly and quickly.

Modifications:

We could not find a place to cut us such a small piece of plexiglass for a reasonable price. We decided to buy a plywood specimen box and to stain it. All others supplies and steps are as instructed.

The Martha Project: A is for Album // Shadow Box

XO

Robbie & Patrick

Monday, May 18, 2015

HANDMADE MONDAY: A Most Bespeckled Hat

HANDMADE MONDAY

Handmade things are an important part of our lifestyle. Not only do we try to make a lot of the things that we need or want, but often we are searching for the most authentic source of the things we cannot create. Handmade Monday is going to be a reflection of that. If we have made something, or are in the process, we'll use Monday to discuss what we are learning or to share something that we've finished. Alternately, if we are not diligently working on something, we will use Mondays to highlight a maker or a item that we are lusting over. Please feel free to share something you're working on, or a handmade items in the comments below! We'd loved to see what you're making and what's inspiring you!

DSC_0868

DSC_0865

DSC_0876

On Thursday, we stopped by Home Made on the way home from a picnic at the zoo. I'm always super excited to swing by Julie's shop but I never have a project in mind when we do. I always end up buying a handful of odds and ends and Patrick always picks out yarn for our Beekeeper's quilt. They have giant selection of Madeline Tosh Unicorn Tails and we never leave without picking out at least one.

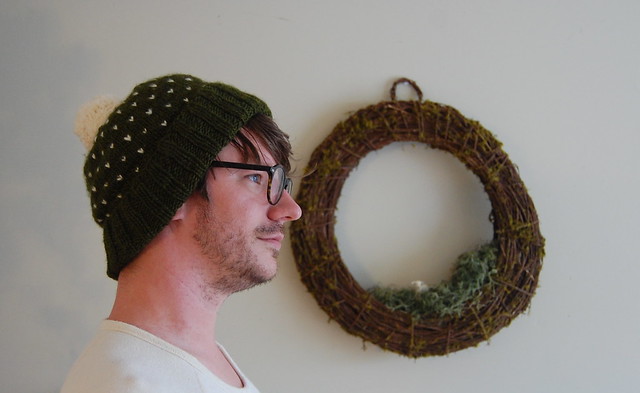
With a sense of urgency, I flipped through the pattern binders to find something quick to knit. I found a hat pattern from Dull Roar, grabbed a skein of Manos and we headed home for dinner.

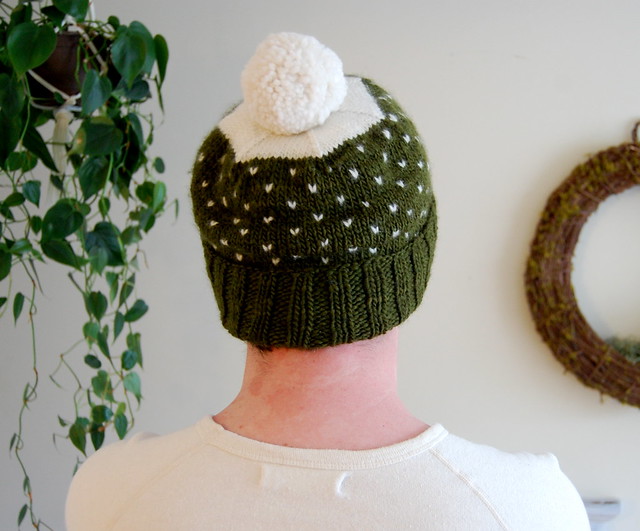
By bed time, half of the hat was knitted and I knew I was going to run out of yarn. I did. You can figure out how I solved that problem if you look at the back view of the hat :)

I decided that if I was diligently knitting a project or so a week, that I would have tons of Christmas gifts ready by December. However, Pat immediately claimed this hat once it was blocked and dry. Hopefully the next project will make it to the gift basket.

The pattern was really straightforward and simple, and if we ignore the fact that I underestimated yardage, this project went super well. I'm kind of glad we're keeping it.

XO
Robbie.